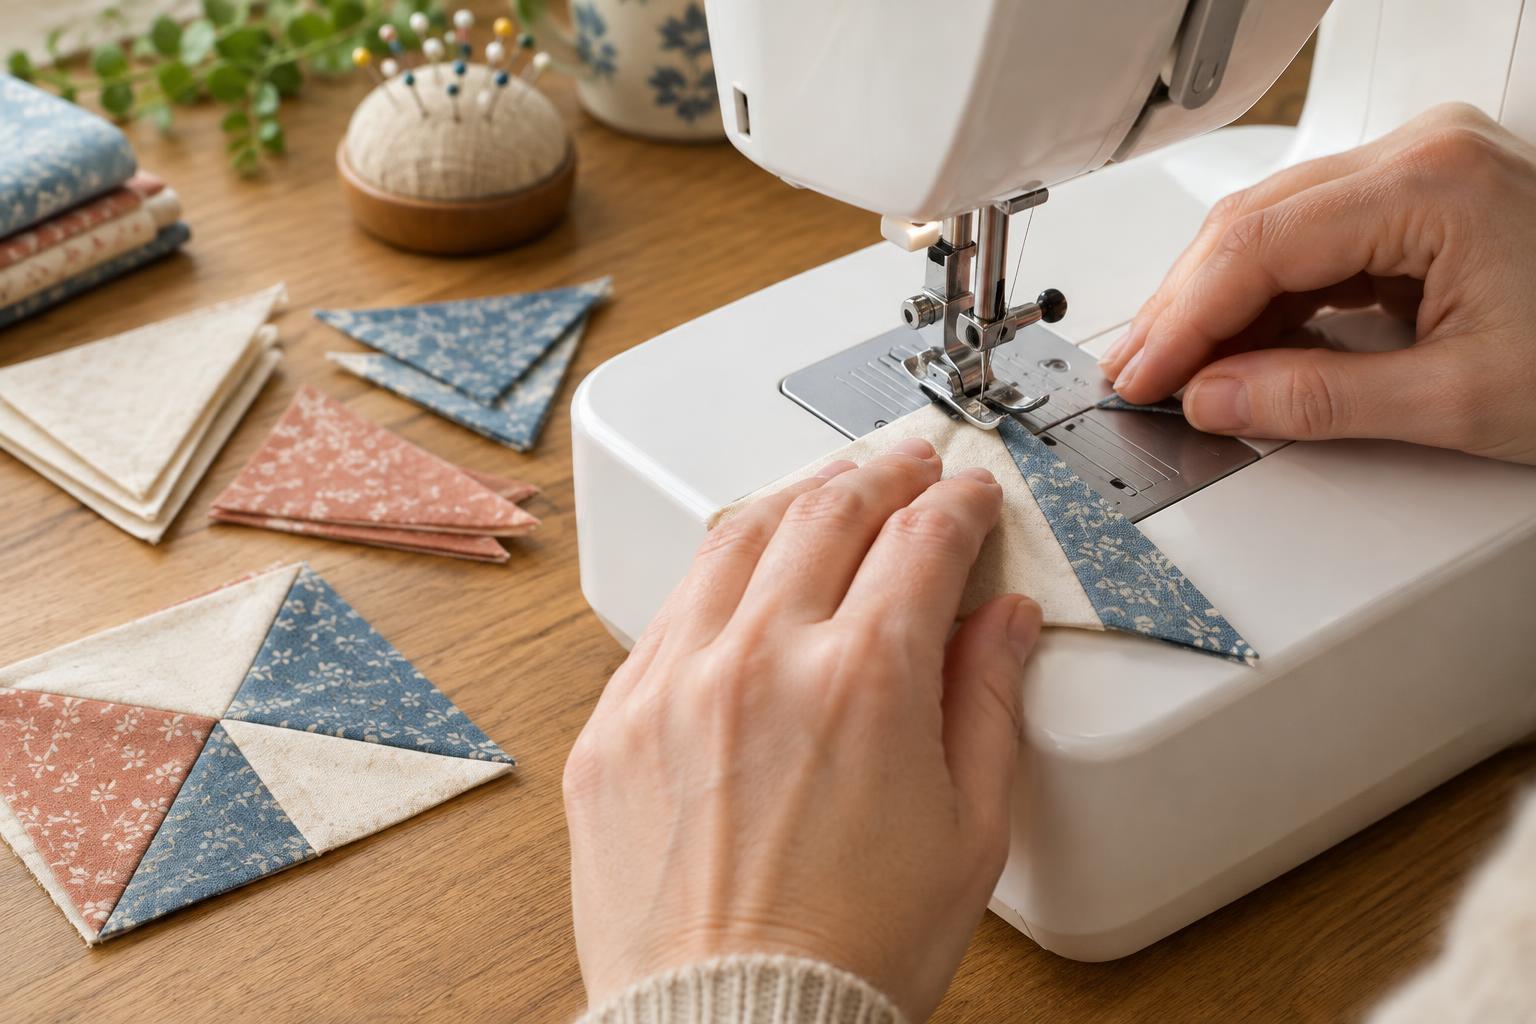
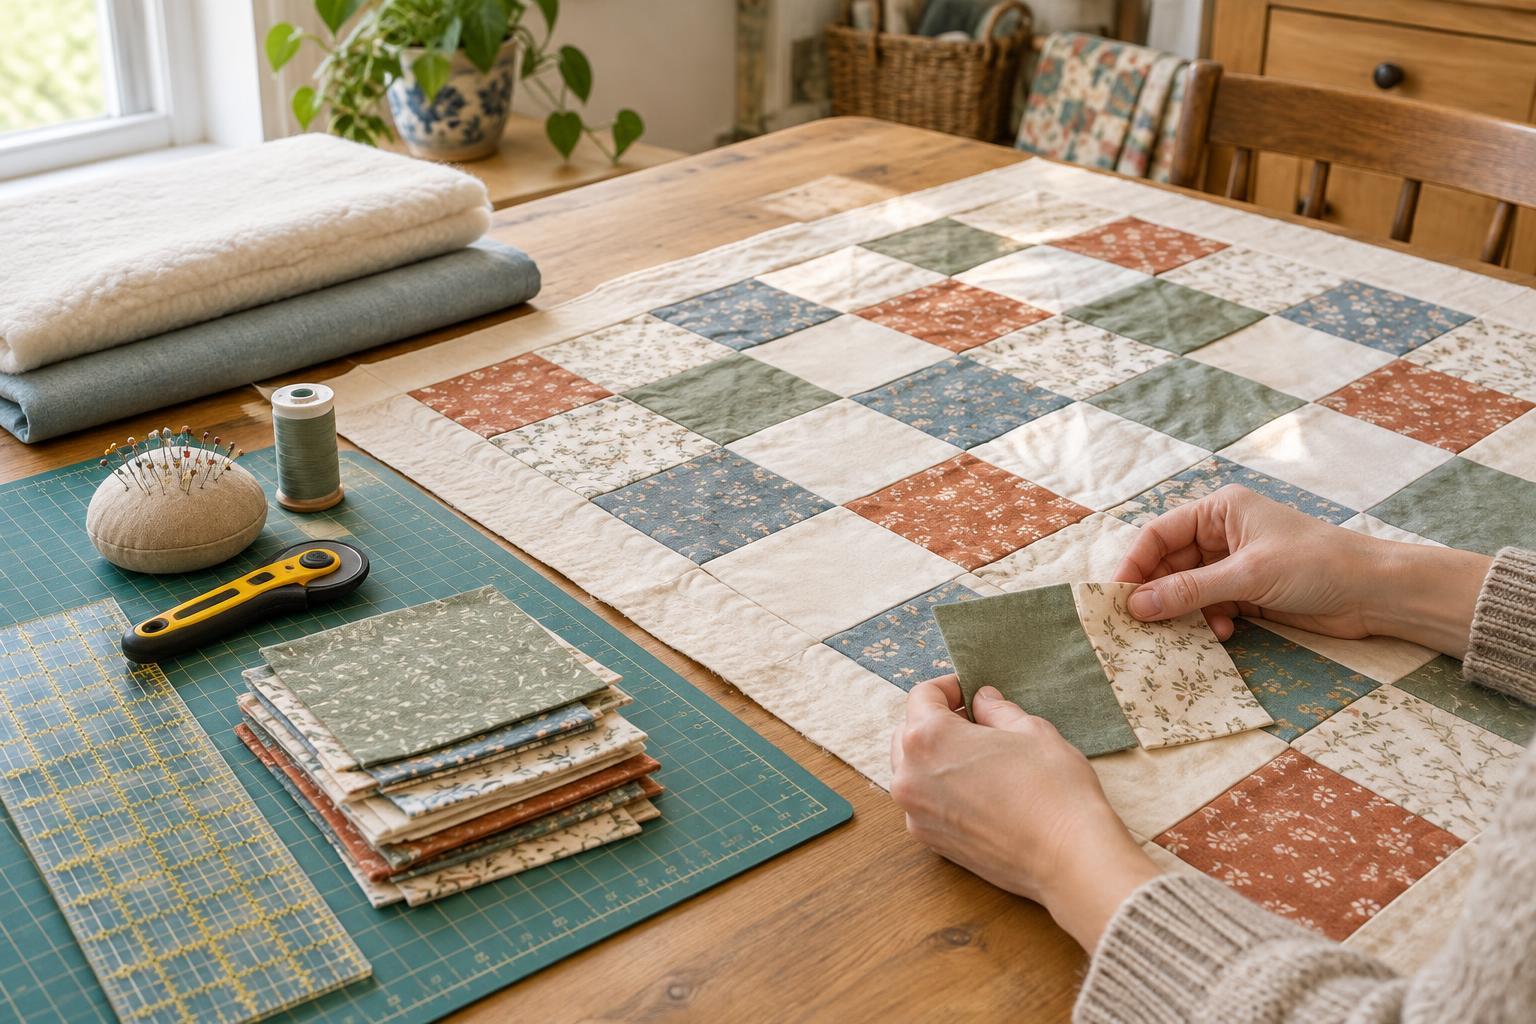
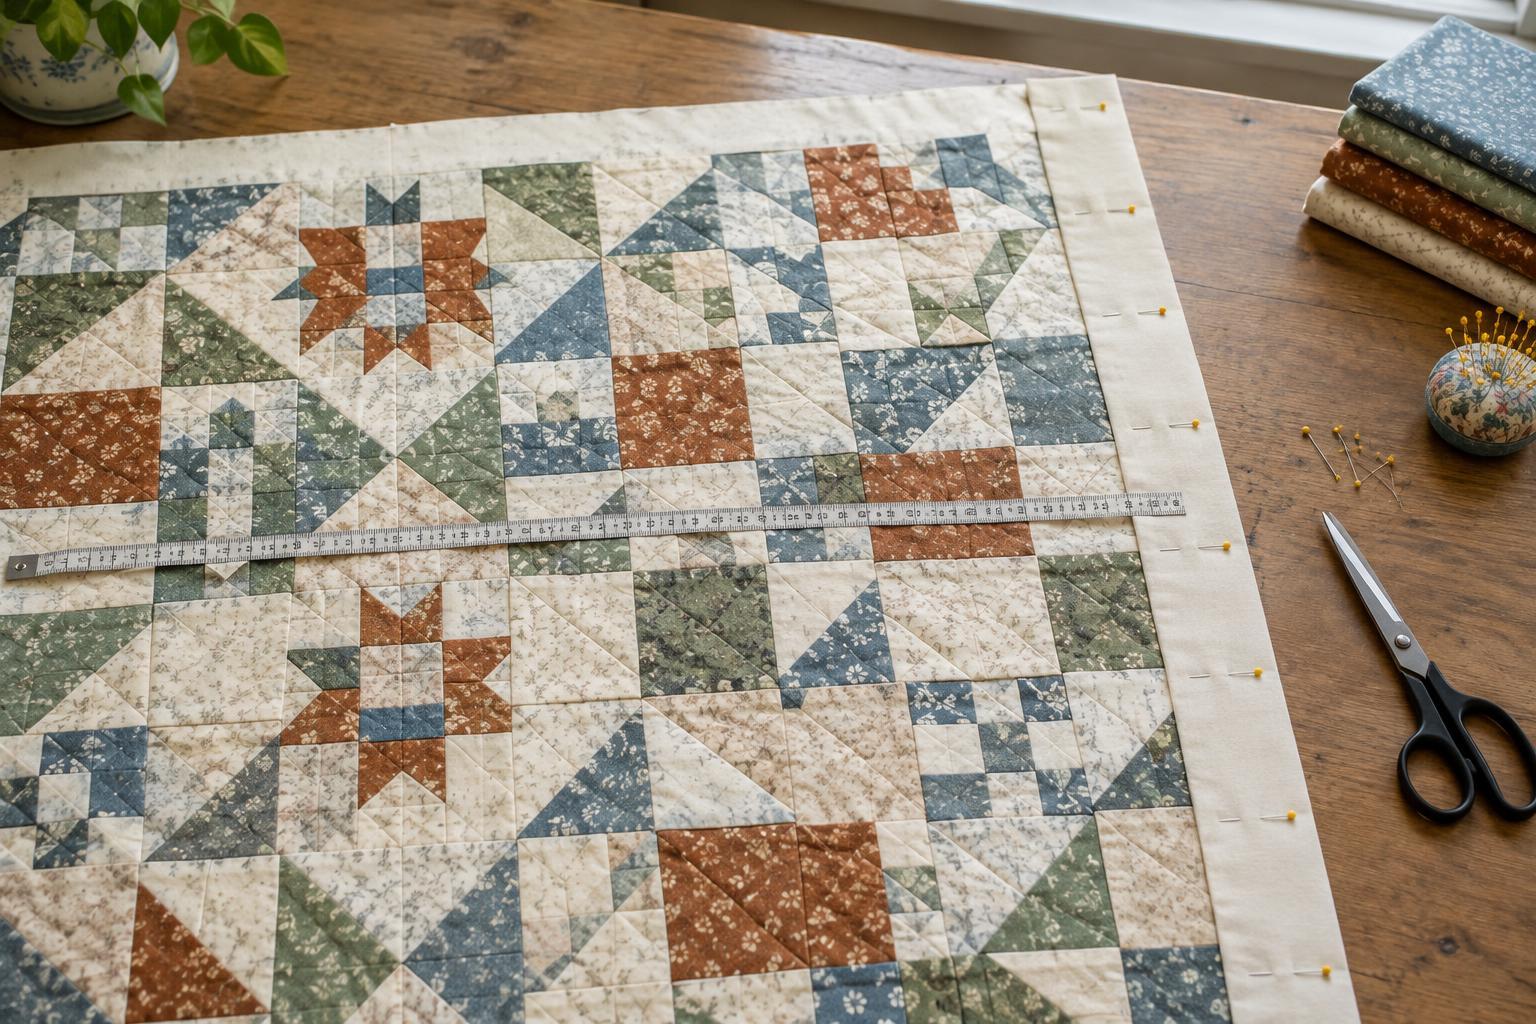
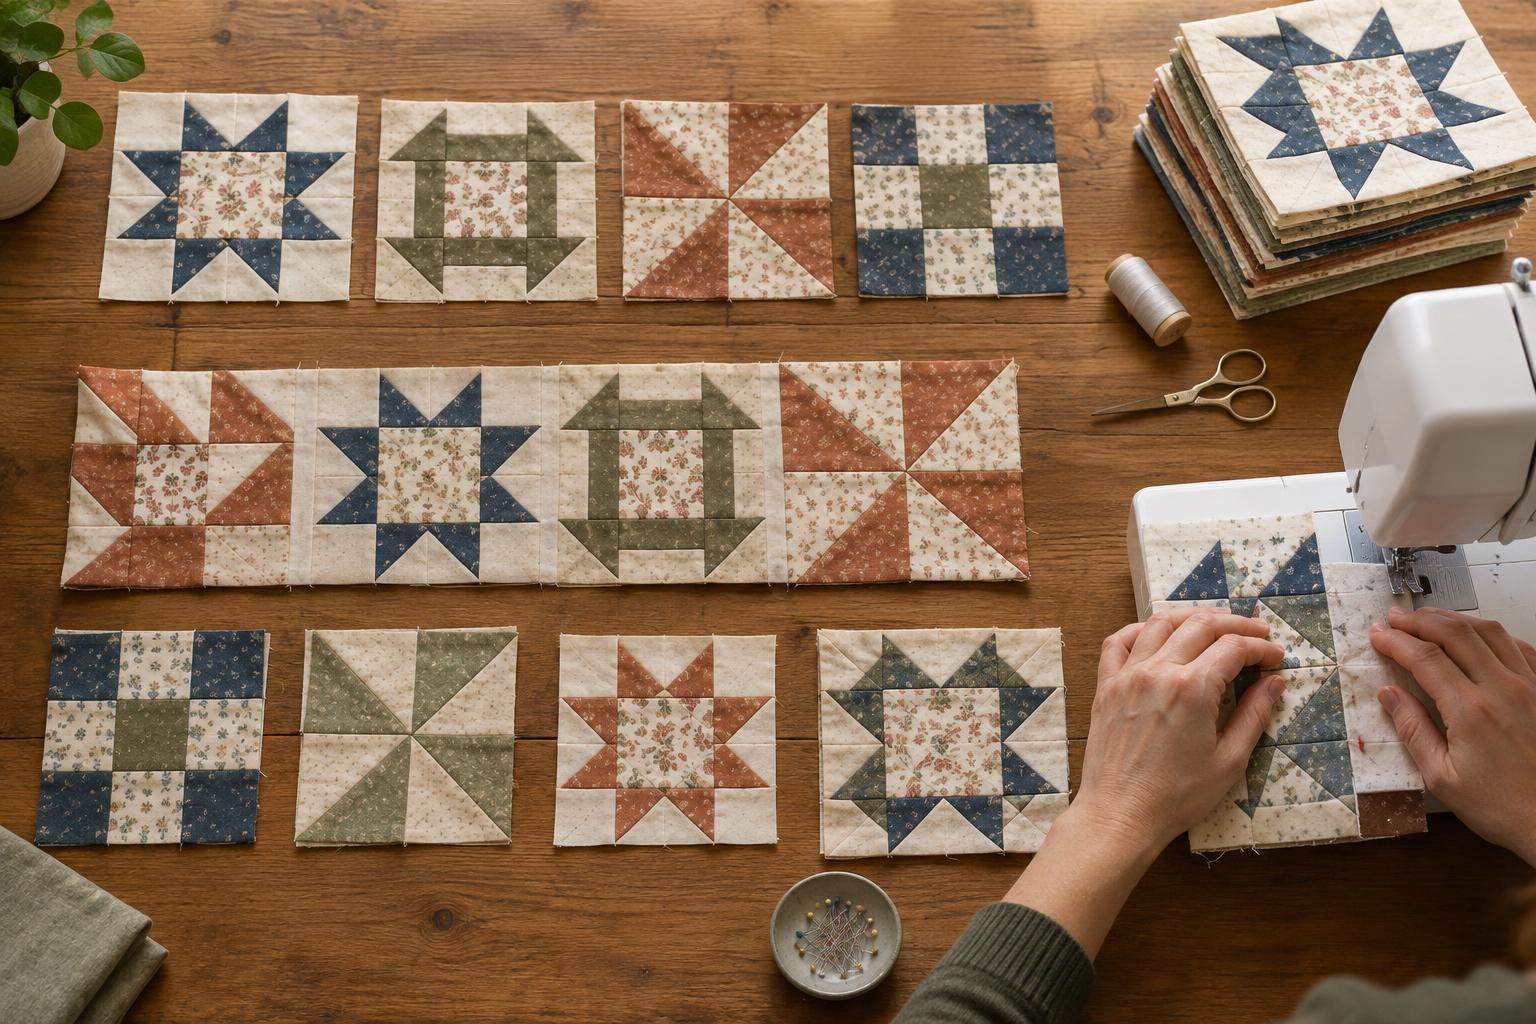
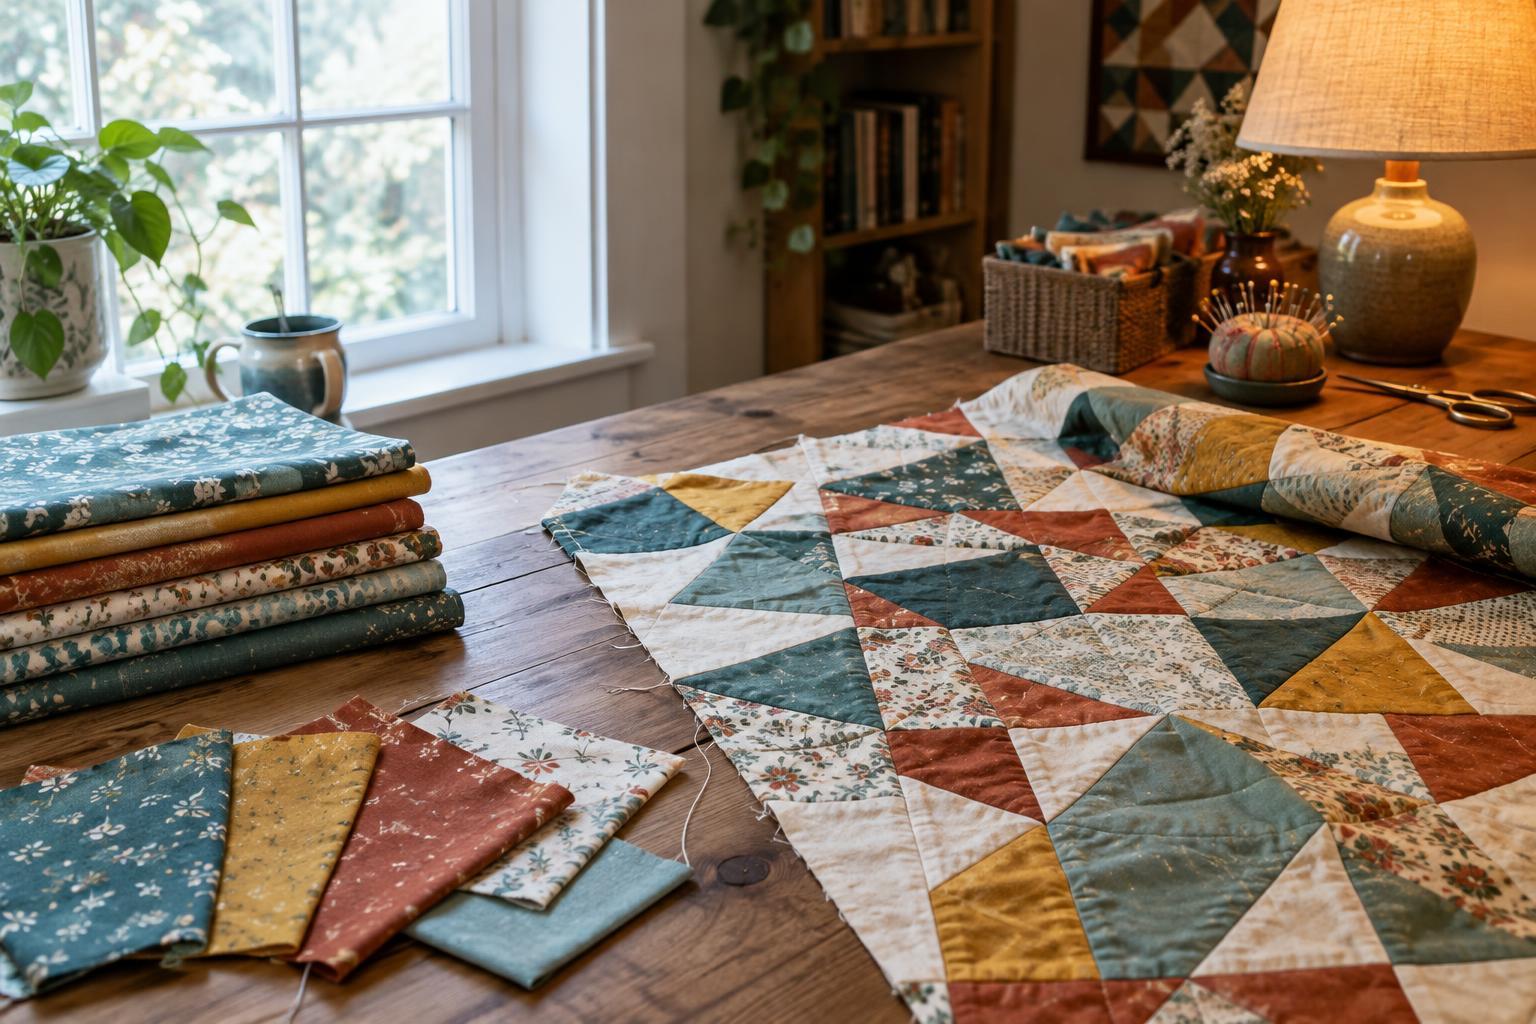
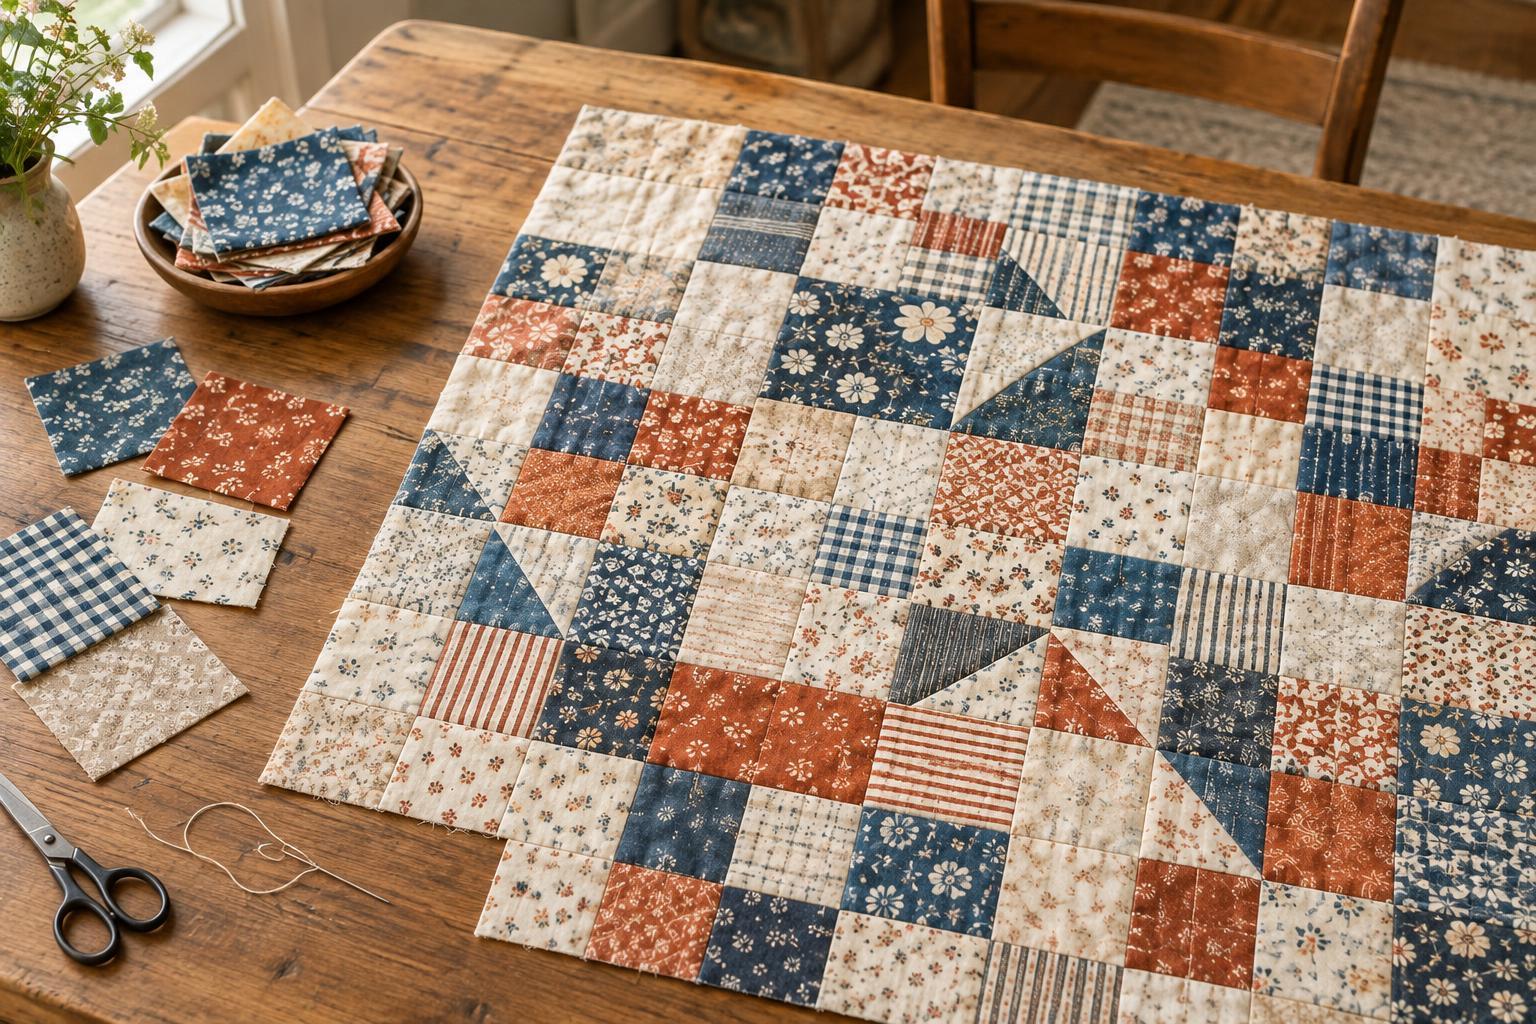
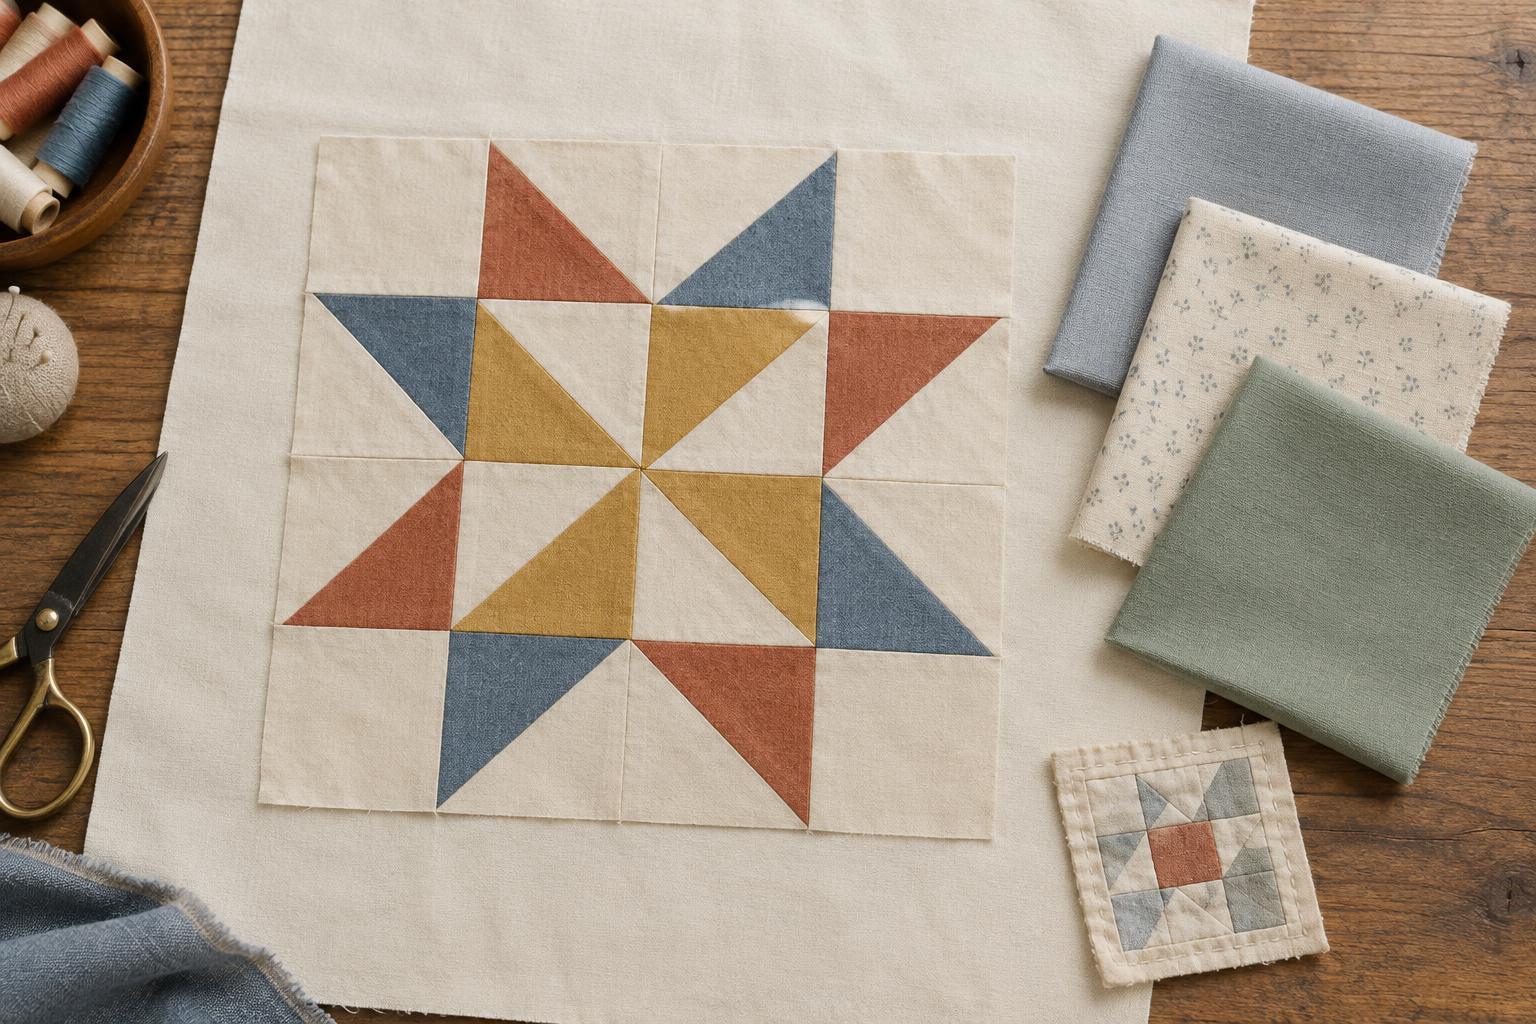
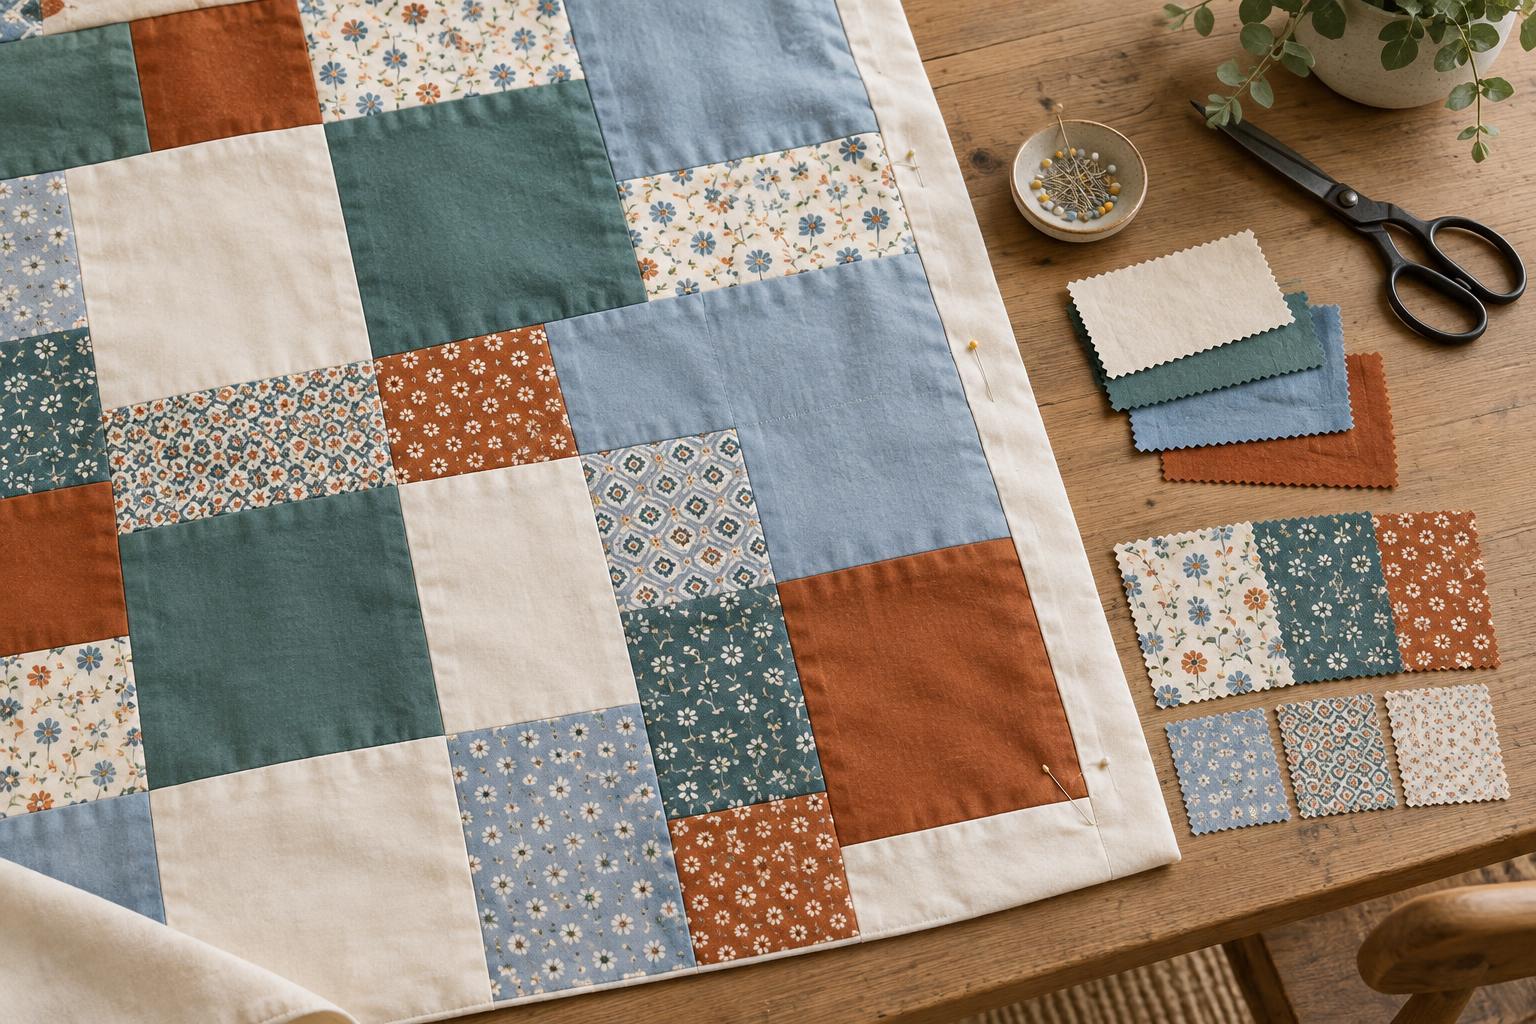
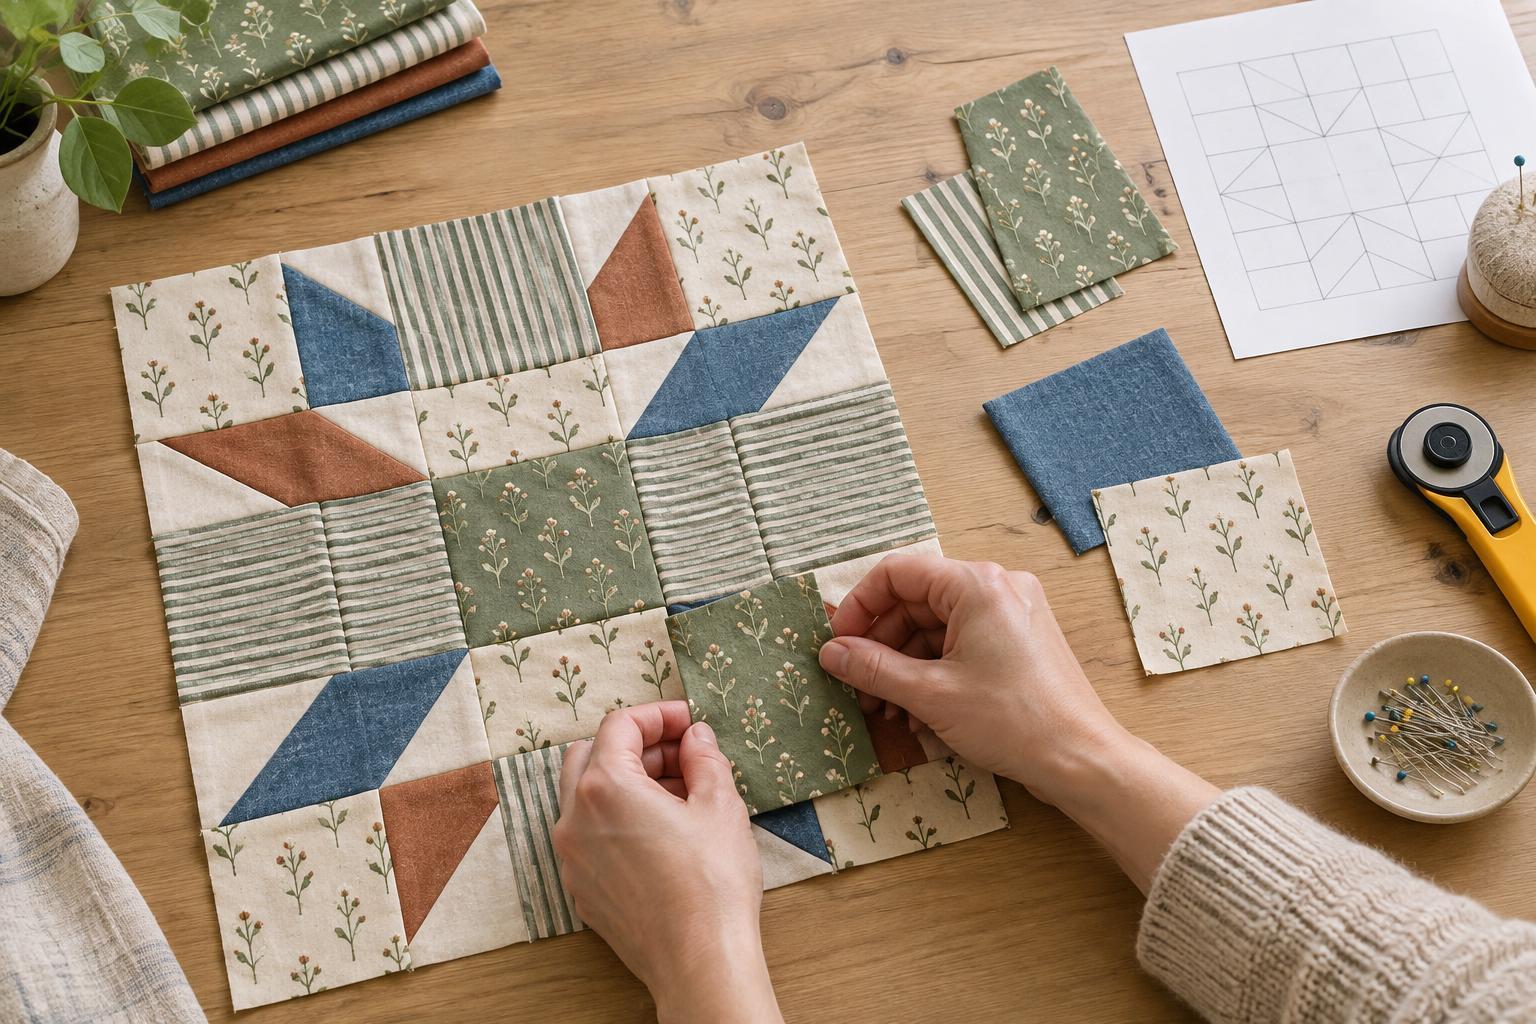
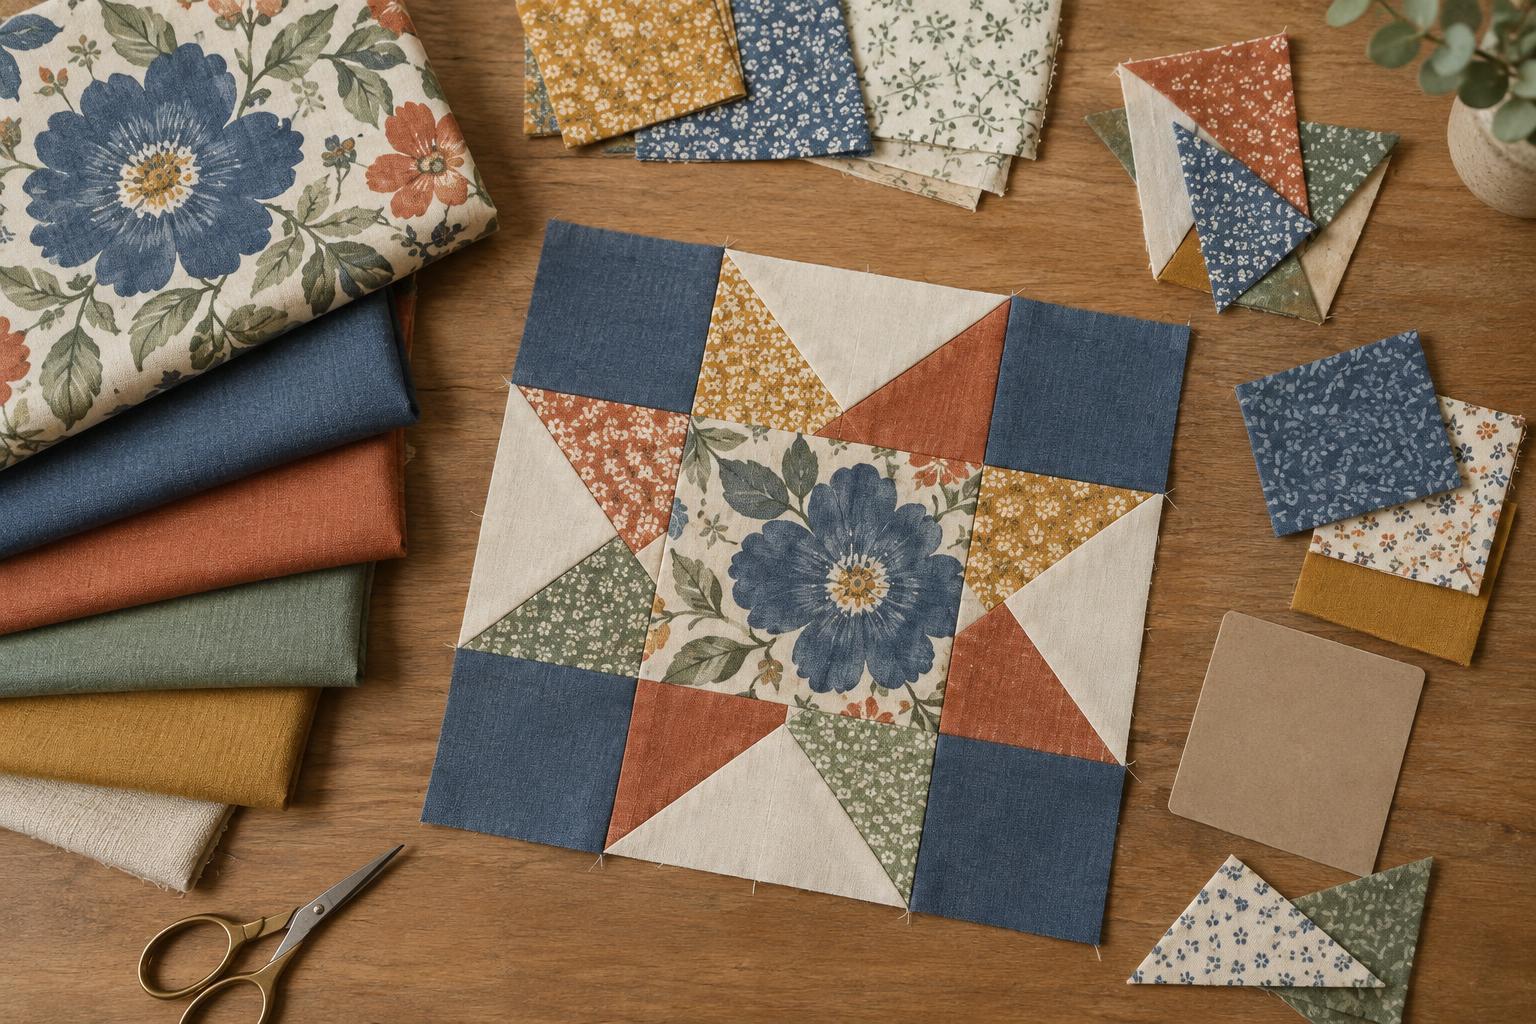
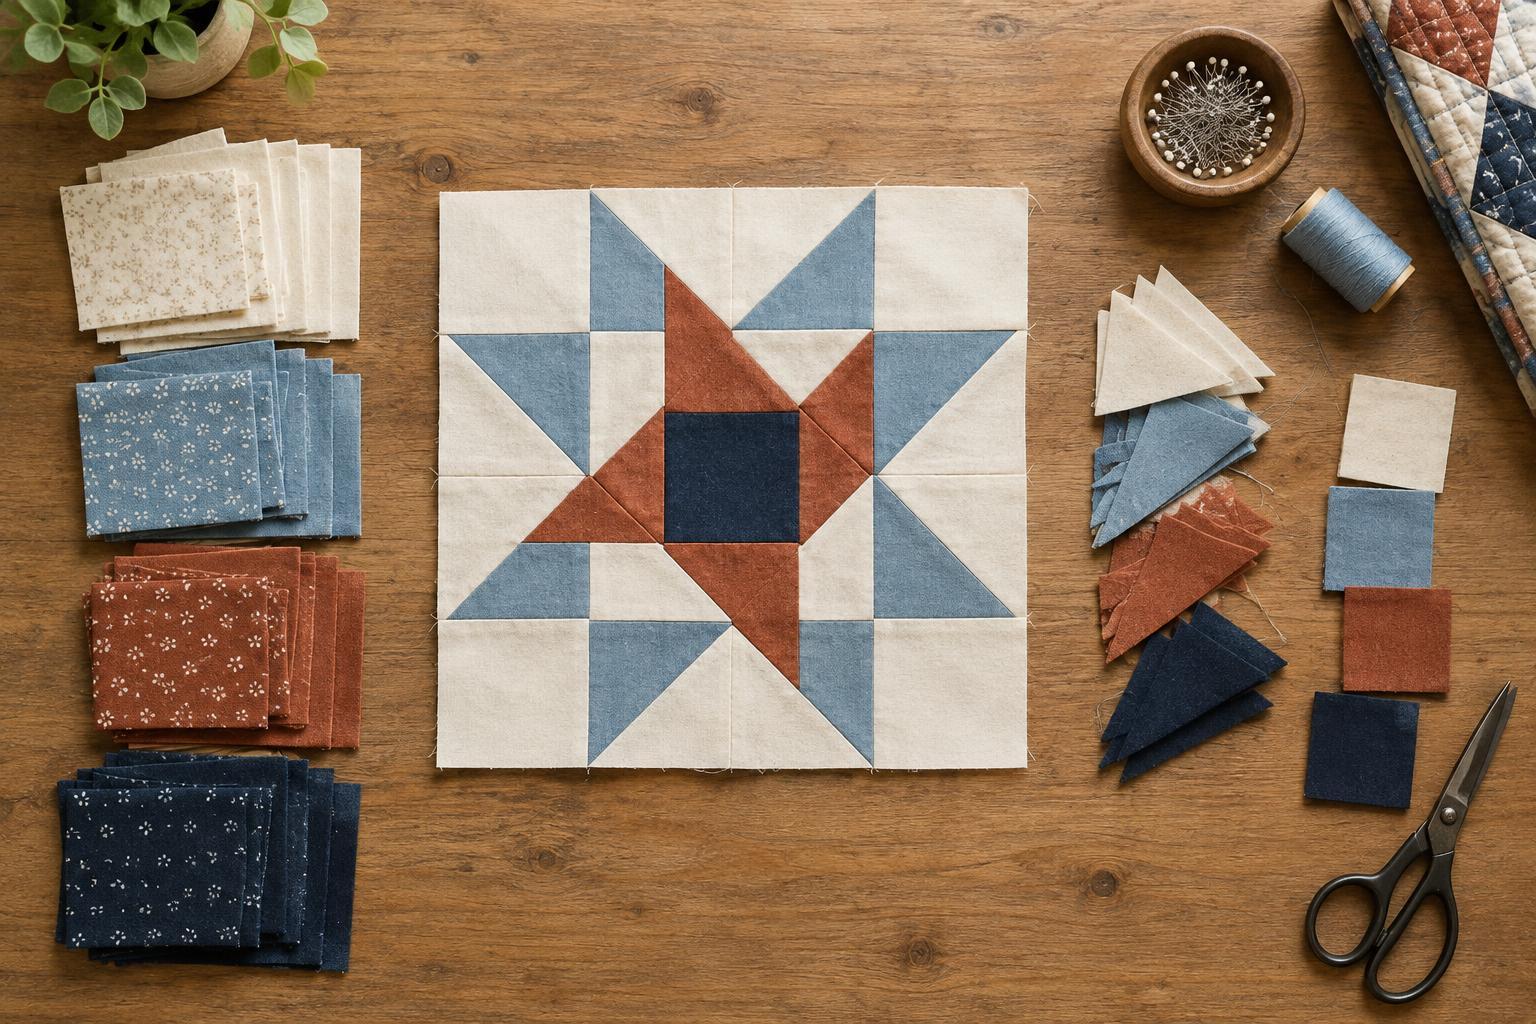
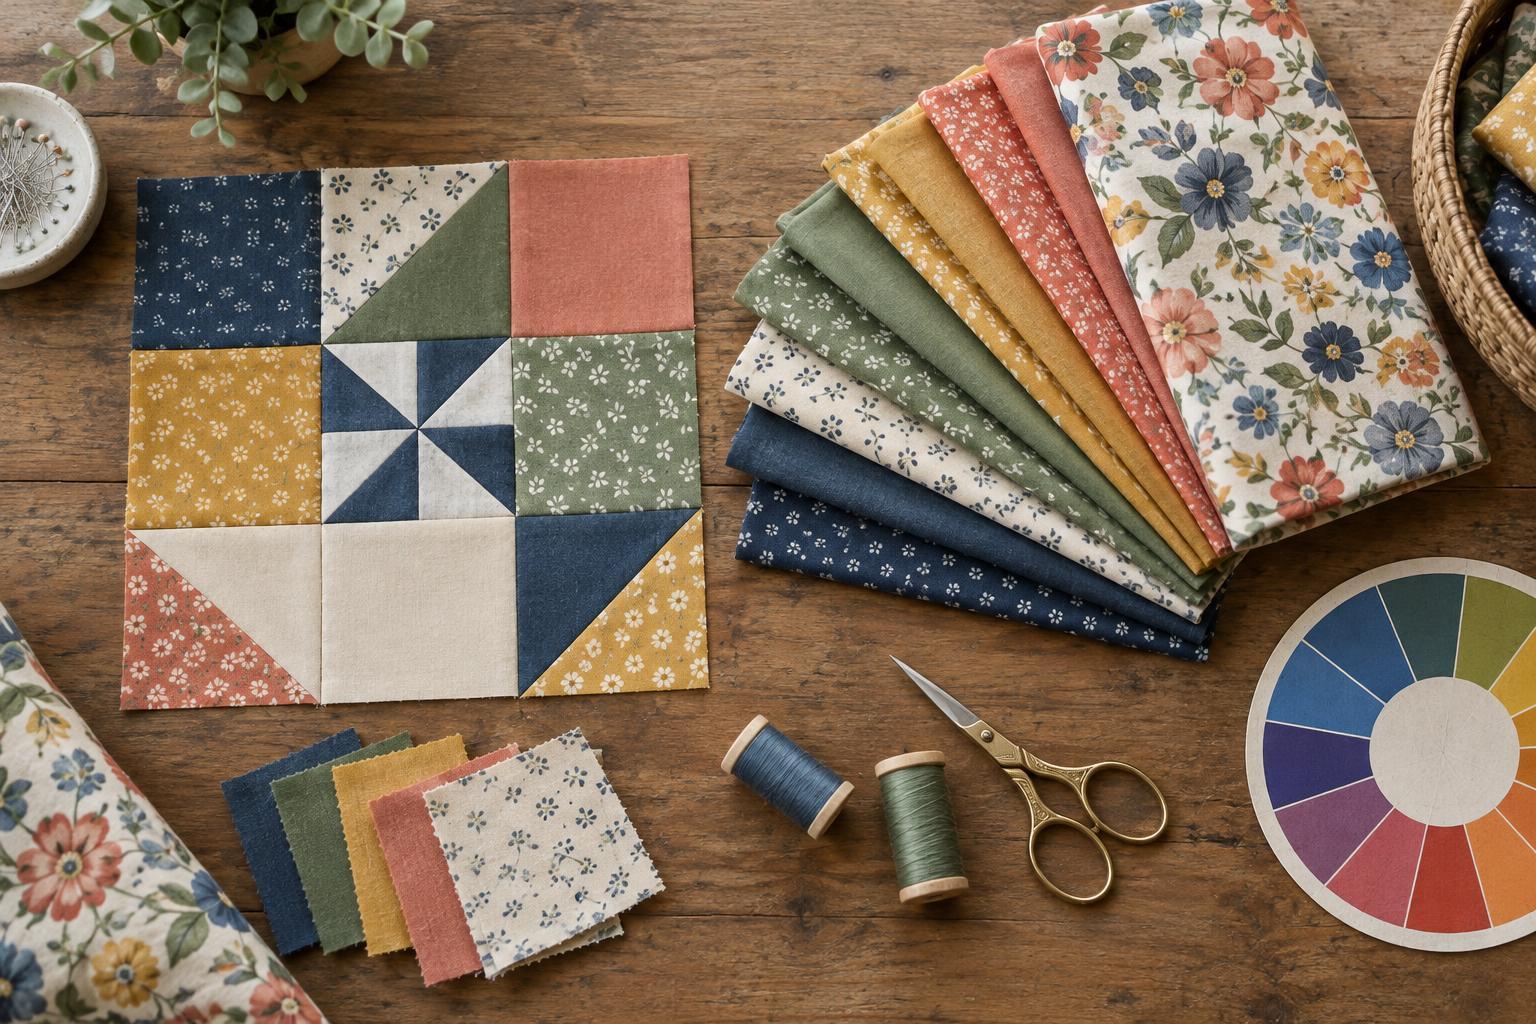
Why Sew a Test Quilt Block Before Cutting the Whole Quilt?
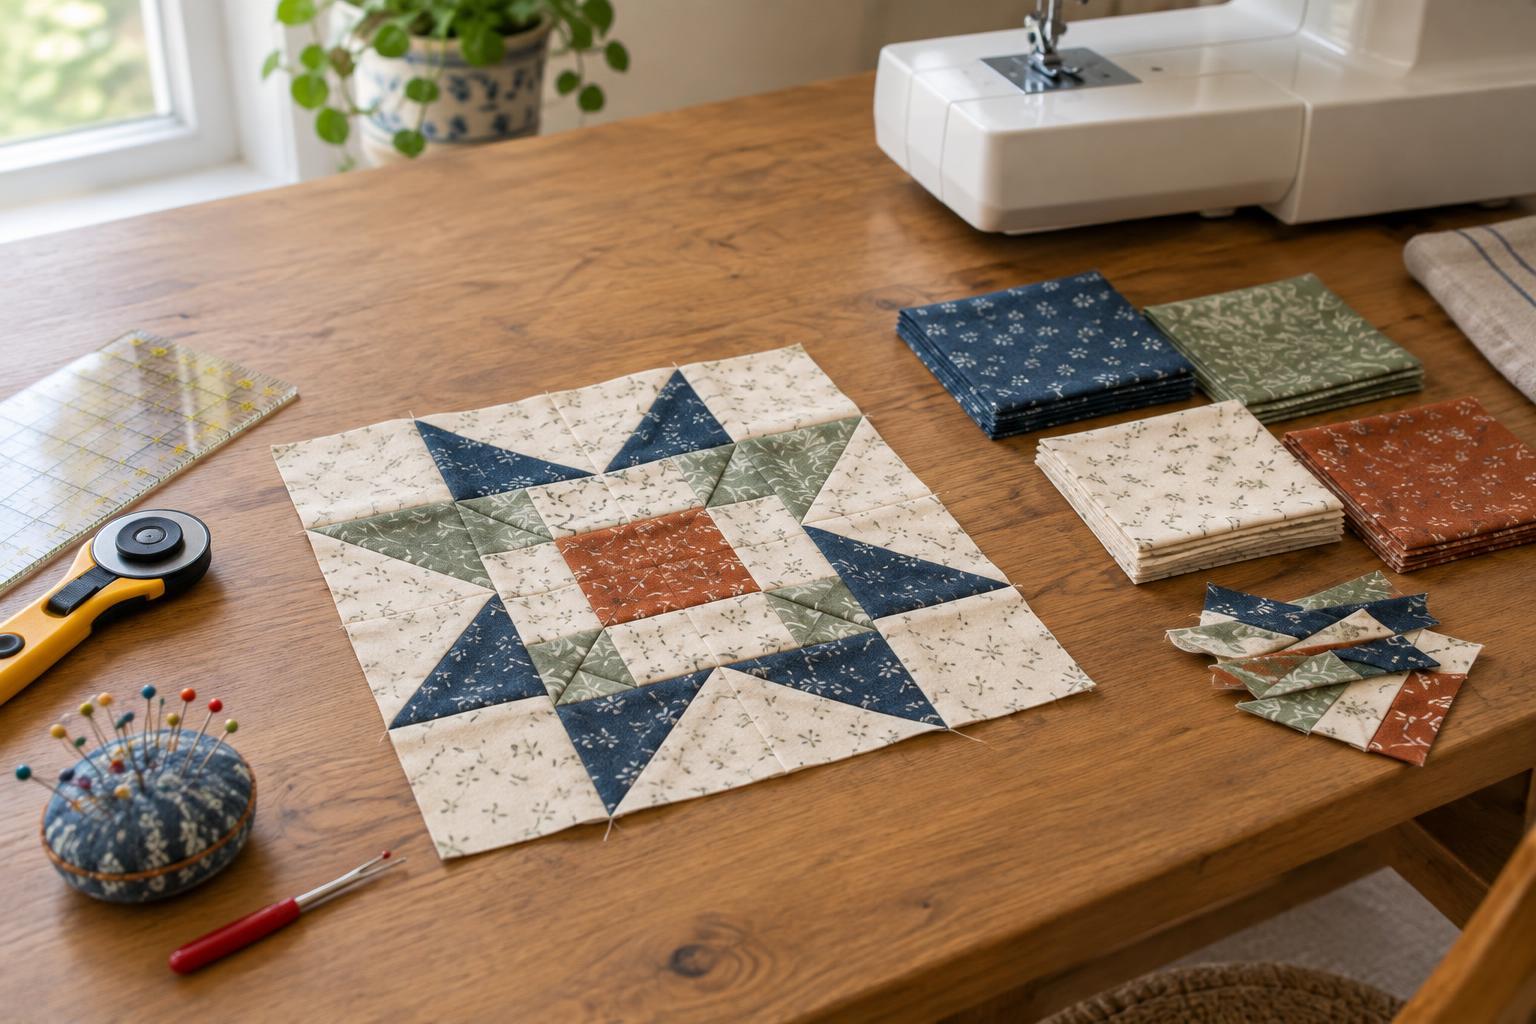
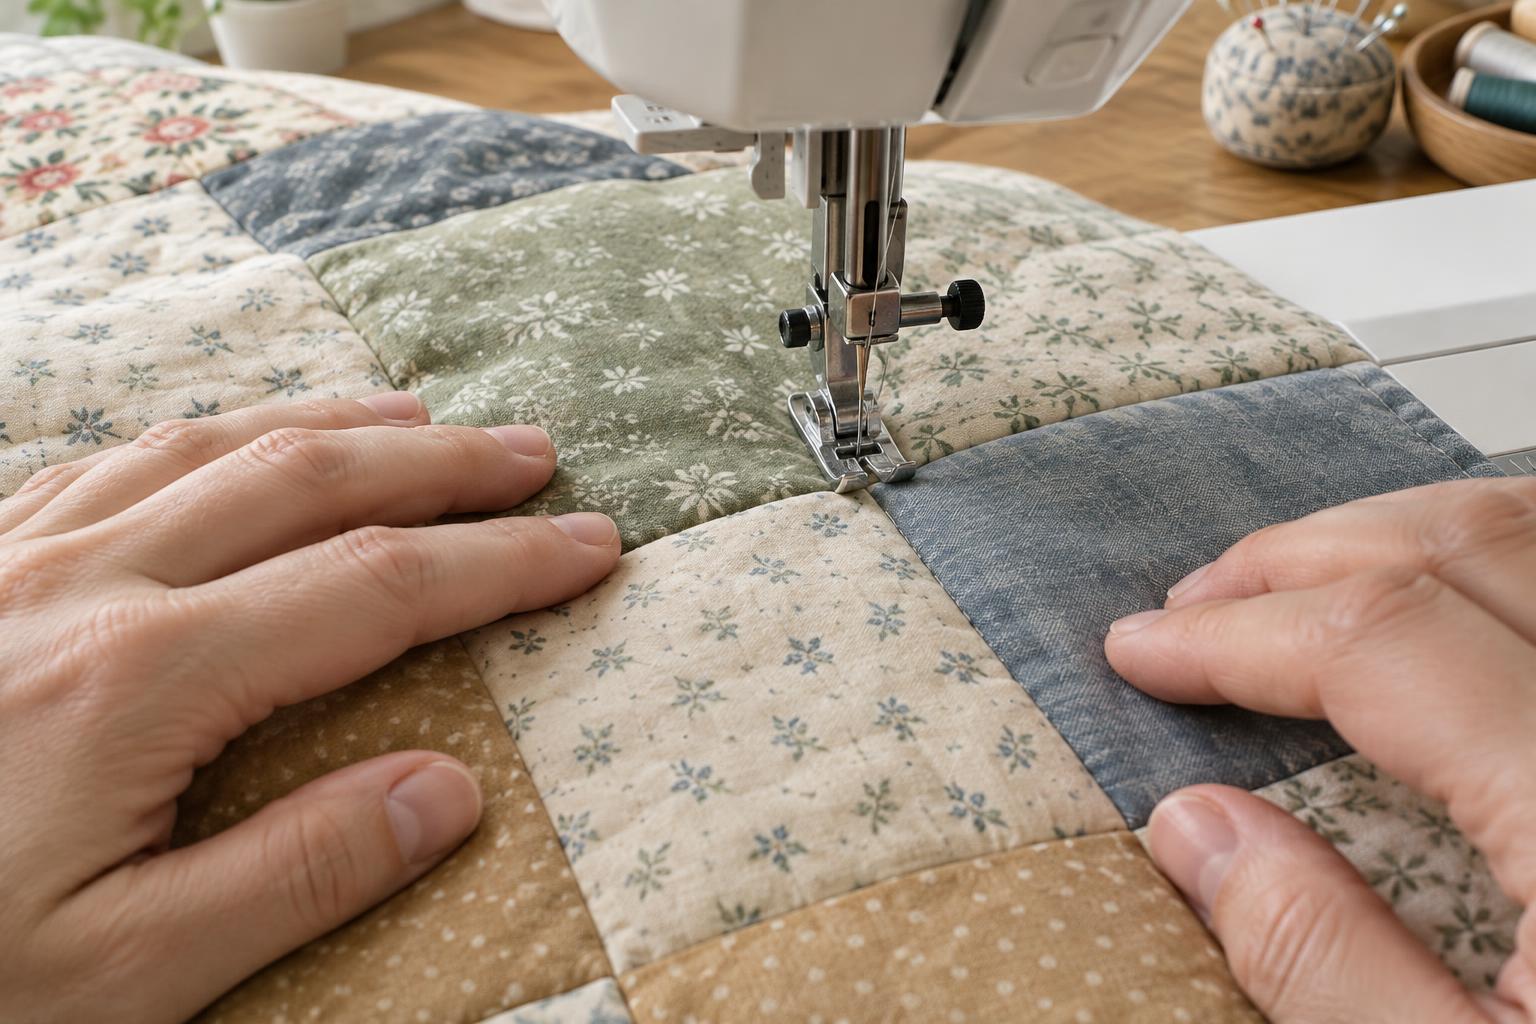
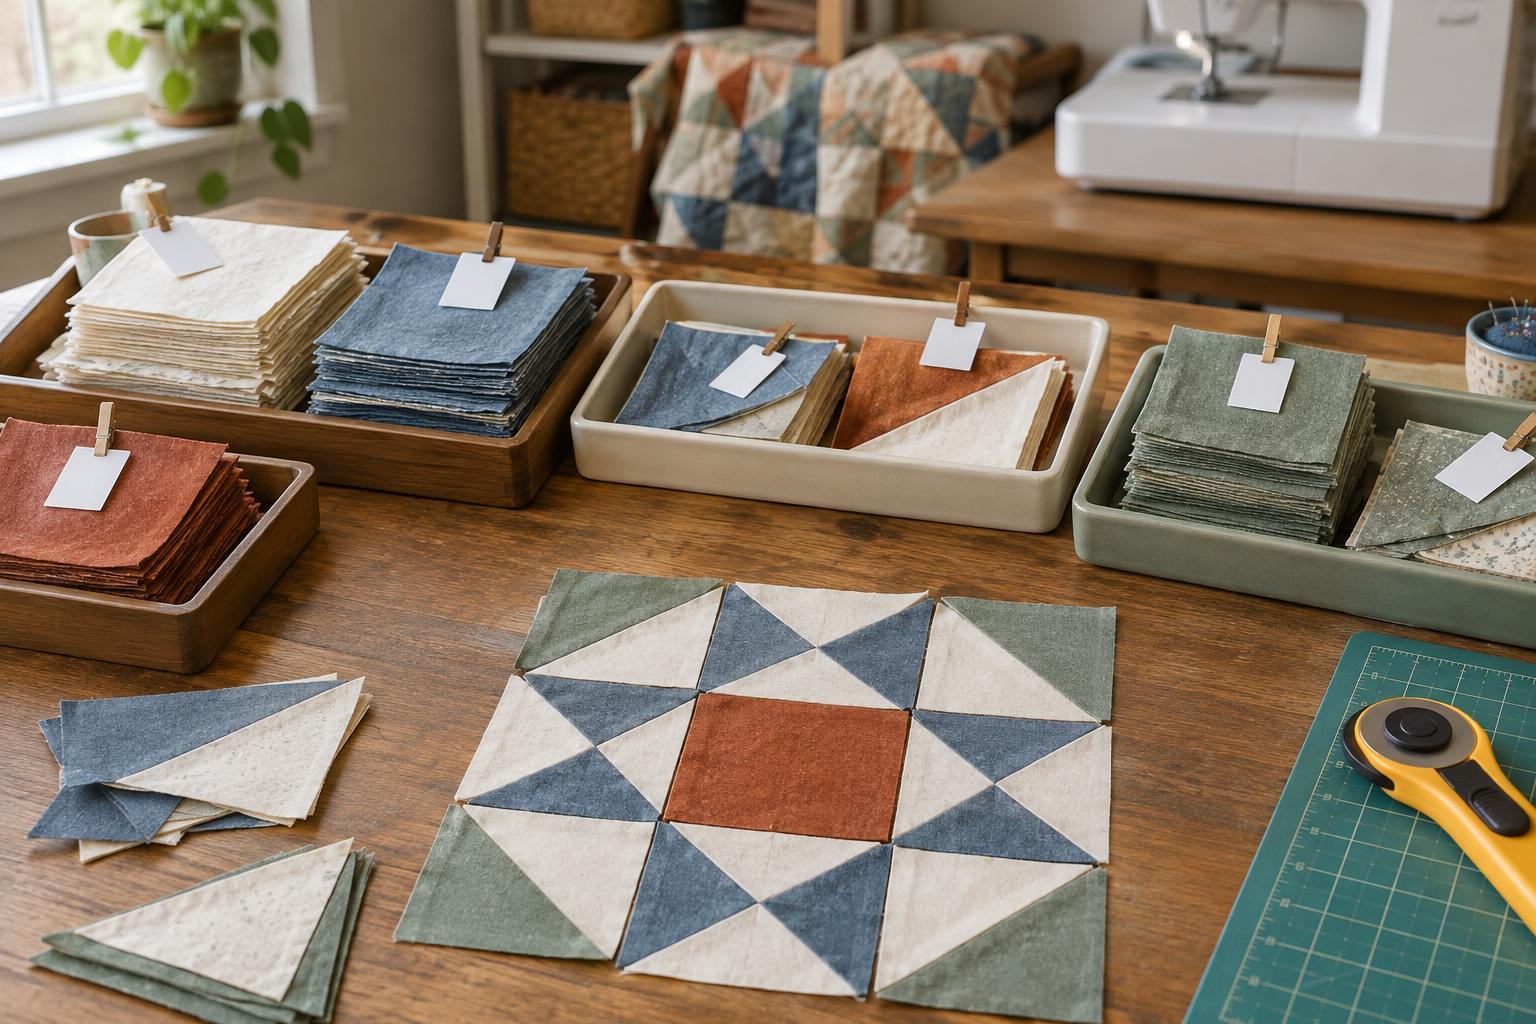
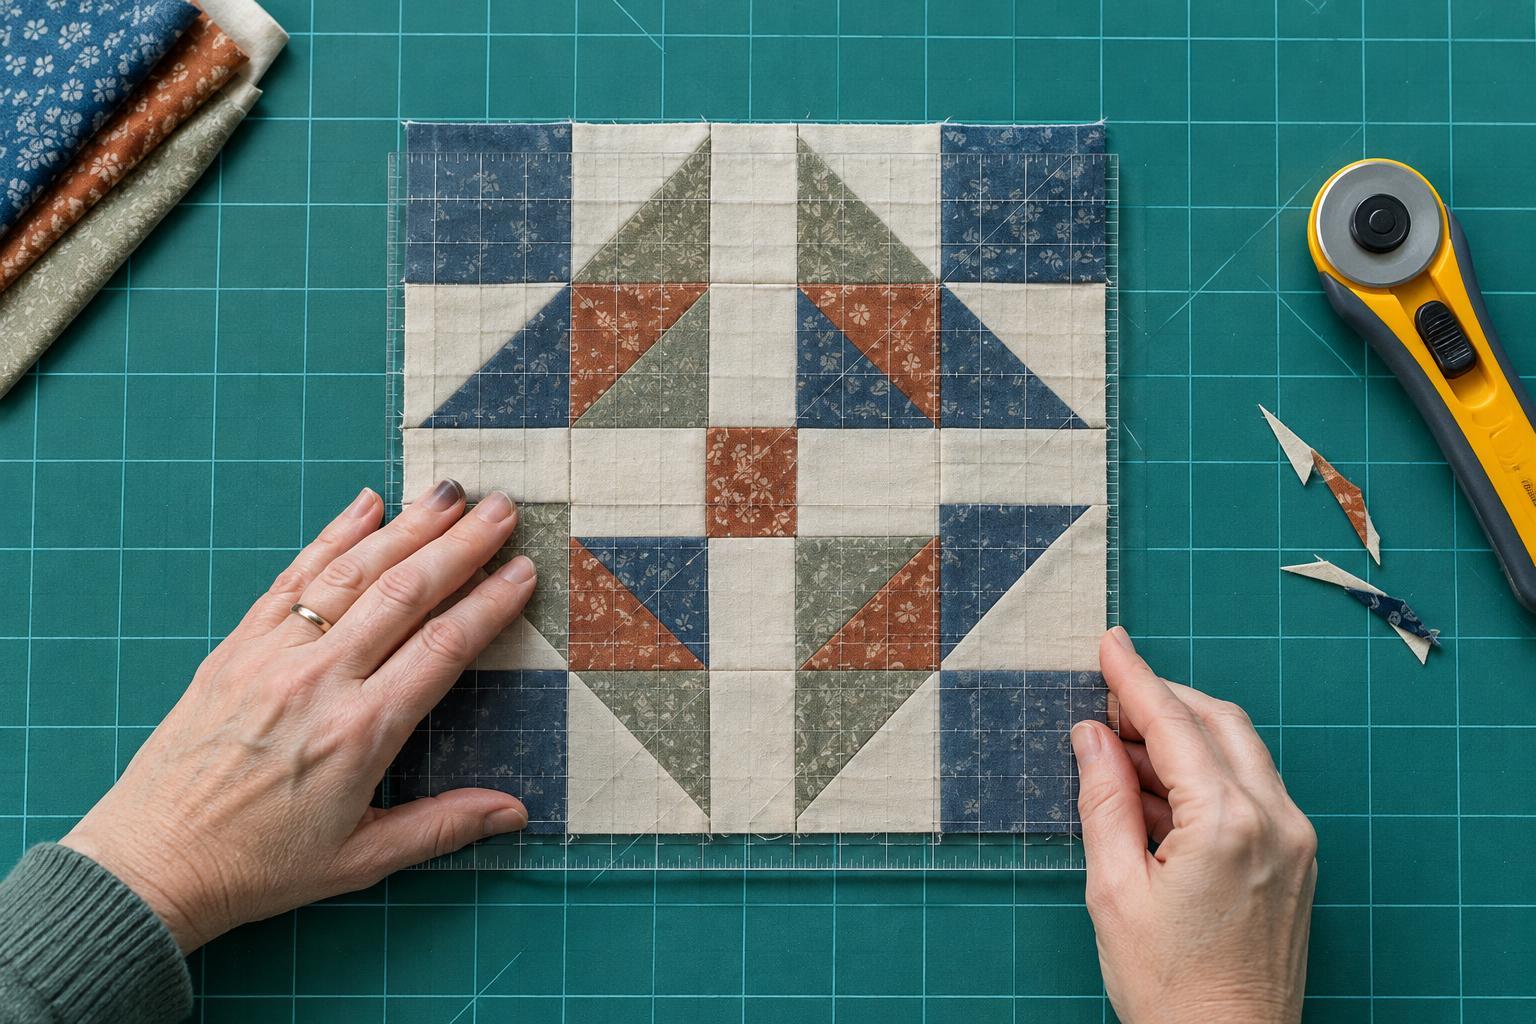
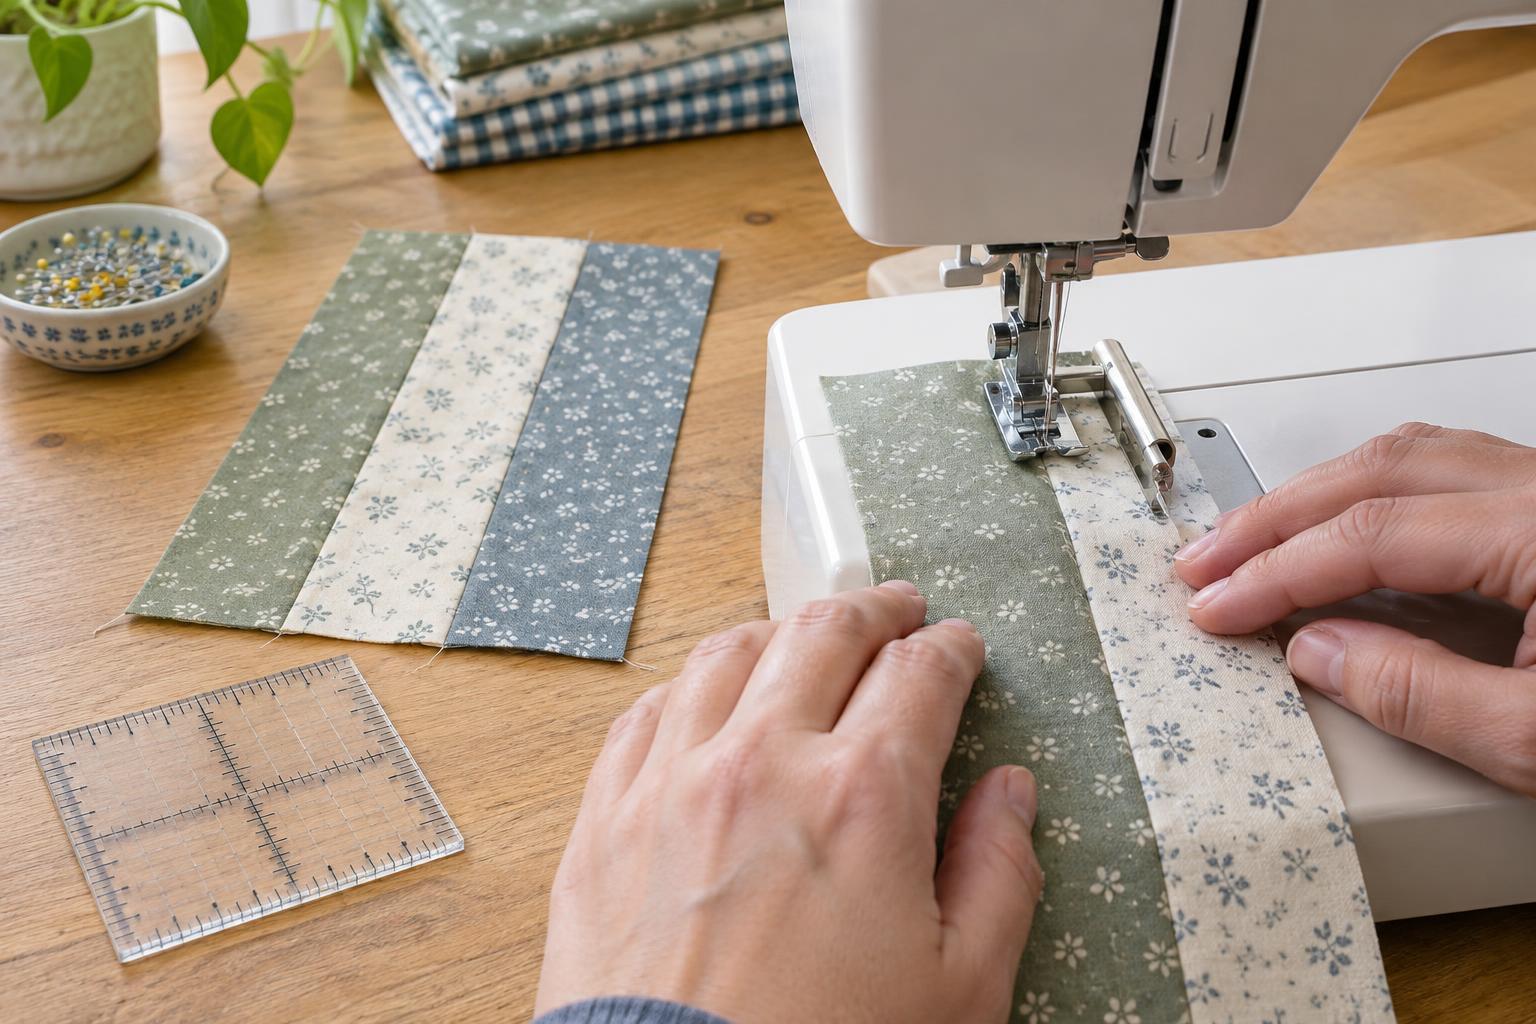
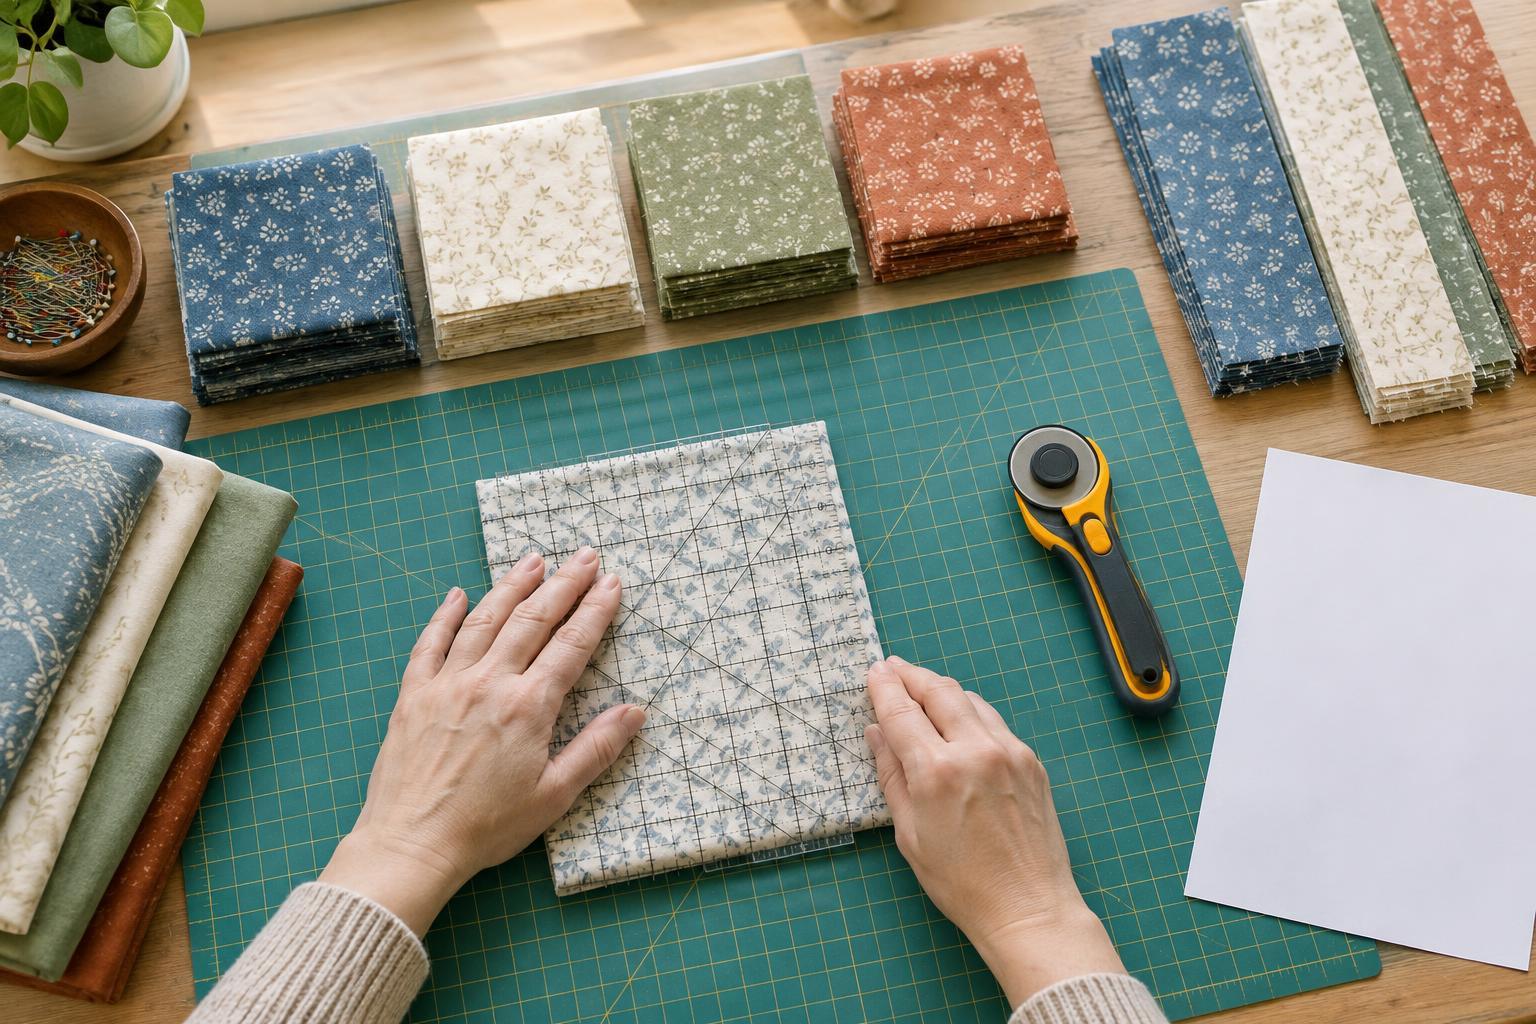
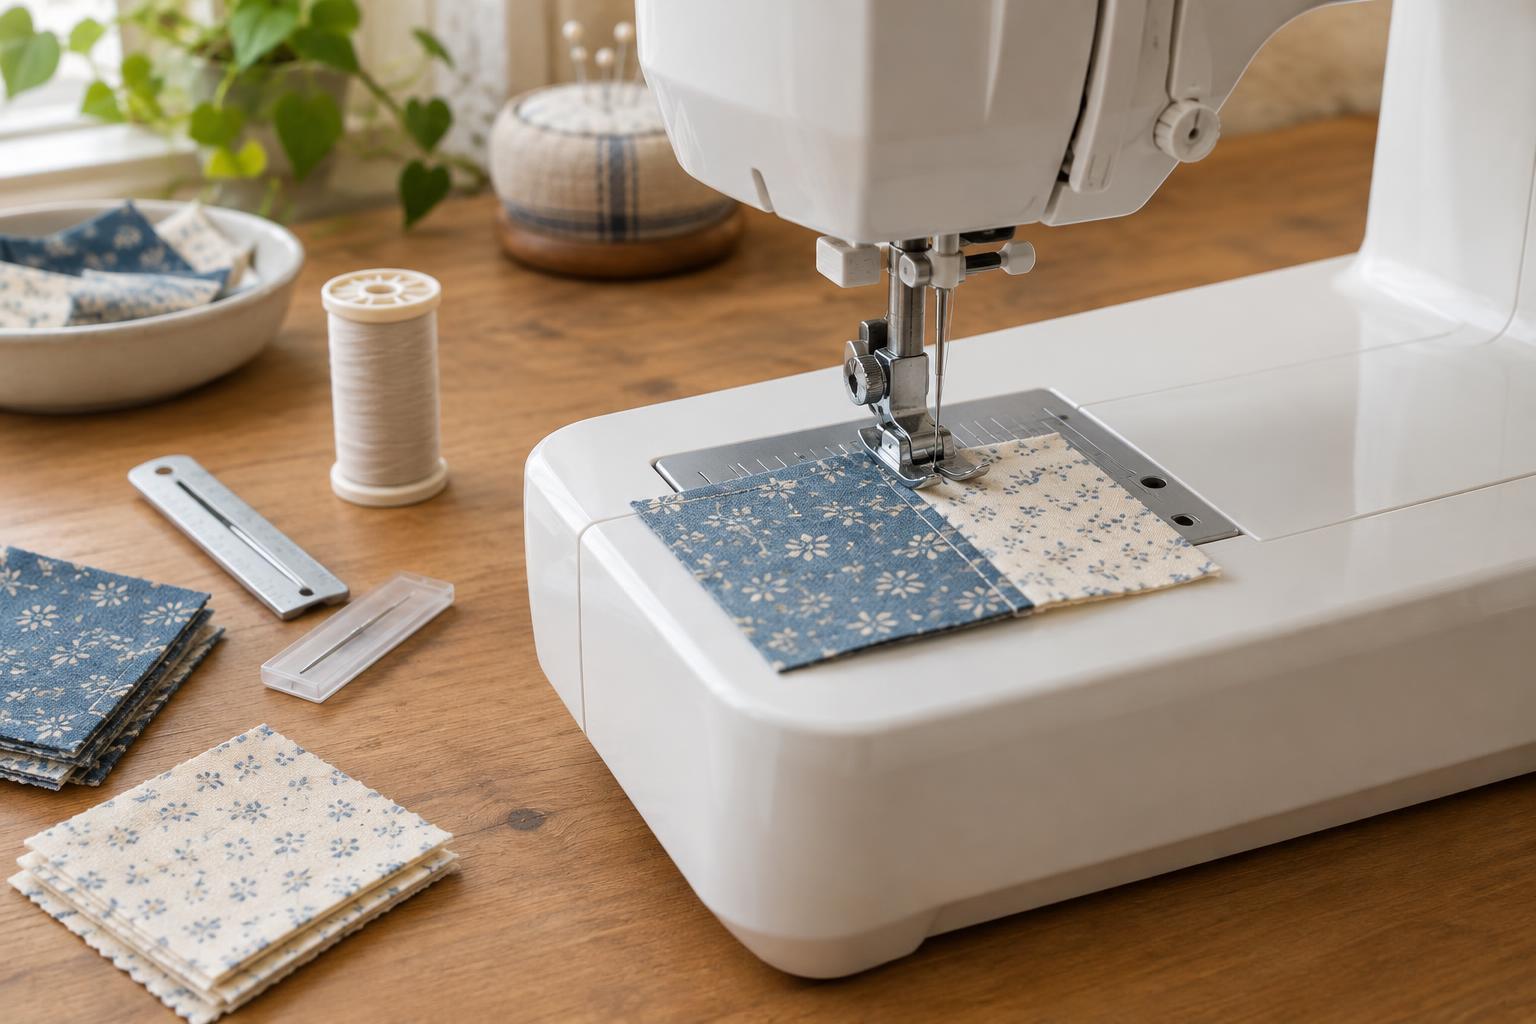
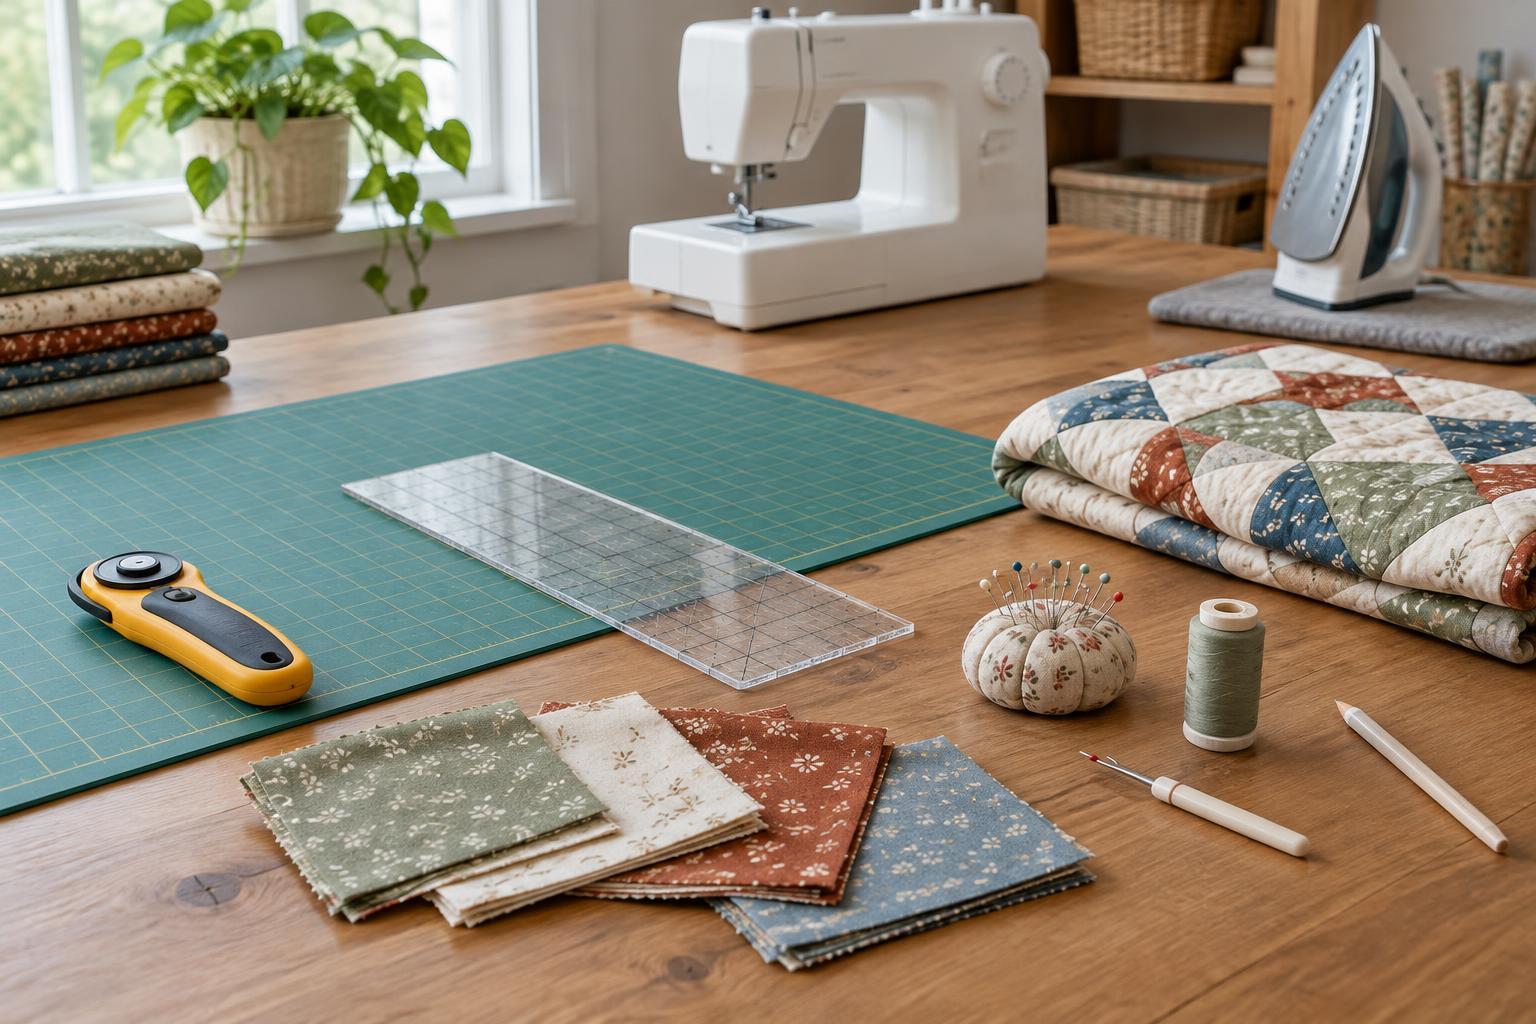
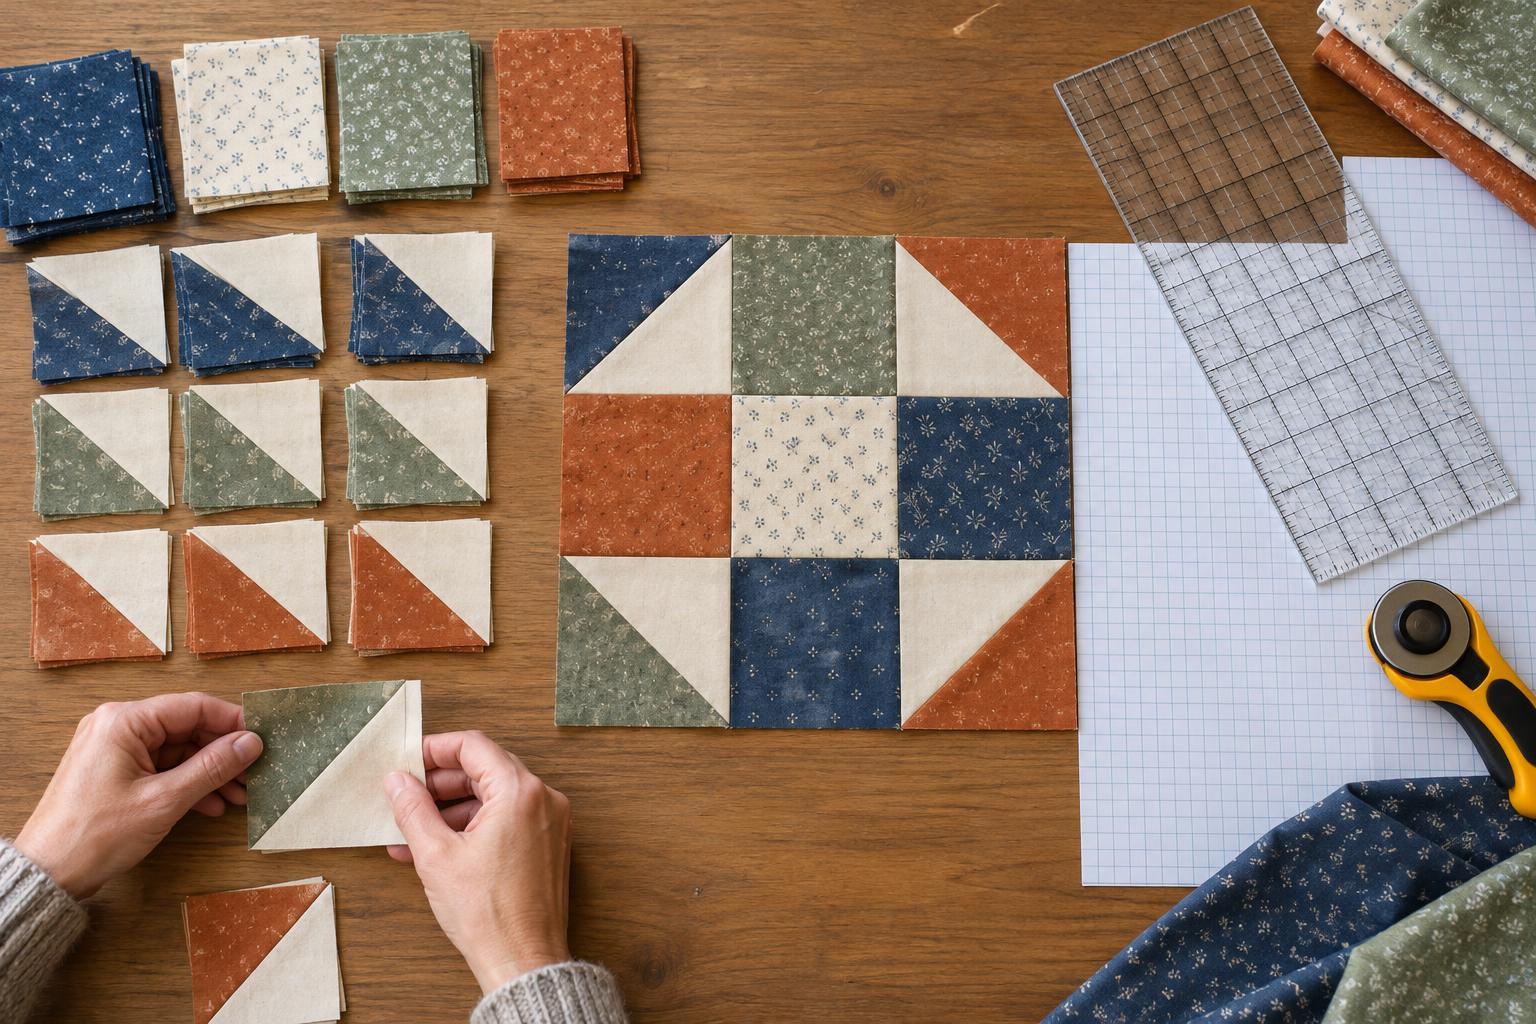
A single test block can help you check a pattern’s instructions, see how fabrics work together and make adjustments before cutting pieces for an entire quilt.
Read article · 4 min↗Quilting Basics
More to discover ↗Blocking can help a small quilt lie flatter and bring gently uneven edges into alignment. Learn when it is worth trying, how to shape a damp quilt without stretching it, and when to leave the fabric alone.
Read article ↗
Quilt Finishing and Care
A single test block can help you check a pattern’s instructions, see how fabrics work together and make adjustments before cutting pieces for an entire quilt.
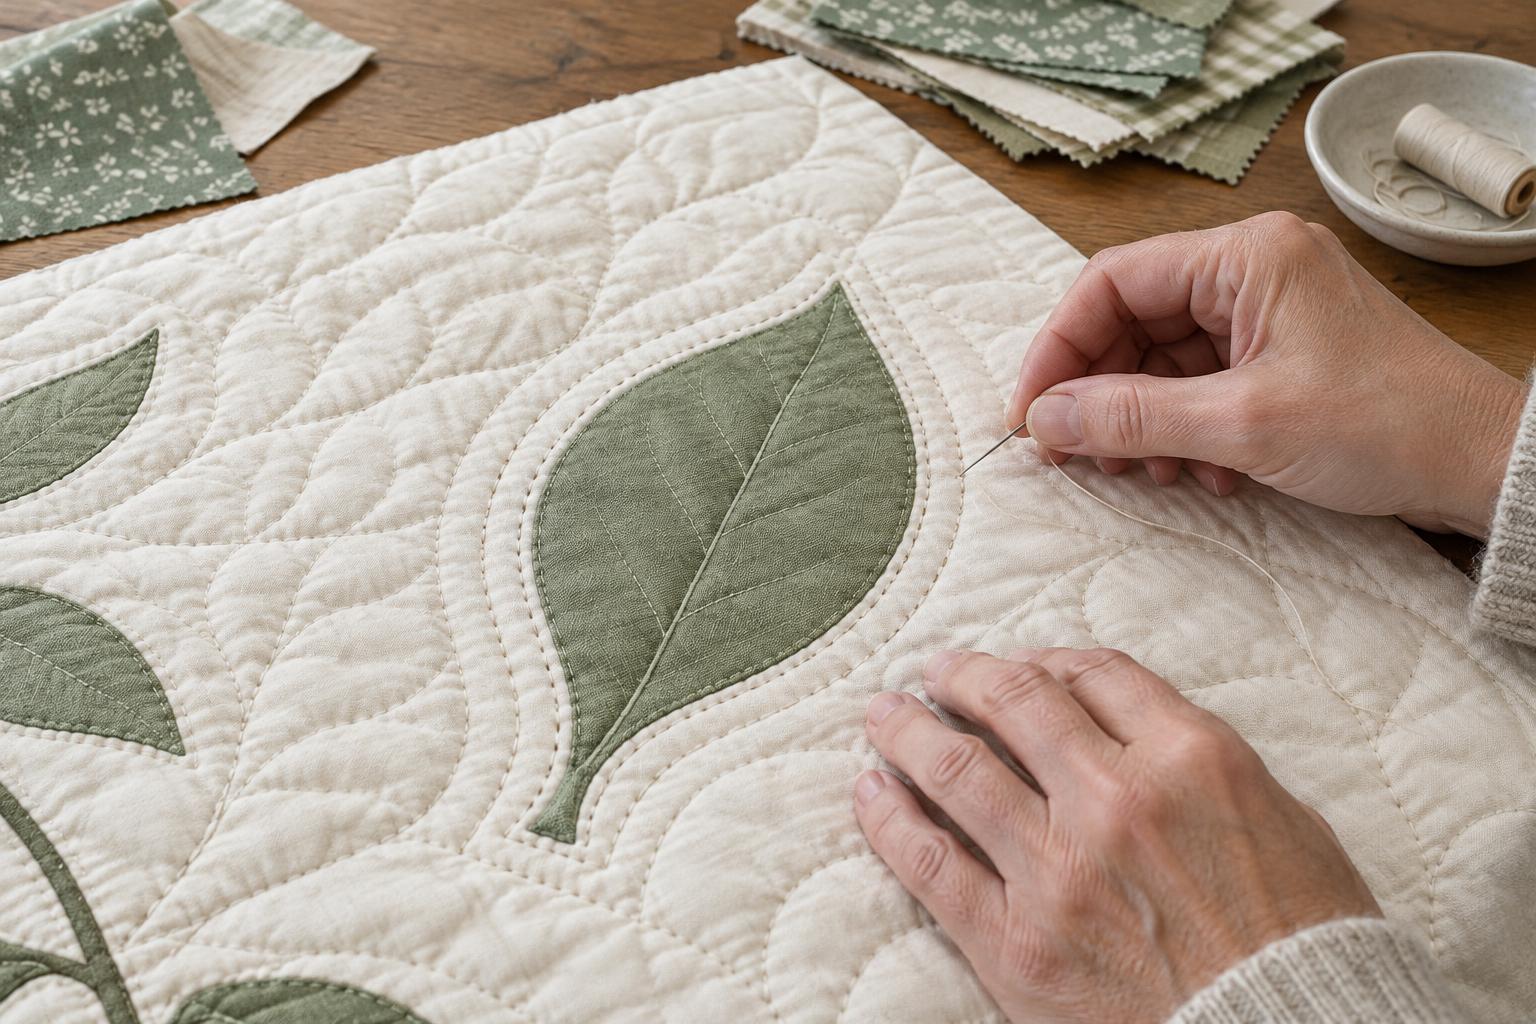
Read article · 4 min↗Quilting can bring appliqué shapes to life, but stitches placed too close to an edge may flatten it or make the outline look uneven. Learn how to plan quilting paths, manage curves, and choose between outline and echo quilting while keeping the appliqué clear.
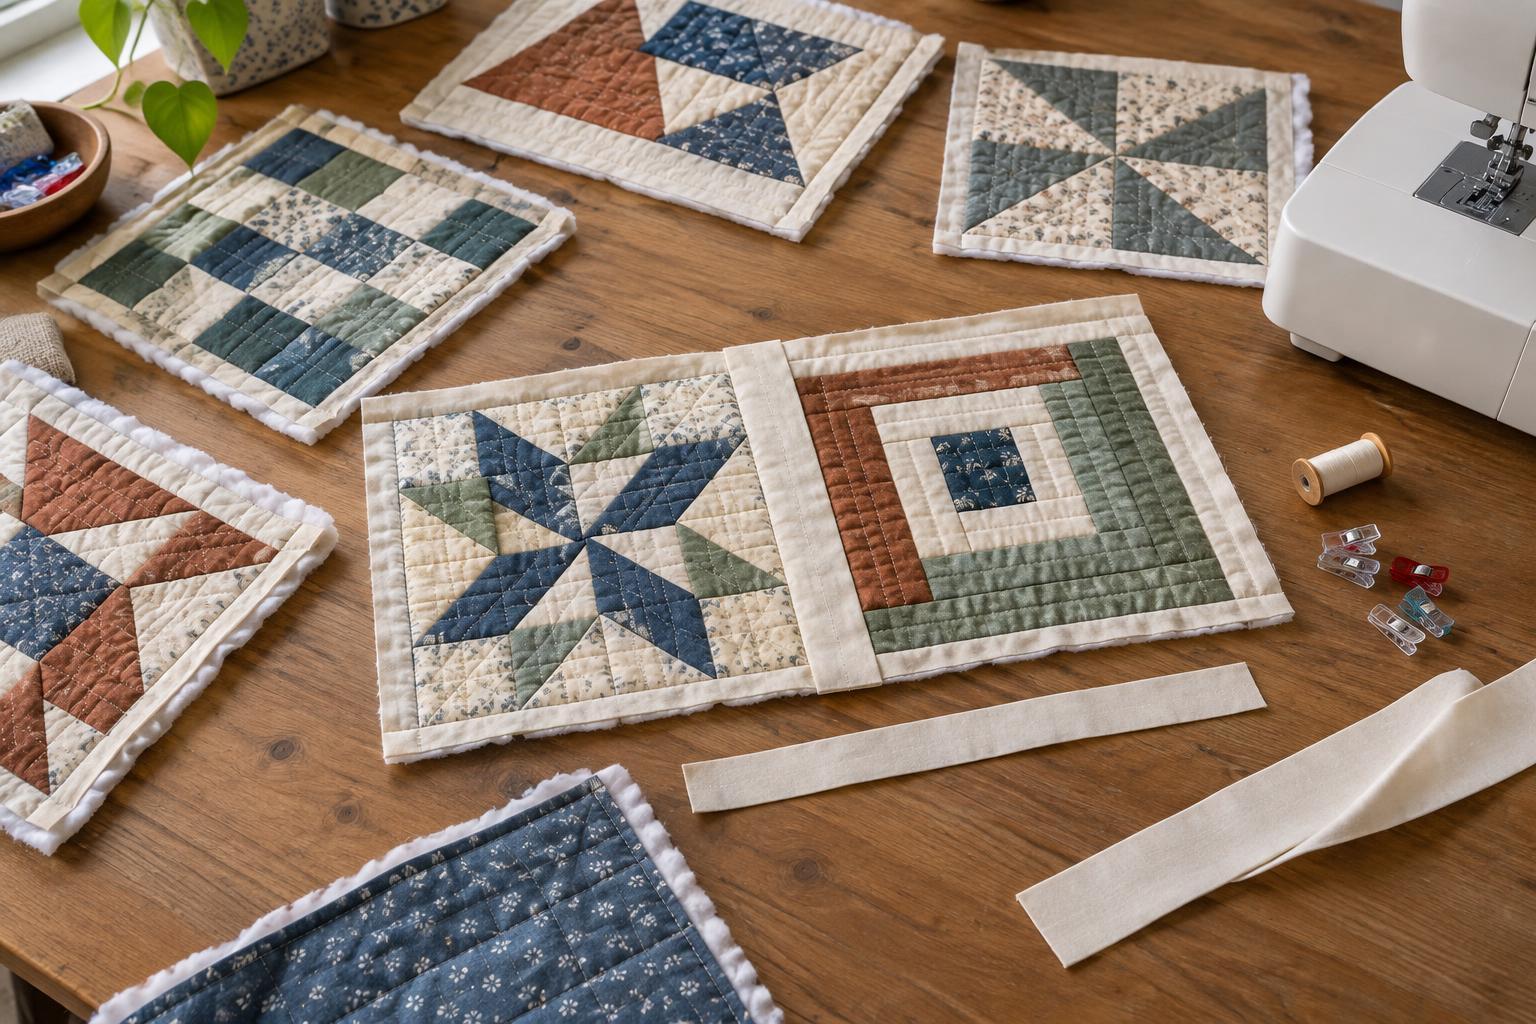
Read article · 4 min↗Quilt-as-you-go lets you stitch manageable blocks instead of quilting one large top. Learn how to prepare block sandwiches, keep edges ready for joining, and use sashing to assemble a flexible quilt.
Read article · 4 min↗Skipped stitches can interrupt an otherwise smooth quilting line. Learn how to identify the pattern, check the needle and threading, test your quilt sandwich, and adjust your technique before stitching again.
Read article · 4 min↗Puckers can appear on the quilt top, backing or borders when fabric shifts or stitches draw the layers together. Learn how preparation, basting and quilting choices can help keep a quilt smooth.
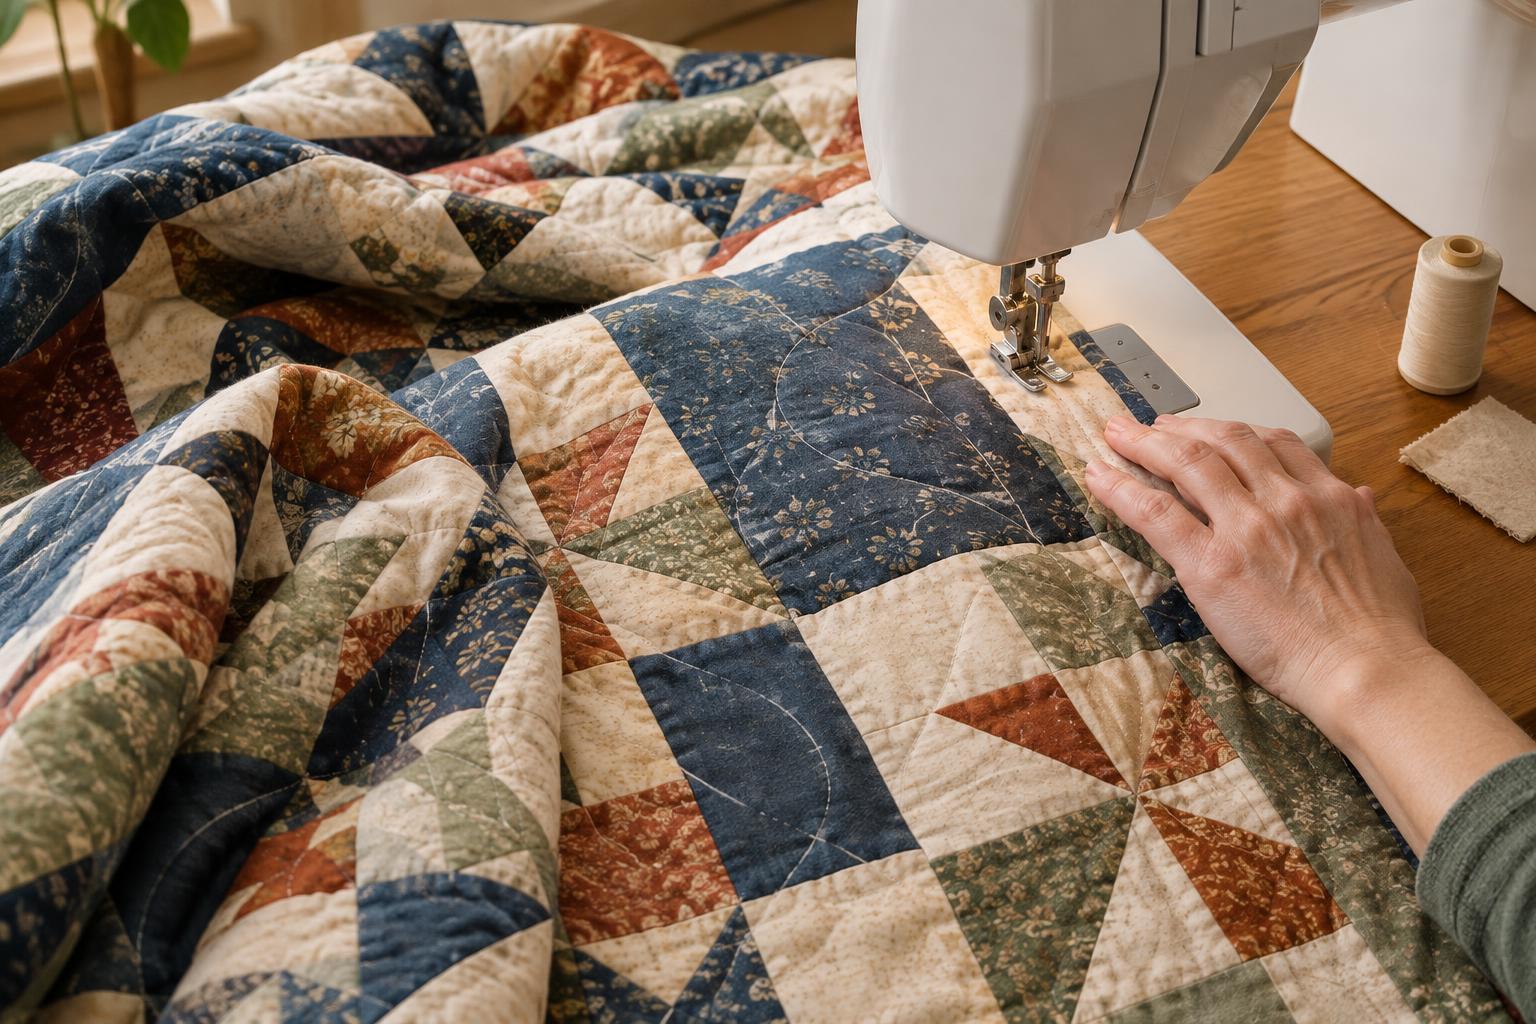
Read article · 4 min↗A large quilt can tug against a domestic sewing machine even when the stitching itself is simple. Learn how to support the quilt, arrange its bulk and move it through the machine without fighting its weight.
Read article · 4 min↗A tidy quilting line begins and ends with secured stitches. Learn how to bring up the bobbin thread, leave workable tails, bury them inside the quilt, and avoid common finishing problems.
Read article · 4 min↗A hand-quilting hoop should support the quilt sandwich, not stretch it like a drum. Learn how to baste, position and adjust a hoop so the fabric has enough give for comfortable stitches without shifting or puckering.
Read article · 4 min↗The rocking stitch helps you quilt several small stitches in one controlled motion. Learn how to prepare your quilt sandwich, position your hands, keep the layers steady and practise for a consistent line.
Read article · 4 min↗Free-motion stippling is easier to learn on a small practice sandwich than on a finished quilt. Learn how to prepare the layers, set up your machine, guide a simple meandering line and use each sample to improve your control.
Read article · 4 min↗Free-motion quilting lets you guide a quilt in any direction beneath the needle. Learn how to prepare a domestic sewing machine, choose a suitable foot and needle, support the quilt, test your stitches and solve common problems before quilting a project.
Read article · 4 min↗A walking foot is useful for more than straight lines. Learn how to plan, mark, and stitch broad curves while keeping your quilt sandwich supported and your stitches even.
Read article · 4 min↗Stitching in the ditch can secure quilt layers while keeping the quilting understated, but a seam is not always easy to follow. Learn how to prepare the quilt, place the needle, guide the fabric and handle corners without drifting onto the patchwork.
Read article · 4 min↗Straight-line quilting can add texture without hiding the patchwork beneath it. Learn how to prepare a quilt sandwich, set up a walking foot, plan your lines and guide the layers smoothly through your machine.
Read article · 4 min↗The right needle and thread can make machine quilting smoother, but there is no single combination for every quilt. Learn how to match needle type and size to your thread, choose between common thread types, and test your setup before quilting the whole project.
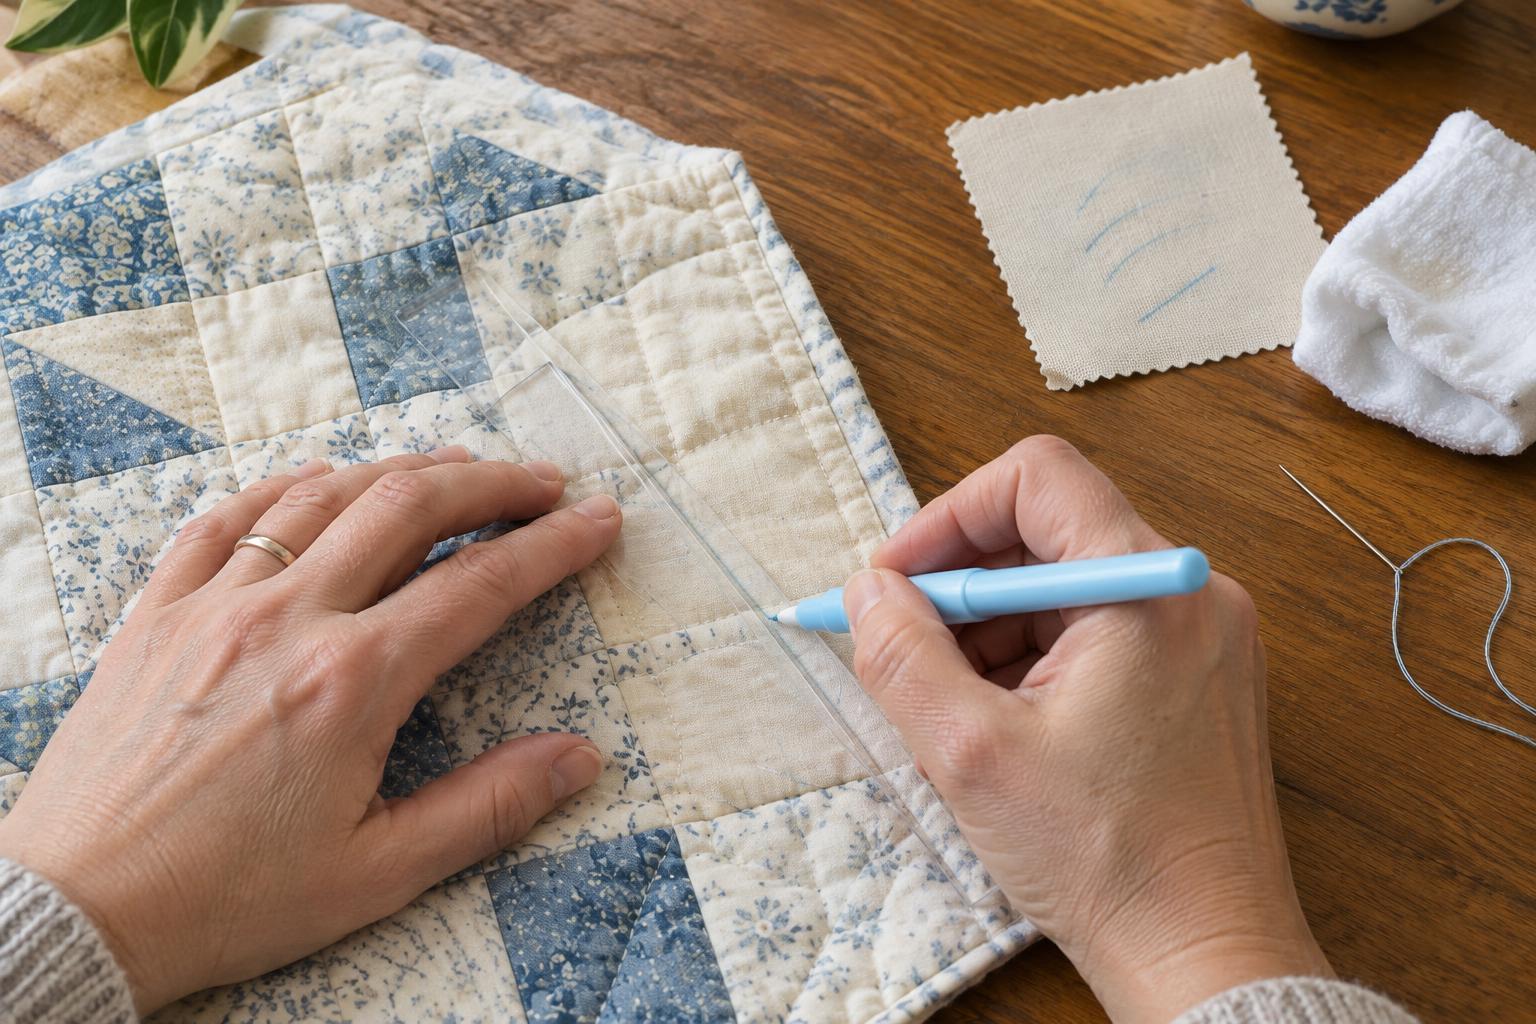
Read article · 4 min↗Quilting marks should guide your stitches without becoming part of the finished quilt. Learn how to choose a marking method, test it on your fabrics, draw useful lines and remove marks with care.
Read article · 4 min↗A quilting route is the path your needle takes across a quilt. Planning that path before you sew can reduce thread tails, help you handle the quilt more comfortably, and keep repeated motifs consistent. Learn how to map continuous lines, choose useful travel paths, and decide when a clean stop is the better choice.
Read article · 4 min↗Batting labels often give a maximum distance between quilting lines, but that number is a limit, not a complete quilting plan. Learn how to turn it into a practical design that suits your blocks, desired texture and available time.
Read article · 4 min↗Basting keeps a quilt top, batting and backing together while you quilt. Compare pins, temporary spray adhesive and thread basting, then choose a method that suits your project, workspace and quilting plans.
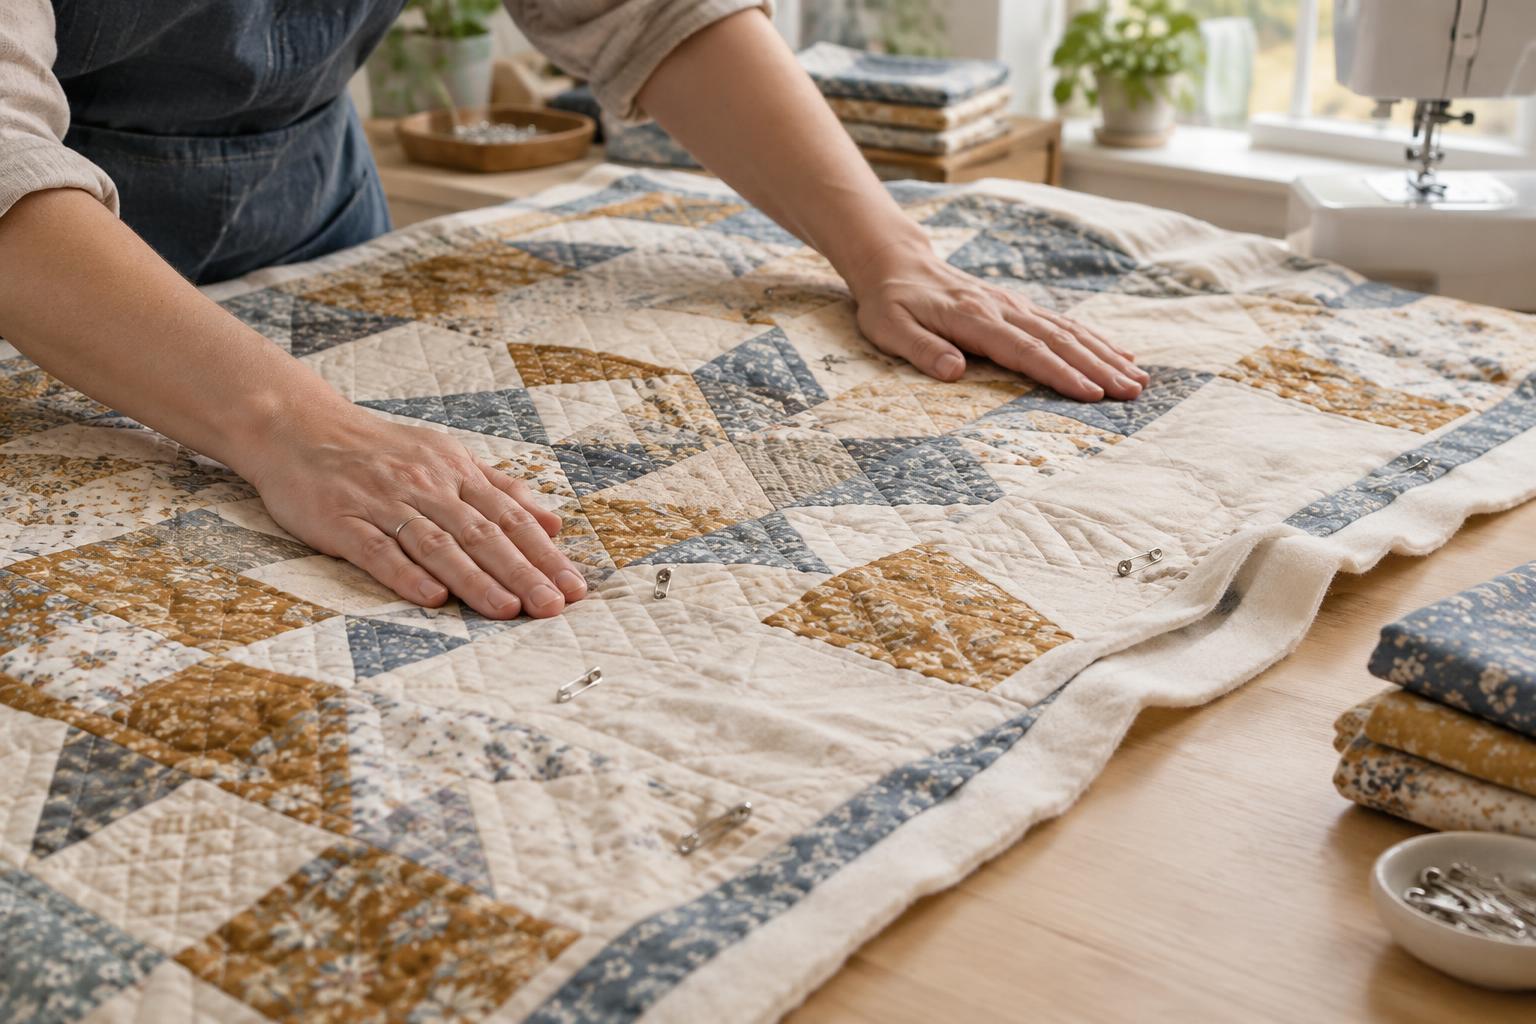
Read article · 4 min↗A flat quilt sandwich starts with prepared layers and gentle smoothing. Learn how to arrange the backing, batting and quilt top, work on a floor or table, and secure the layers before quilting.
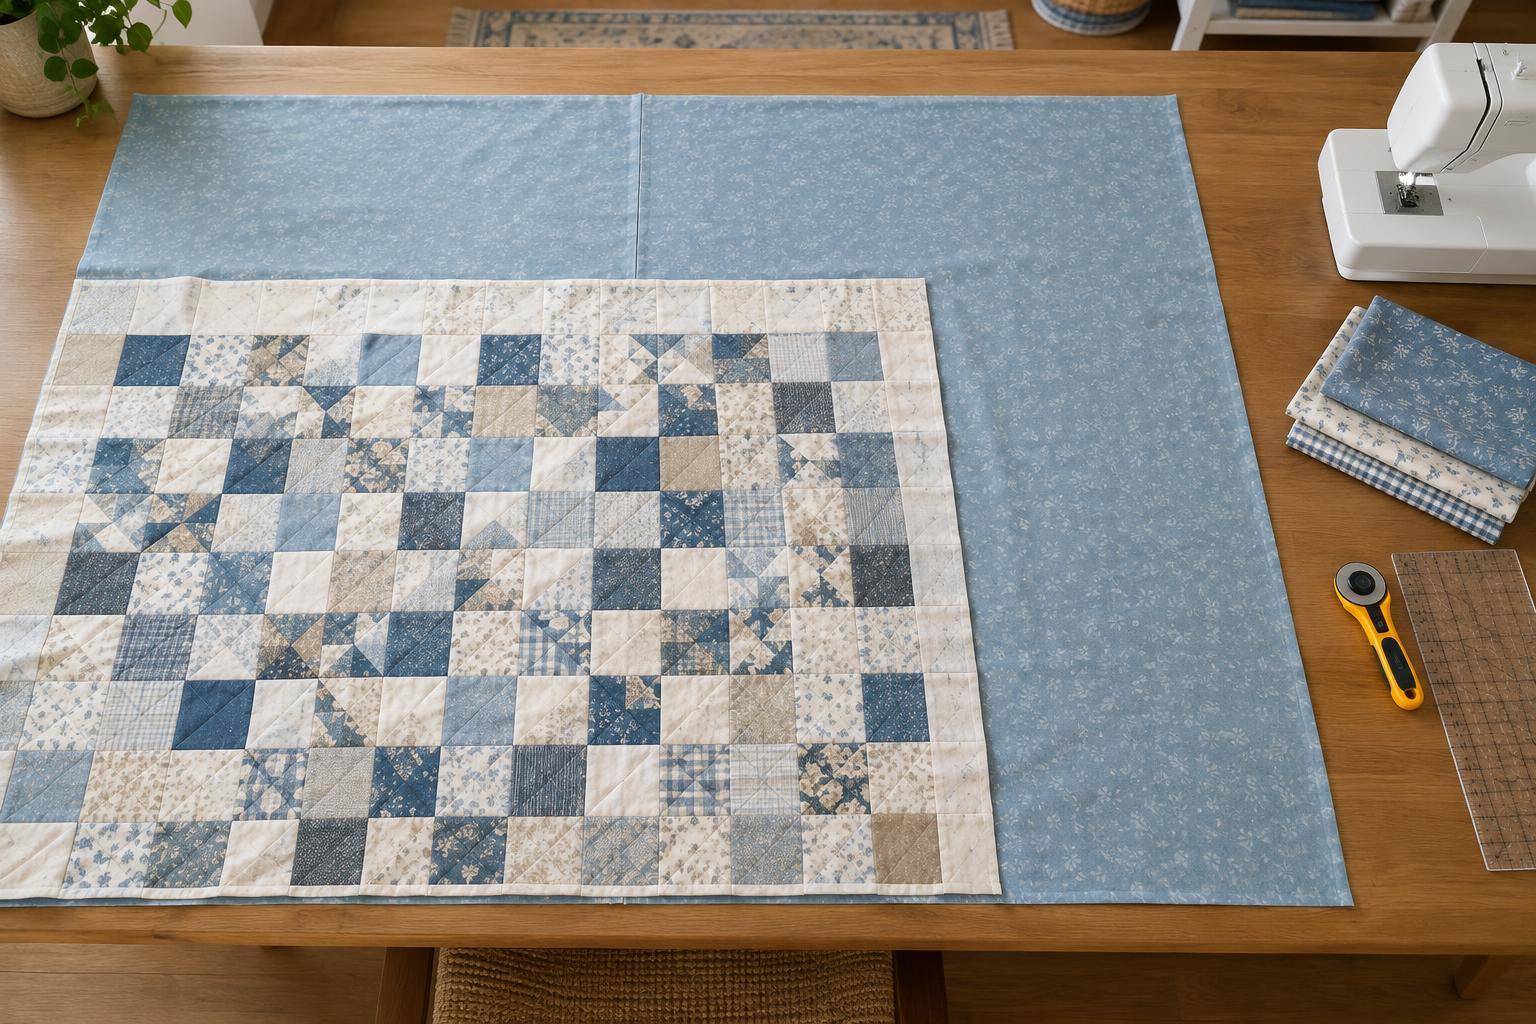
Read article · 4 min↗A quilt backing needs more than enough fabric to cover the quilt top. Learn how to calculate a useful margin, plan backing panels, sew a smooth seam and prepare the finished backing for machine quilting.
Read article · 4 min↗Bias edges can shift out of shape before a patchwork block is sewn. Learn how to cut, move, stitch and press triangles and other bias-edged pieces while keeping your block close to its intended size.
Read article · 4 min↗Both hand piecing and machine piecing can make a strong, accurate quilt top. The better starting point depends on the tools you have, how you like to work and the project you want to make. Learn what each method involves and try a small patchwork exercise before choosing.
Read article · 4 min↗A first quilt is easier to finish when its size, fabrics and construction match the time and space you have. Learn how to choose a simple design, plan the materials and break the work into achievable steps.
Read article · 4 min↗A quilt is usually built from three layers, each with a different job. Learn how the quilt top creates the design, batting adds body and warmth, and backing supports the whole piece—and how to prepare them for quilting.
Read article · 4 min↗A flat quilt border starts with the quilt top, not the length of its outer edge. Learn how to measure through the centre, cut border strips to size, pin them evenly and sew without stretching.
Read article · 4 min↗A finished set of quilt blocks can quickly become confusing when it is time to sew them together. Learn how to label your layout, join blocks in a reliable order, keep seams aligned, and check each row before assembling the quilt top.
Read article · 4 min↗A simple labeling system can keep quilt pieces in the right order from cutting table to sewing machine. Learn how to make a cutting key, group pieces by block, track orientation, and store work in progress without losing your place.
Read article · 4 min↗A misplaced patchwork seam is usually fixable. Learn how to unpick stitches with control, protect delicate fabric edges, clean up loose threads and prepare the pieces for accurate resewing.
Read article · 4 min↗A pieced block is easier to join when its edges are straight, its corners are square and its size matches the blocks beside it. Learn how to press, measure and trim a block without cutting away important seam allowances.
Read article · 4 min↗Matching patchwork seams is easier when you prepare each unit, press adjoining seam allowances in opposite directions, and pin through the exact meeting point. Learn a steady method for aligning, stitching, and checking intersections without pulling your fabric out of shape.
Read article · 4 min↗Careful pressing helps patchwork pieces lie flat and keeps blocks closer to their intended size. Learn when to lift the iron, how to handle bias edges, and how to choose a seam direction without pulling fabric out of shape.
Read article · 4 min↗Chain piecing lets you sew a series of patchwork units without cutting the thread after every seam. Learn how to prepare your pieces, keep them in order, maintain a consistent seam allowance, and separate and press the finished chain.
Read article · 4 min↗A quarter-inch seam helps patchwork pieces fit together, but the marking on a sewing machine is only a starting point. Learn how to set a guide, sew a simple test, measure the result and make small adjustments before cutting into a larger project.
Read article · 4 min↗A quilt pattern’s cutting list becomes easier to use when you know what each measurement means. Learn how to read fabric requirements, decode common terms, plan the order of your cuts and check your pieces before sewing.
Read article · 4 min↗A quilt block can measure one size on your cutting mat and another in the finished quilt. Learn what finished and unfinished sizes mean, how quarter-inch seams affect your measurements, and how to check a block before joining it to its neighbours.
Read article · 4 min↗A fabric strip can look straight while folded, then open into a shallow V. Learn how to prepare quilting cotton, make a square starting cut, and keep each strip even from end to end.
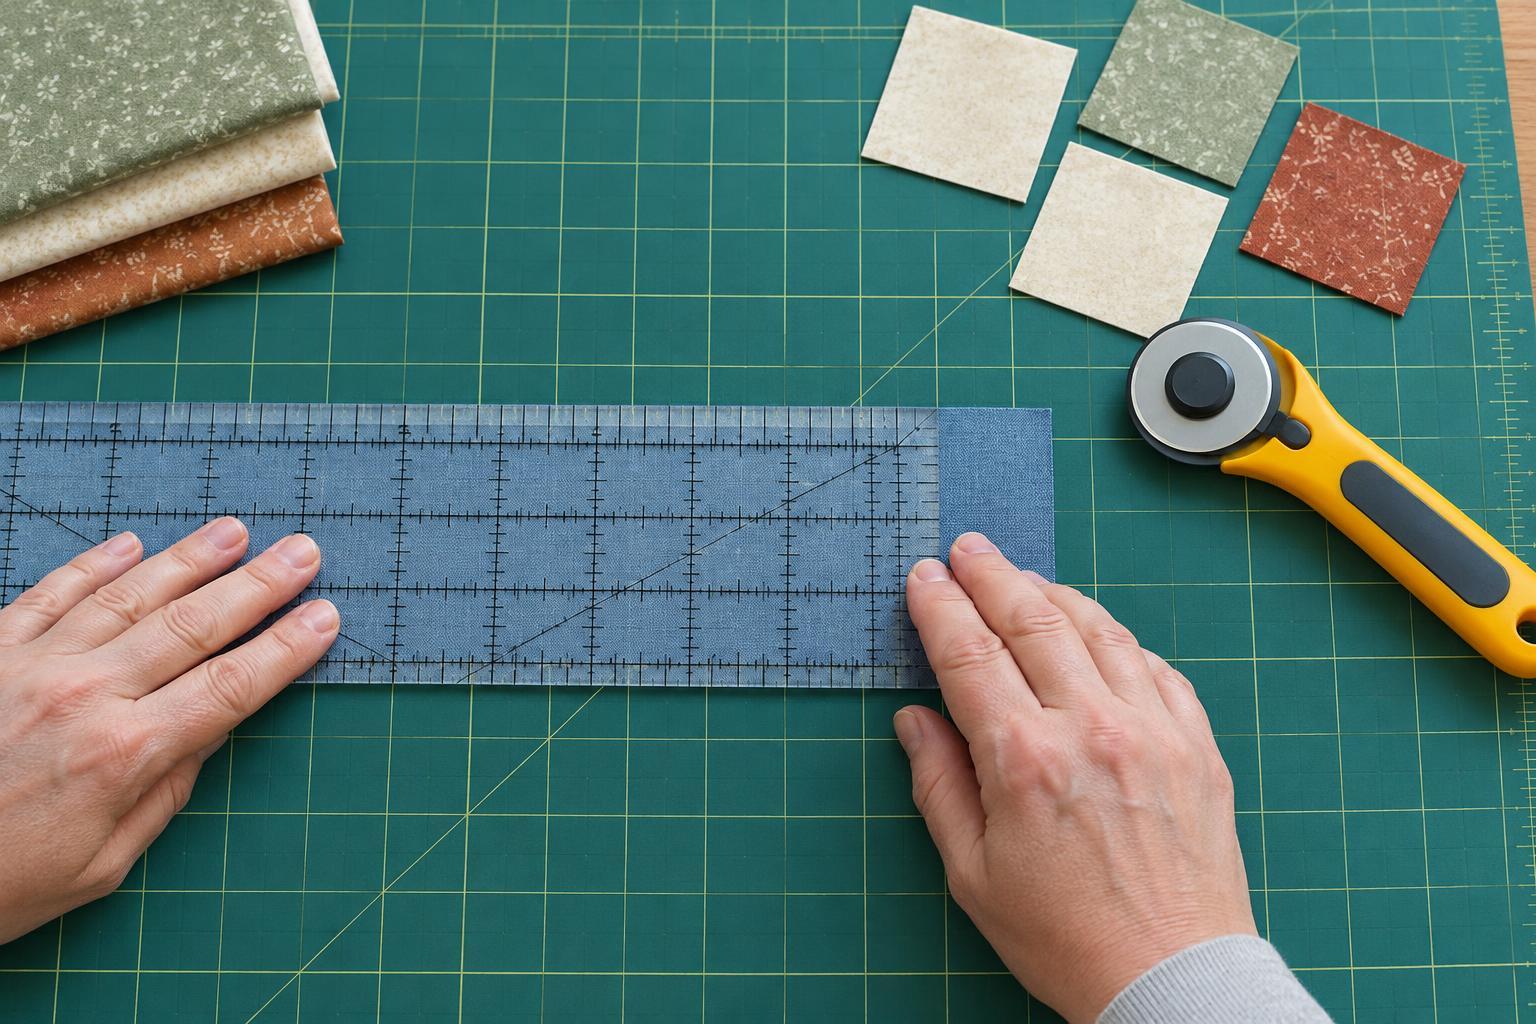
Read article · 4 min↗Learn how to find the right marks on a quilting ruler, position it for rotary cutting, and check your pieces before they become part of a block.
Read article · 4 min↗A rotary cutter makes fabric cutting quick and accurate, but its exposed blade deserves careful handling. Learn how to arrange your mat and ruler, keep your hands clear, make controlled cuts and store the cutter safely.
Read article · 4 min↗Accurate patchwork starts before the first block is sewn. Learn how to prepare your machine, choose a needle and thread, establish a reliable quarter-inch seam, and test your setup on fabric scraps.
Read article · 4 min↗A first patchwork quilt does not require a room full of equipment. Learn what a rotary cutter, mat, ruler, sewing machine, pins, iron and a few finishing tools do, plus which purchases can wait.
Read article · 4 min↗A small tear or open seam does not have to end a quilt’s useful life. Learn how to assess the damage, close a loose seam, patch worn fabric, and care for the repair without sewing through the quilt unintentionally.
Read article · 4 min↗A loose quilt edge does not always need a complete new binding. Learn how to assess the damage, secure an open seam, patch a worn section, or replace binding when the fabric can no longer protect the quilt.
Read article · 4 min↗A displayed quilt brings warmth and texture to a room, but prolonged light exposure can change its colours. Learn how to choose a location, manage daylight and lamps, support the quilt safely, and give it regular breaks from display.
Read article · 4 min↗Good quilt storage starts with a clean, dry quilt and a place that avoids pressure, dampness and strong light. Learn when to store a quilt flat, rolled or folded, and how to protect it without sealing it away.
Read article · 4 min↗Spot-cleaning a quilt takes a light touch. Learn how to test for colour transfer, lift a small stain, rinse away residue and dry the area evenly to reduce the chance of a visible ring.
Read article · 4 min↗A wet quilt can be much heavier than it looks. Learn how to lift, support and air-dry it without putting unnecessary strain on seams, stitching or edges.
Read article · 4 min↗A finished quilt can be washed without unnecessary strain on its stitching. Learn how to check its condition, choose between machine and hand washing, support it while wet, and dry it gently.
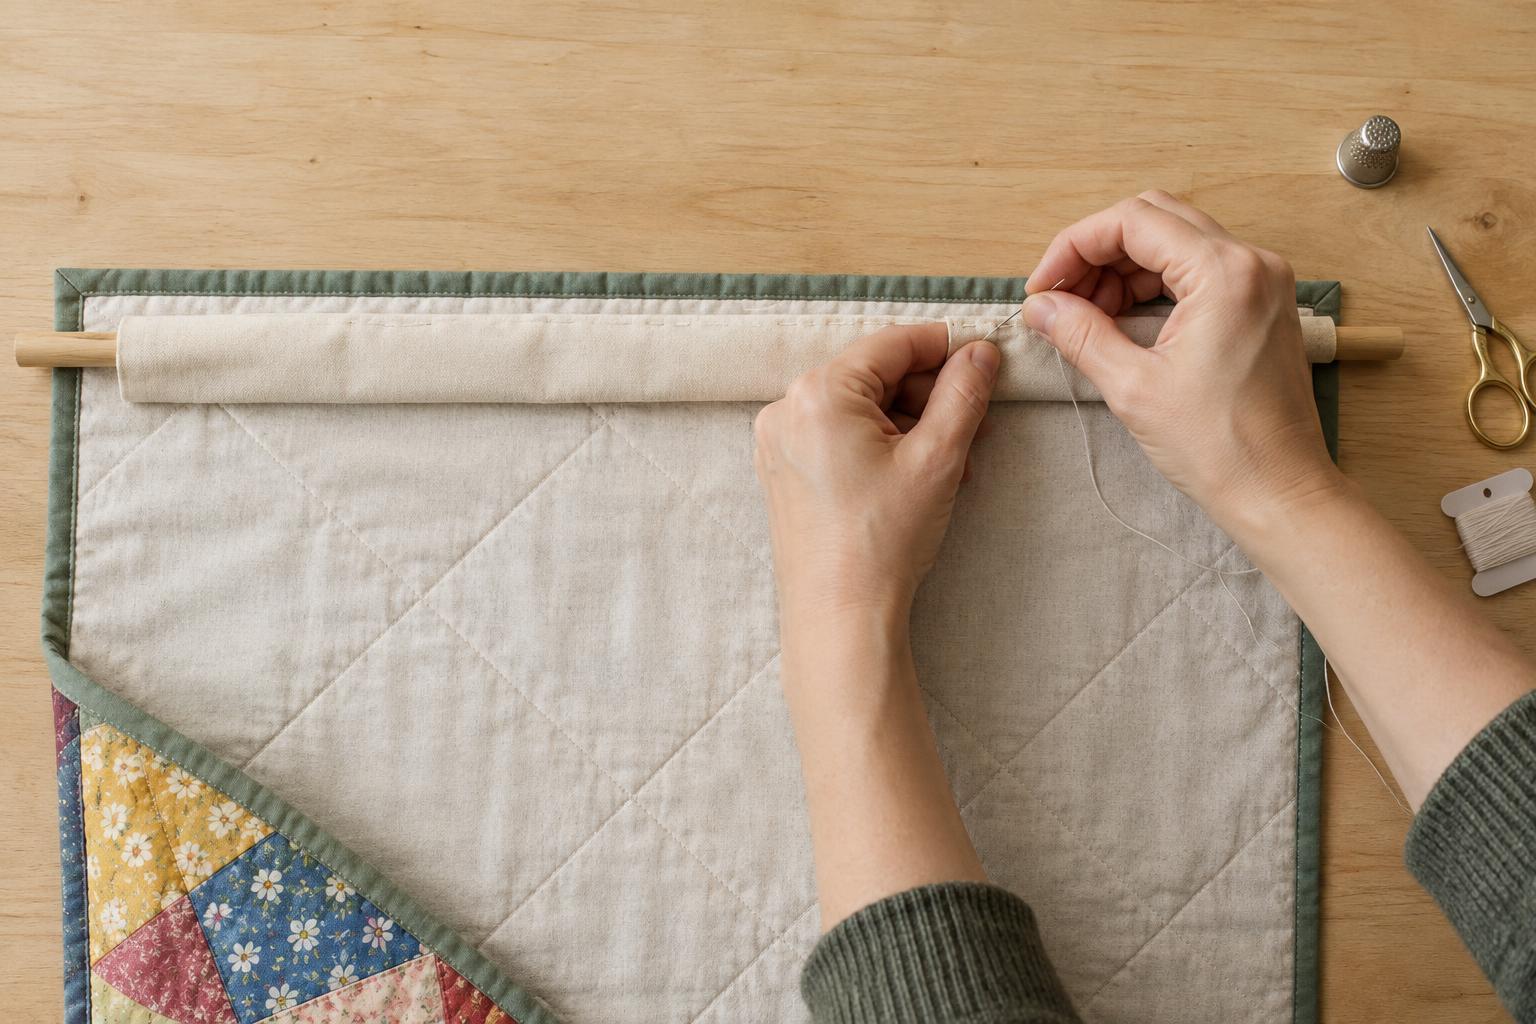
Read article · 4 min↗A hanging sleeve gives a wall quilt a discreet place for a rod and helps support its weight across the top. Learn how to size, sew and attach one to a finished quilt without stitching through to the front.
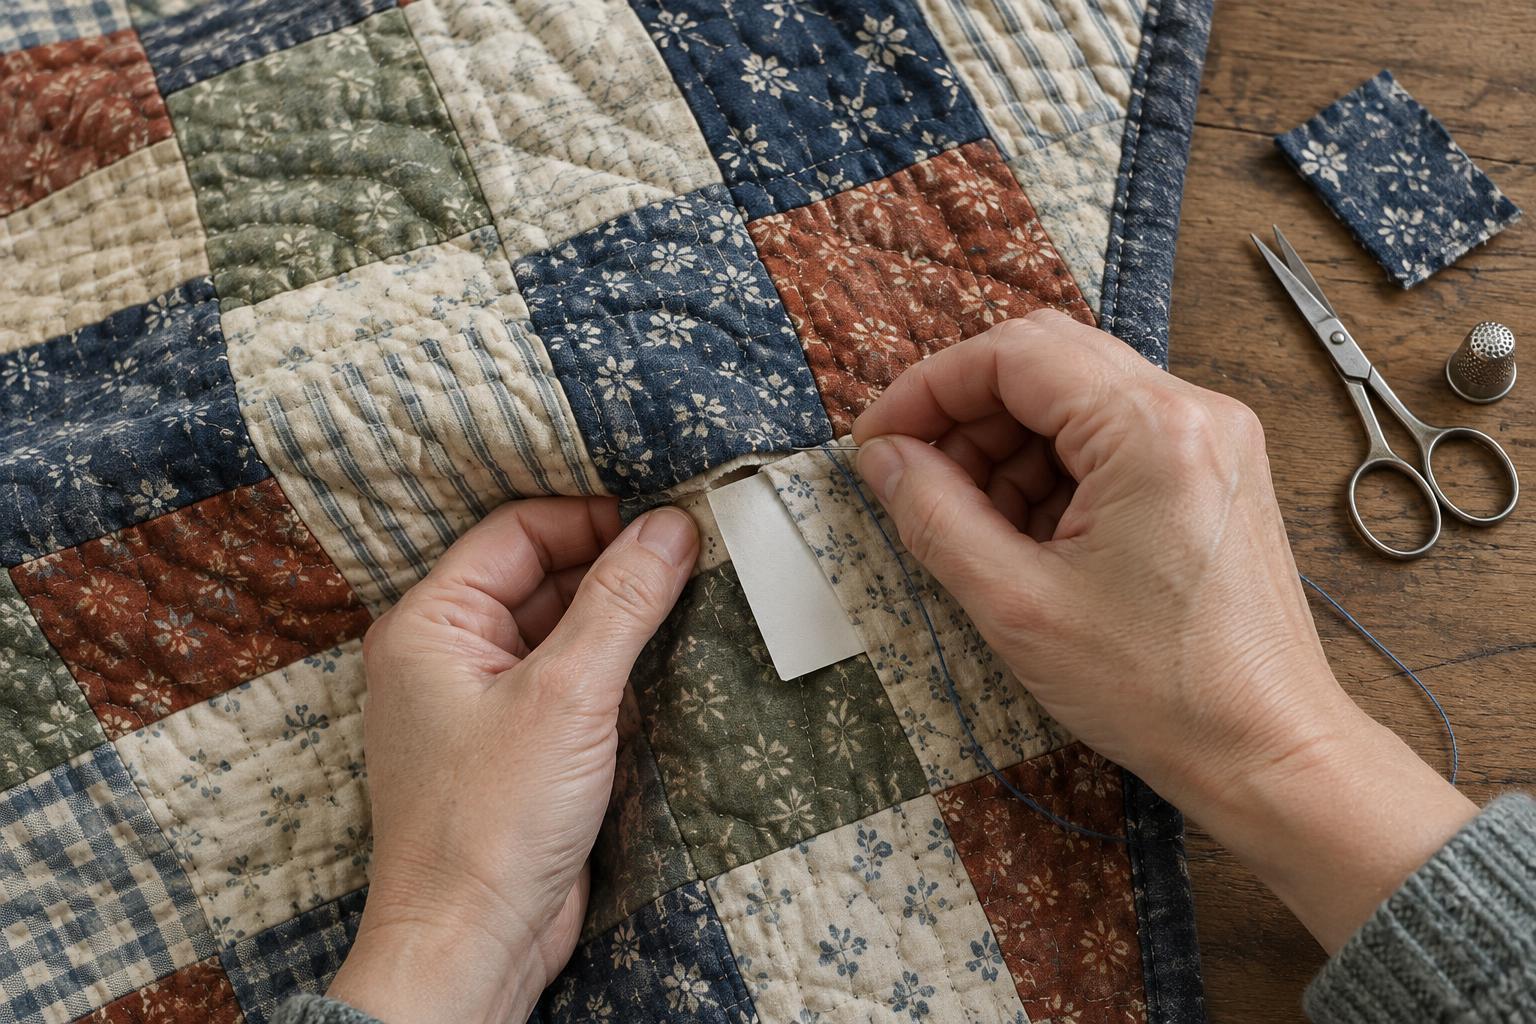
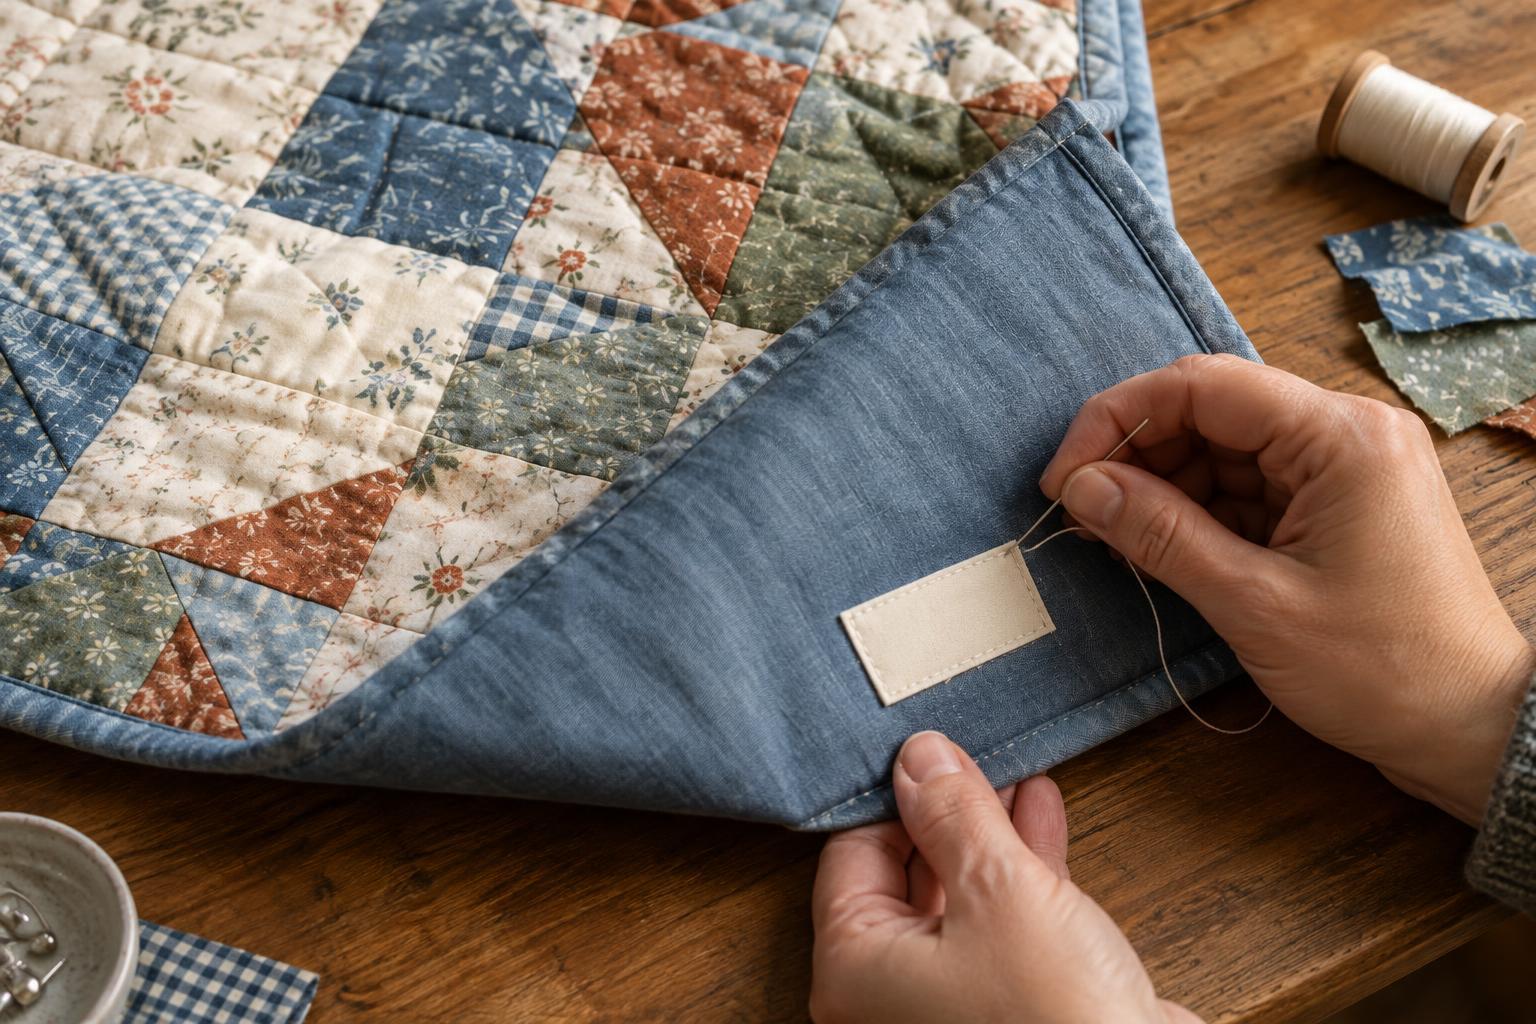
Read article · 4 min↗A quilt label can preserve the maker’s name, the story behind a project and helpful care details. Learn what to write, which materials to choose and how to attach a label that stays in place without showing on the quilt front.
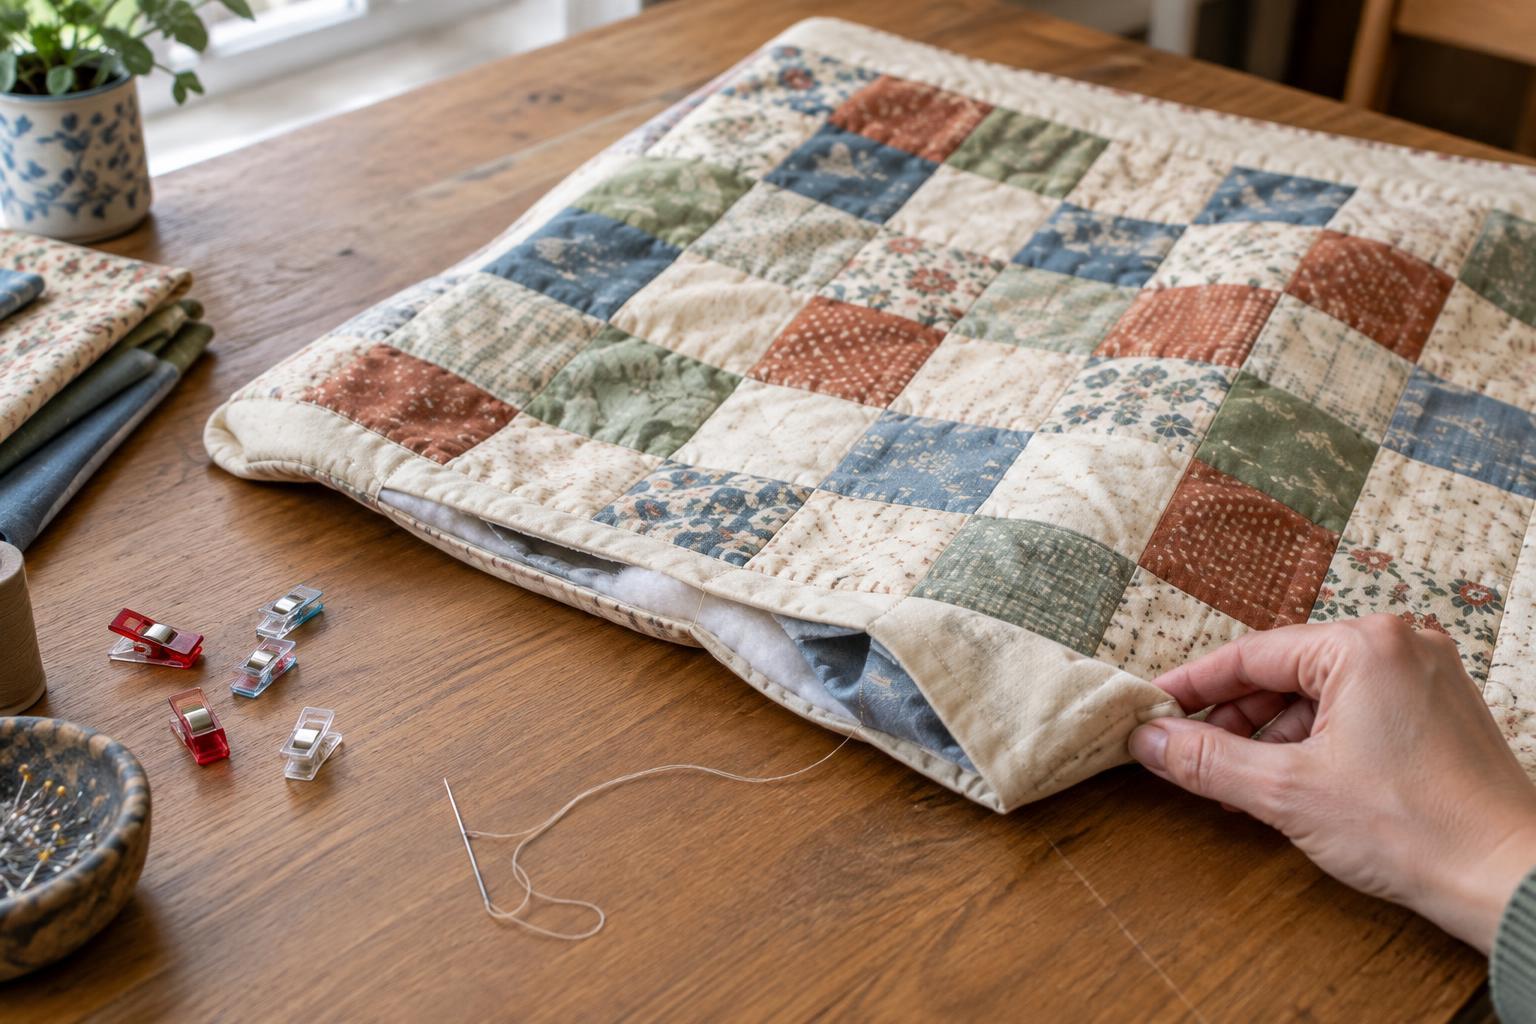
Read article · 4 min↗The envelope method gives a small quilt a clean edge without separate binding. Learn how to layer the top, backing and batting, sew a turning gap, shape the corners and secure the layers after turning.
Read article · 4 min↗Binding frames a wall quilt with a visible fabric edge, while facing turns to the back for a clean, uninterrupted front. Learn how each finish affects the design, how to choose between them, and what to check before hanging your quilt.
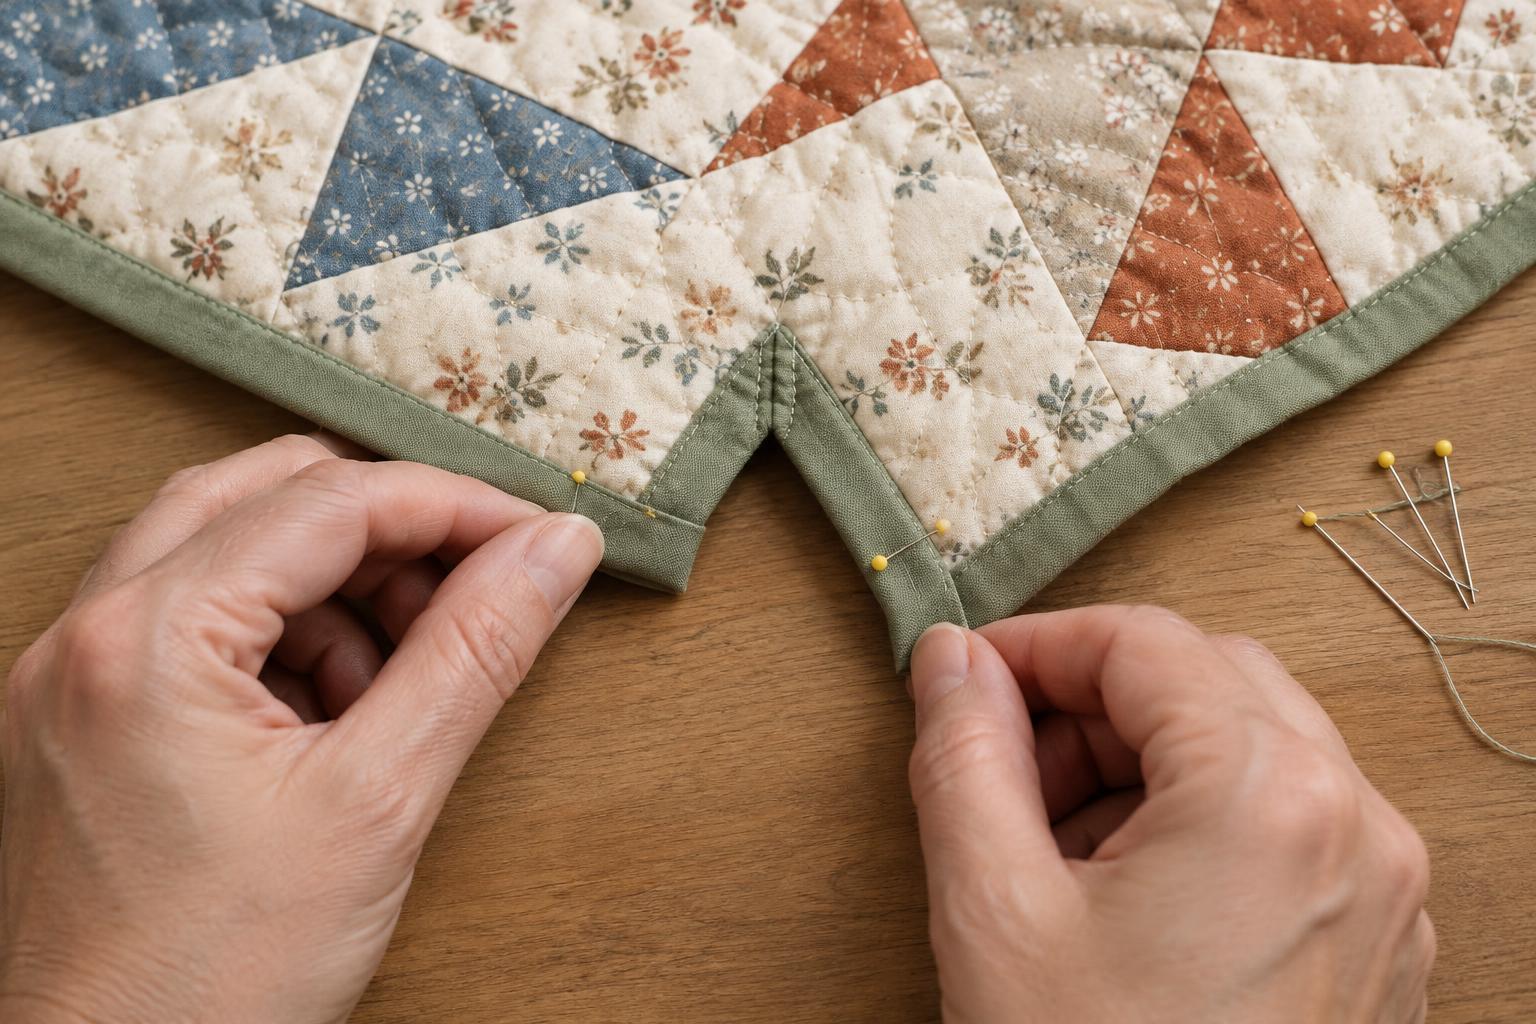
Read article · 4 min↗Inside corners need a little more preparation than the outer corners of a rectangular quilt. Learn how to reinforce and clip a concave point, attach binding without pulling it out of shape, and finish a neat fold on the back.
Read article · 4 min↗The final join in a quilt binding can be smooth and nearly invisible. Learn how to leave room for the join, measure the binding tails, sew a diagonal seam, and check the fit before trimming.
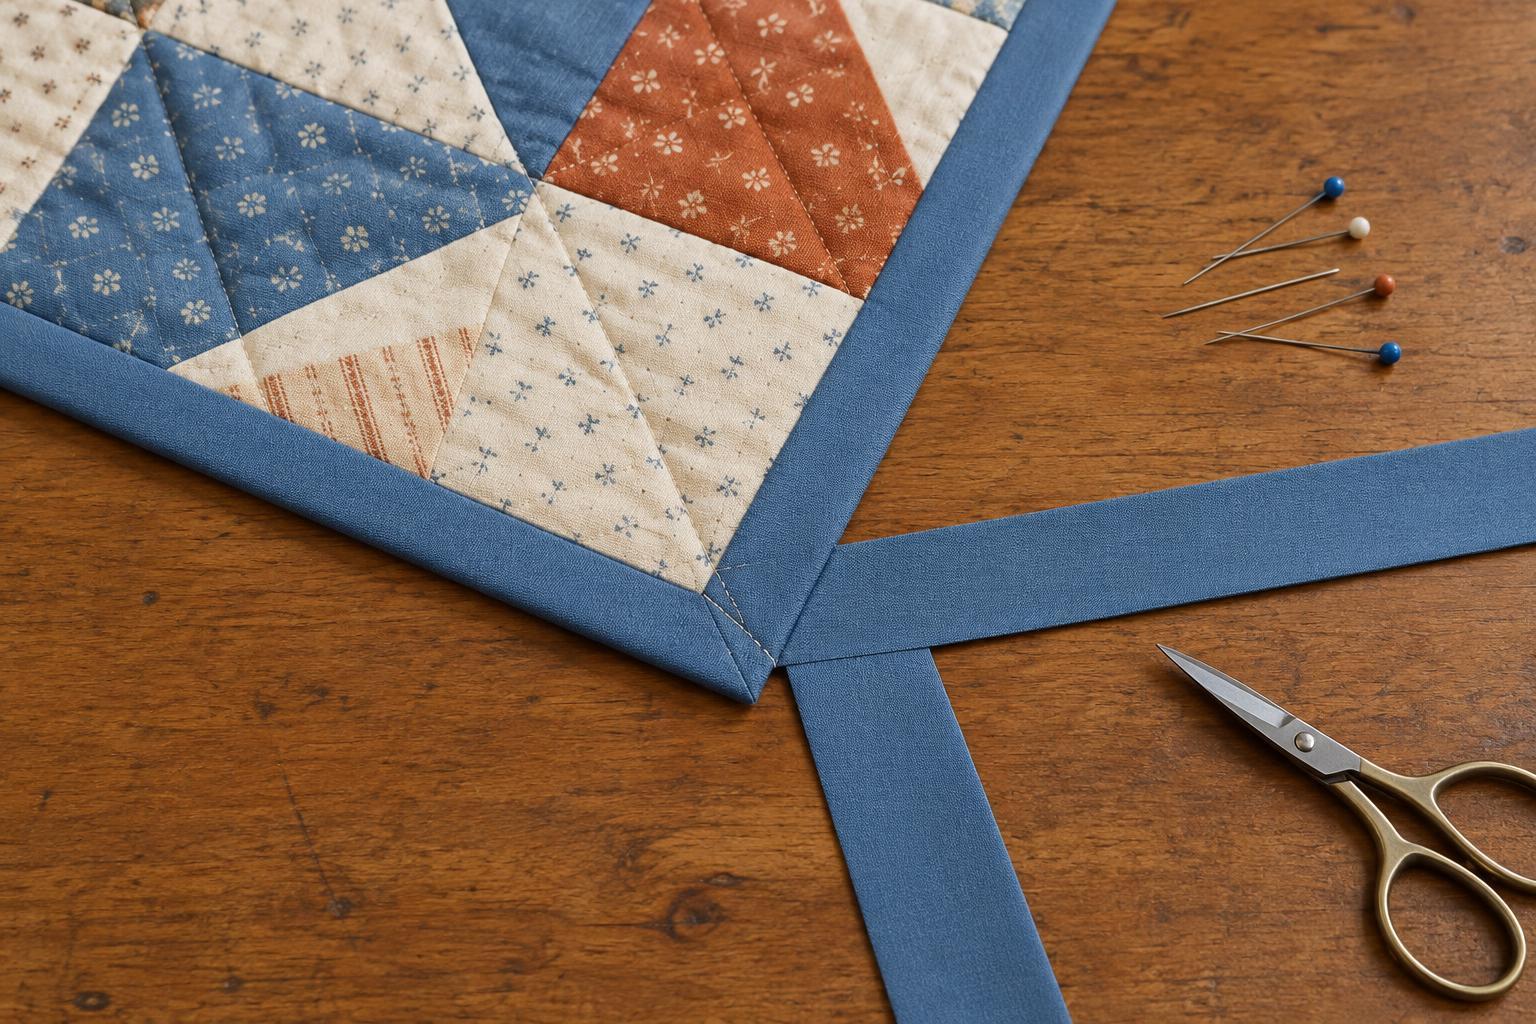
Read article · 4 min↗A tidy binding corner starts before you reach the edge of the quilt. Learn how to prepare double-fold binding, stitch and fold each corner, and secure a clean miter on the back.
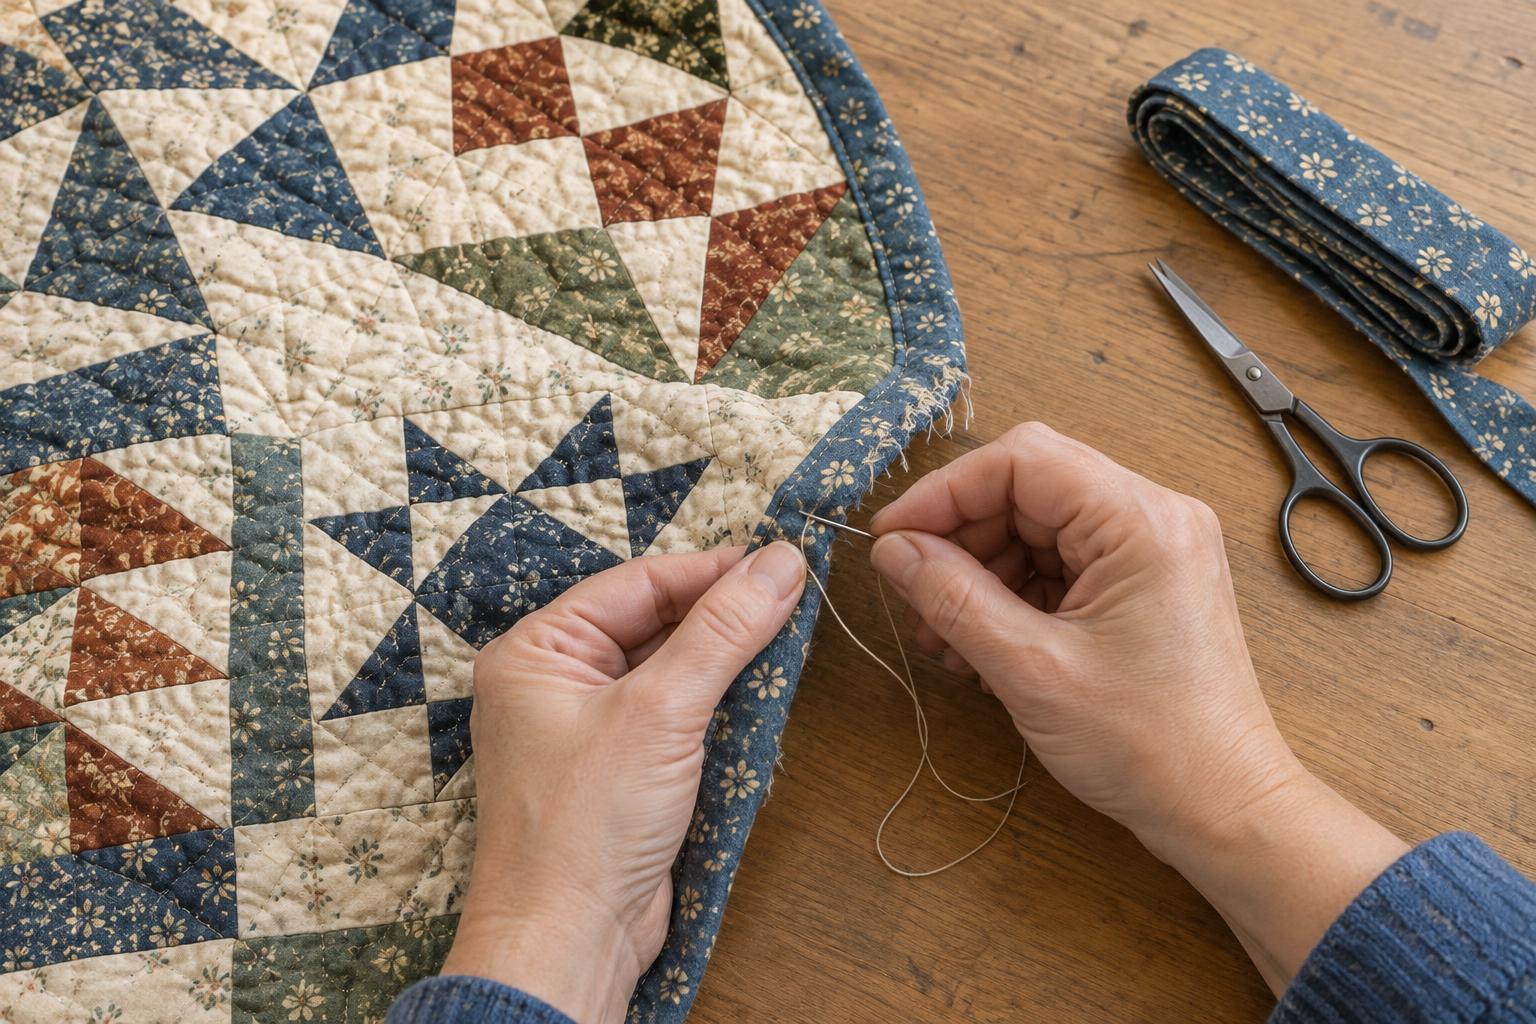
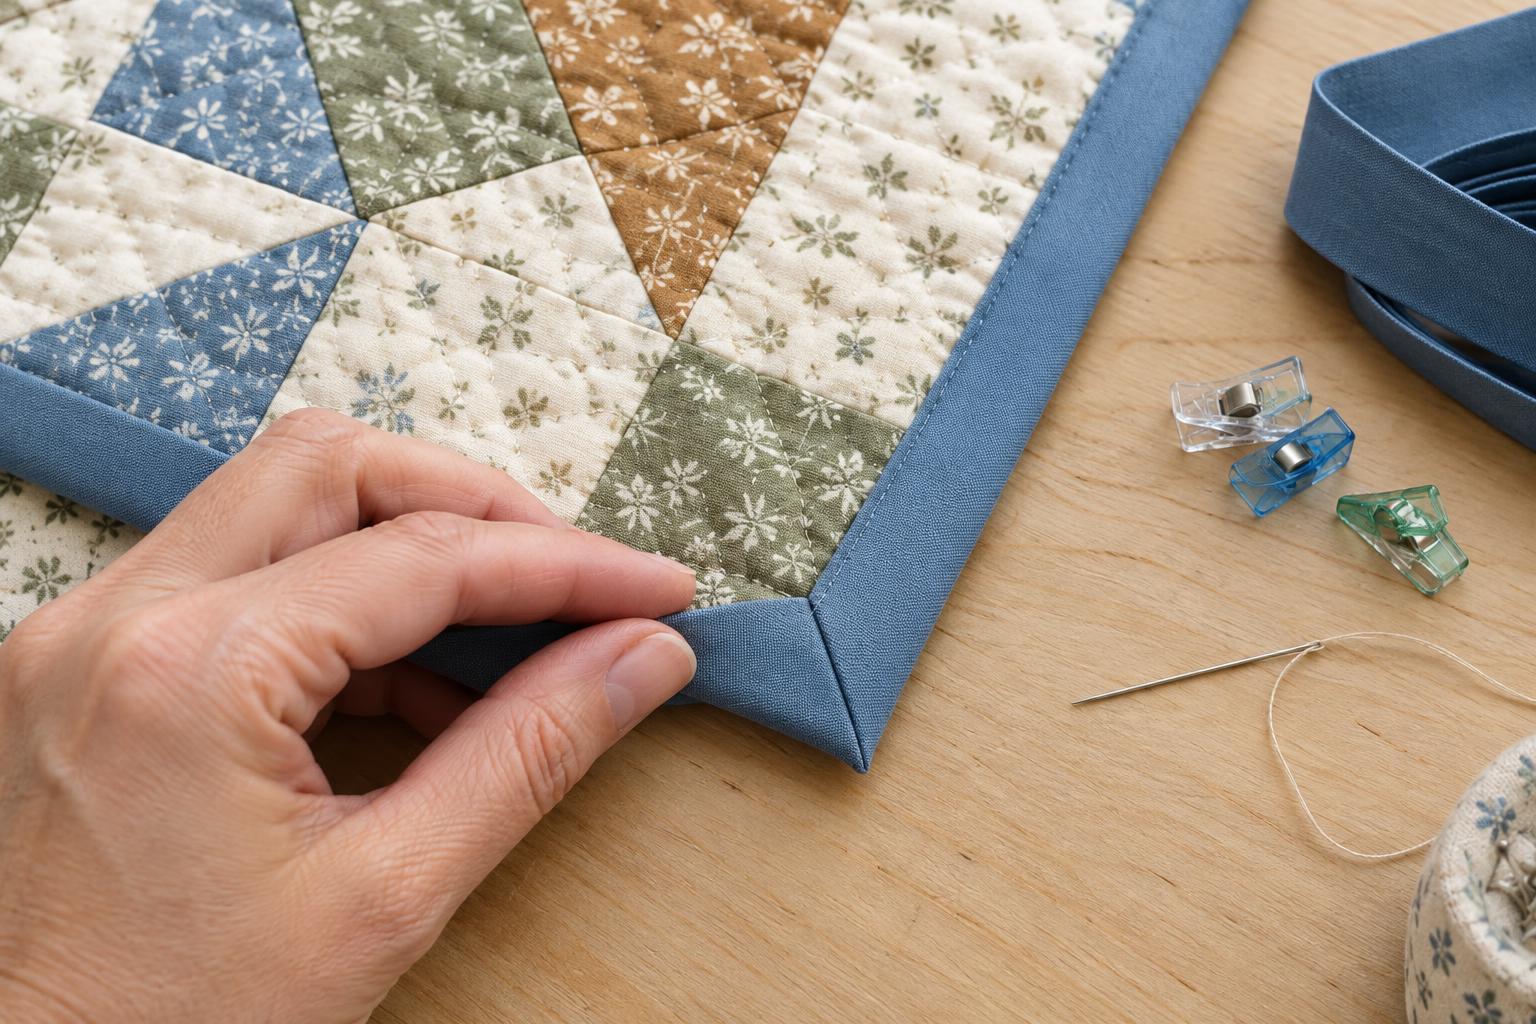
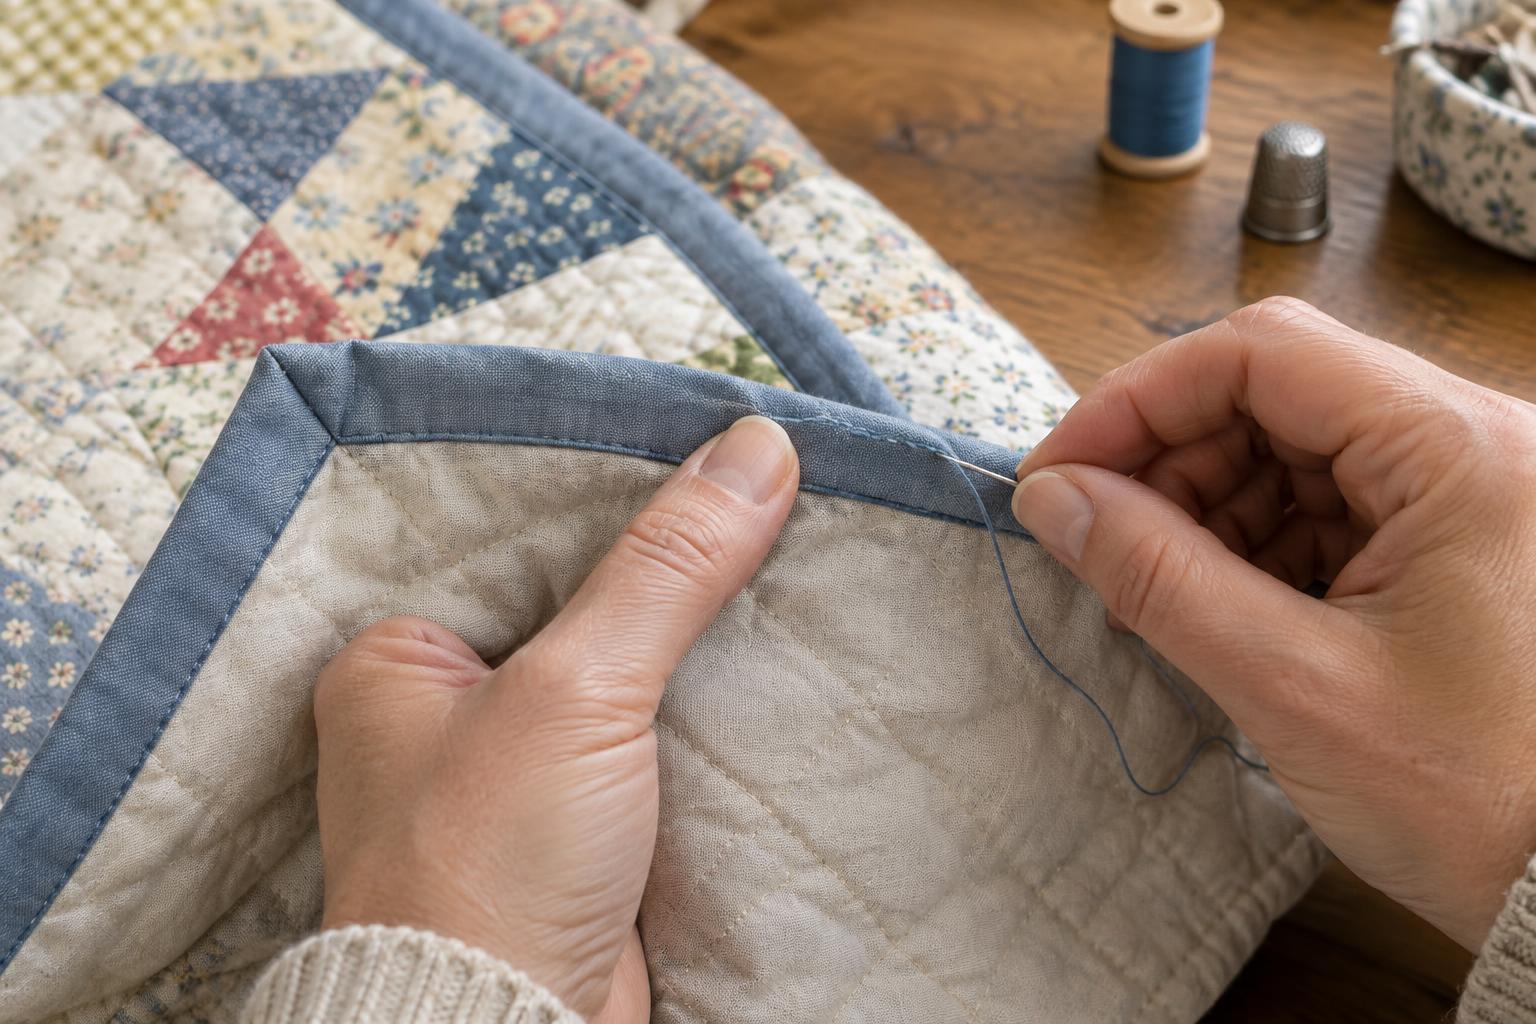
Read article · 4 min↗A step-by-step guide to finishing quilt binding by hand, from preparing the folded edge and hiding the thread to stitching neat corners and checking the finished edge.
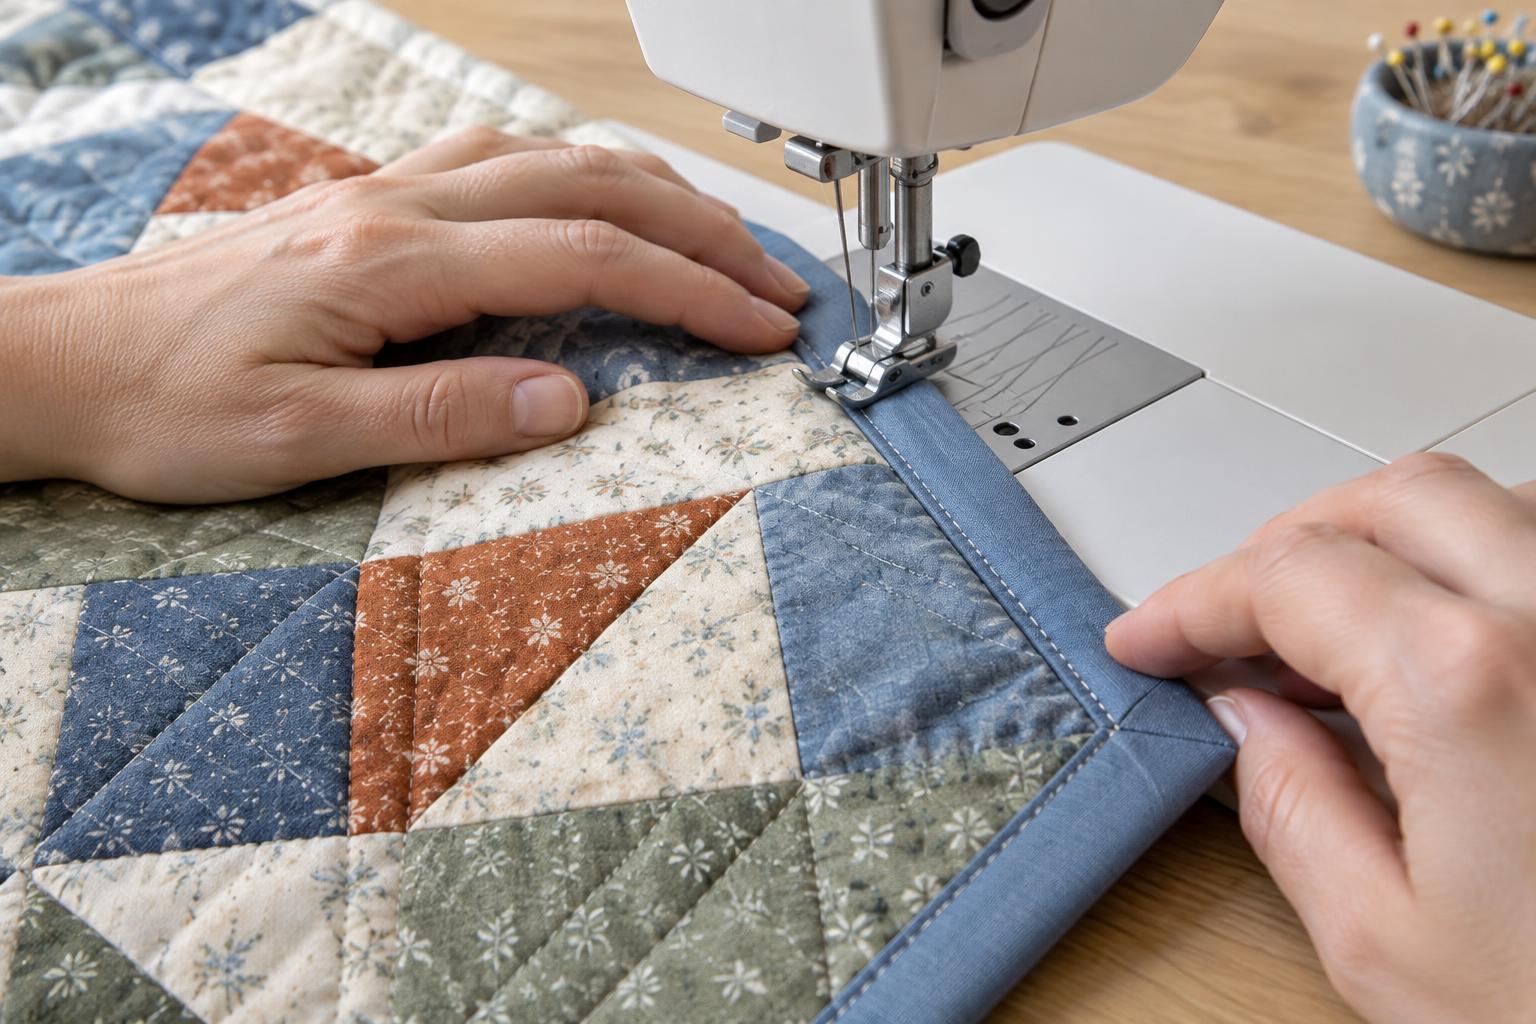
Read article · 4 min↗A practical guide to preparing double-fold binding, sewing it around a quilt, shaping neat corners and securing the final edge by machine.
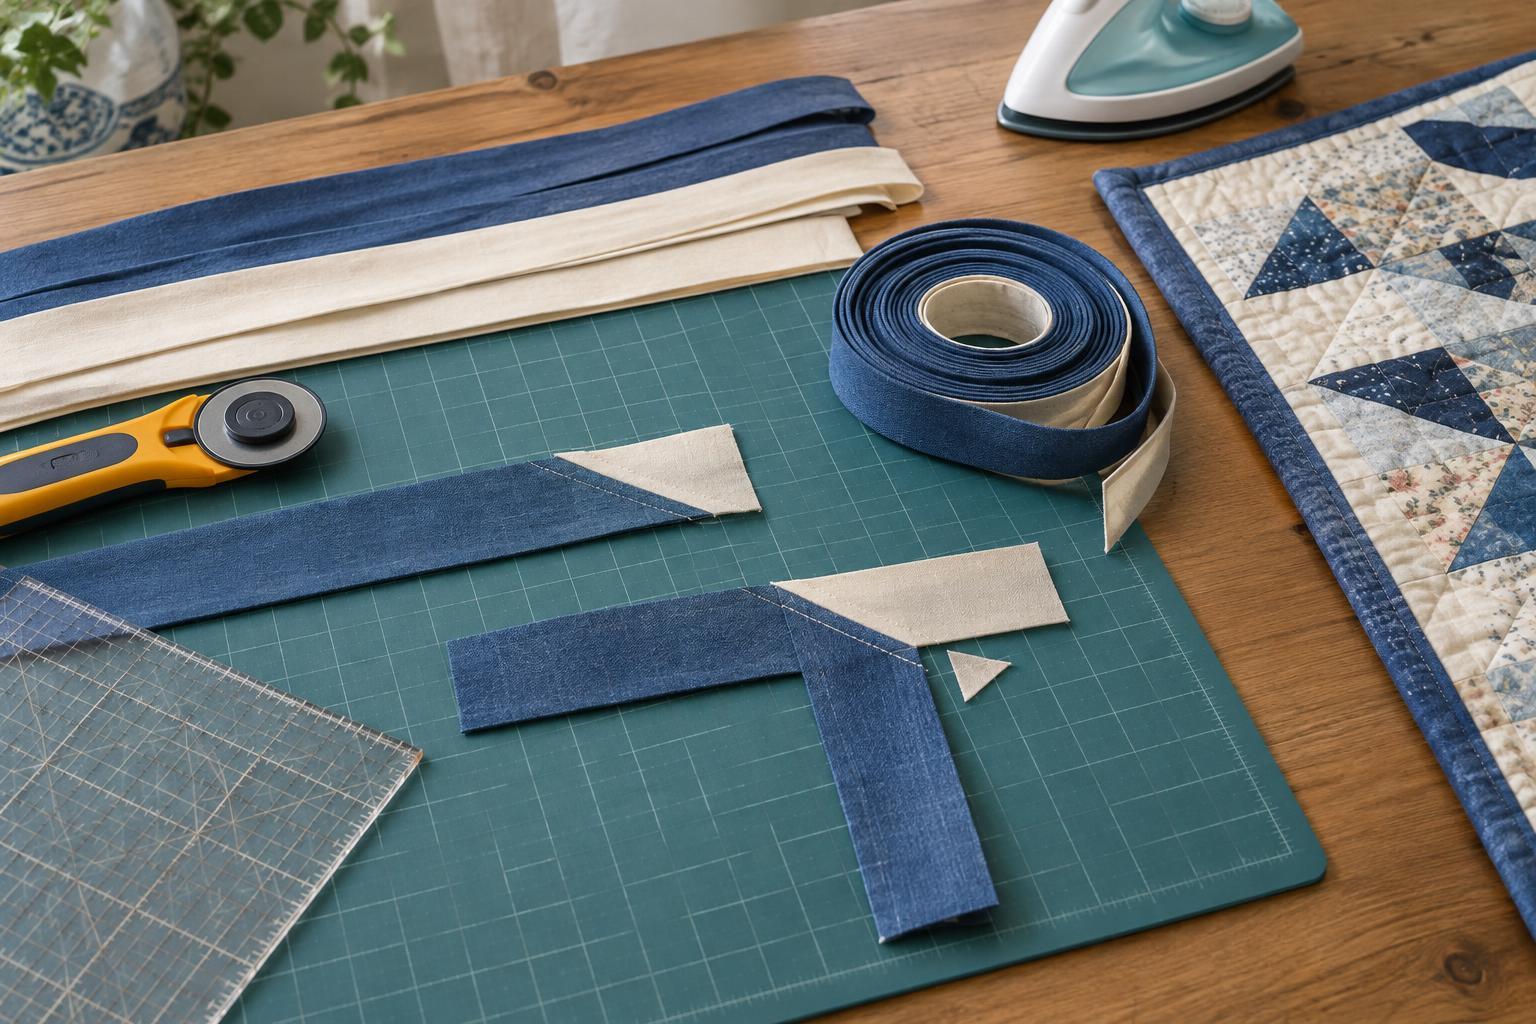
Read article · 4 min↗Prepare neat, continuous quilt binding by choosing a strip width, cutting accurately, and joining the strips with diagonal seams that spread bulk across the edge.
Read article · 3 min↗Straight-grain binding is a reliable choice for square quilts, while bias binding follows curves and scallops more easily. Learn how the two cuts behave and how to choose a binding that fits your quilt’s edge.
Read article · 4 min↗Binding has to travel around the quilt’s edge before it can cover the stitching on the back. Learn how batting, seams and quilting affect the width you need, and how to test a strip before cutting all your binding.
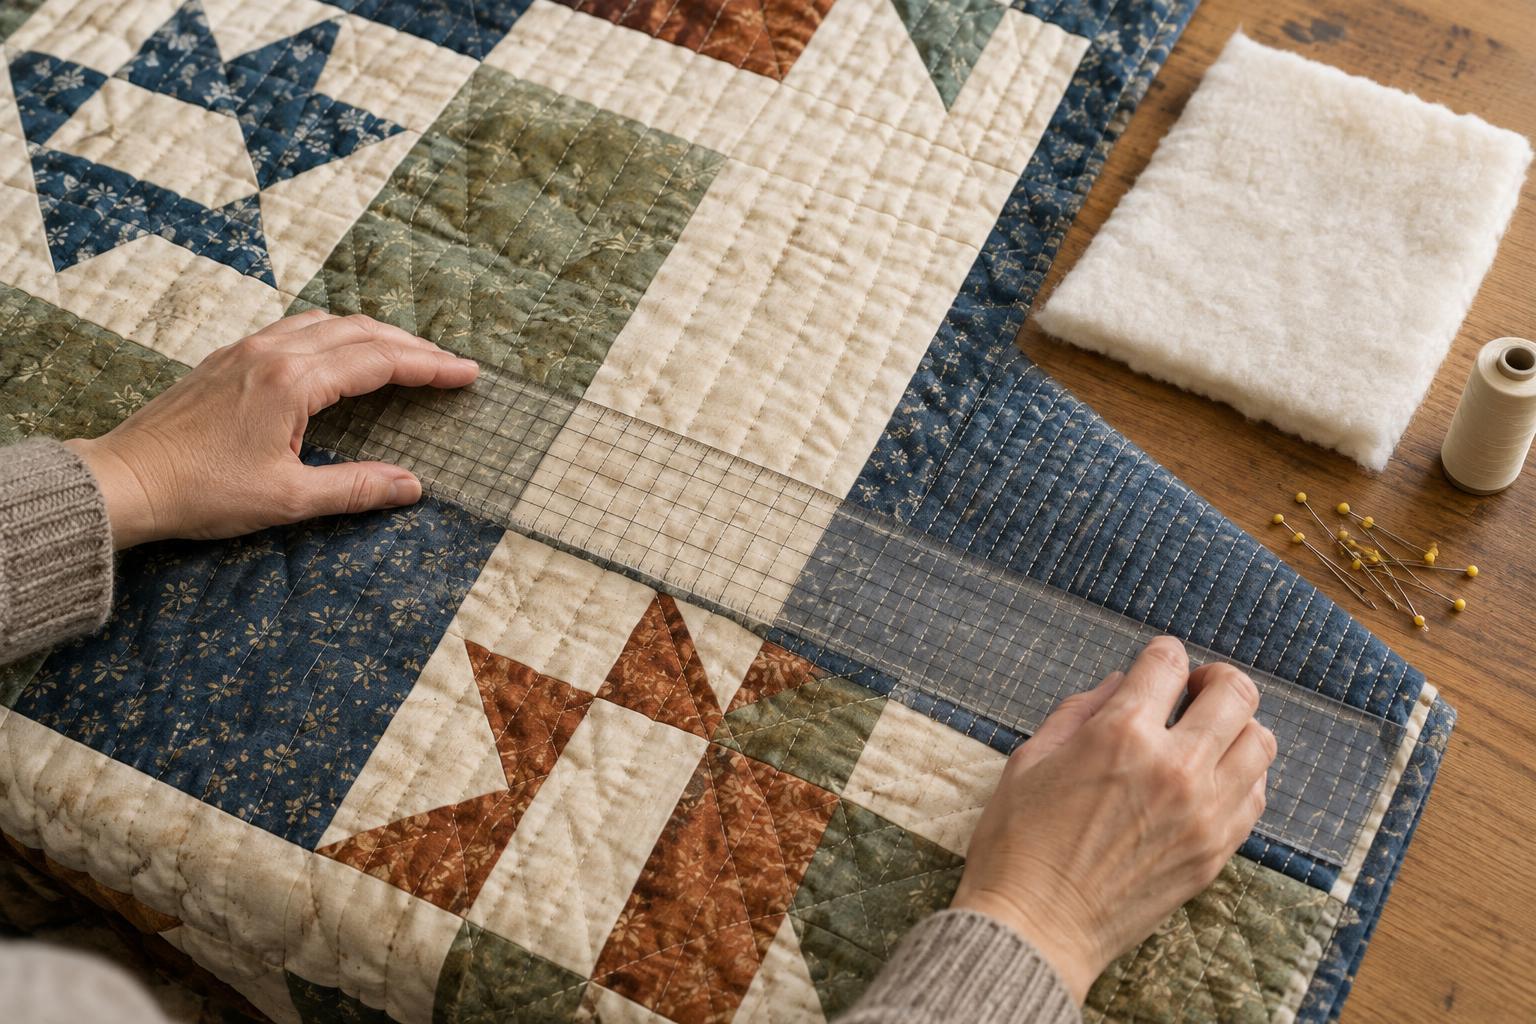
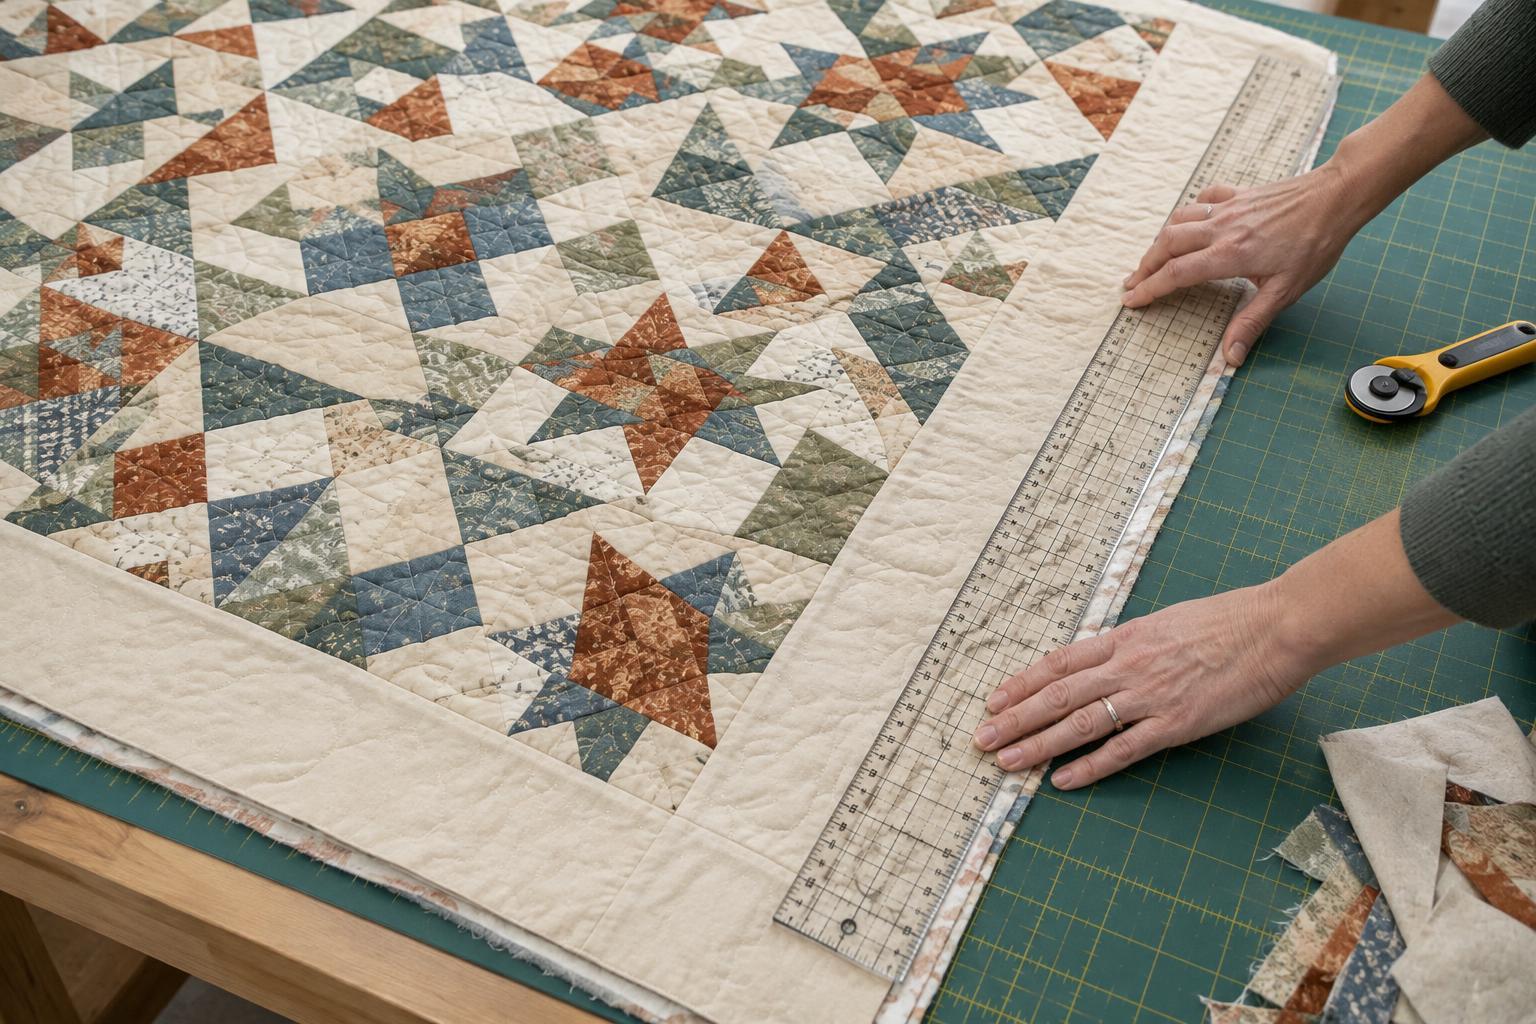
Read article · 4 min↗A quilt can shift slightly during quilting, leaving edges uneven and corners out of square. Learn how to check its shape, choose reliable reference lines, and trim the layers without sacrificing patchwork points or useful border width.
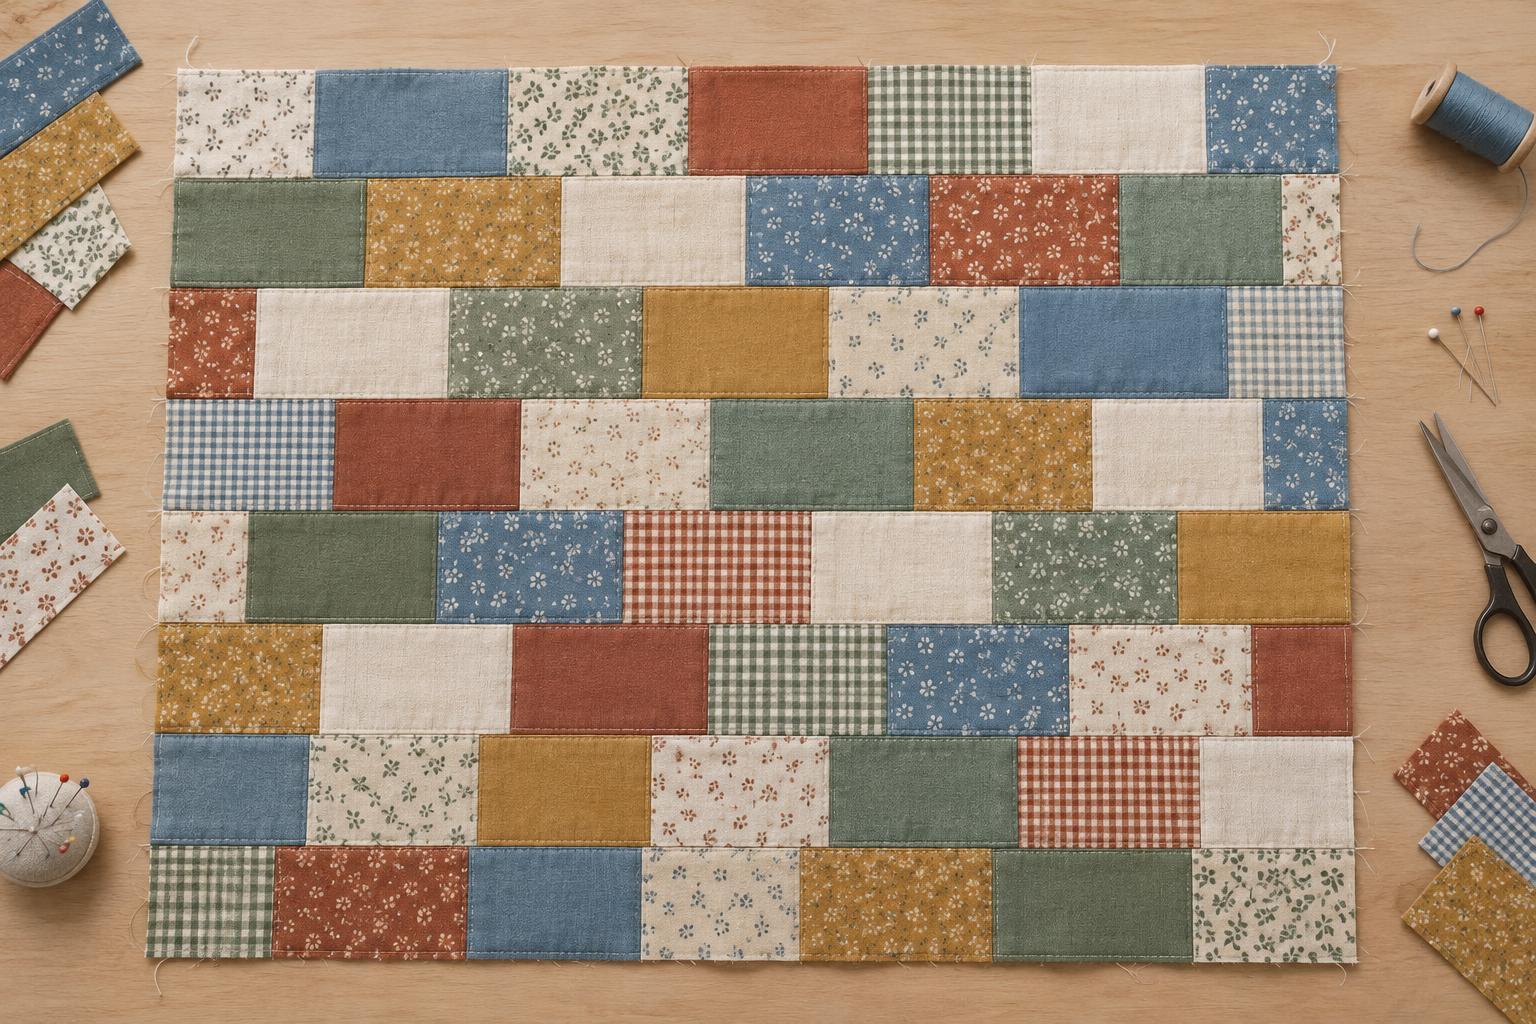
Read article · 4 min↗Brickwork patchwork turns simple rectangles into a rhythmic pattern by shifting the seams in alternate rows. Learn how to choose proportions, cut full and half bricks, assemble even rows, and adapt the layout to your fabrics.
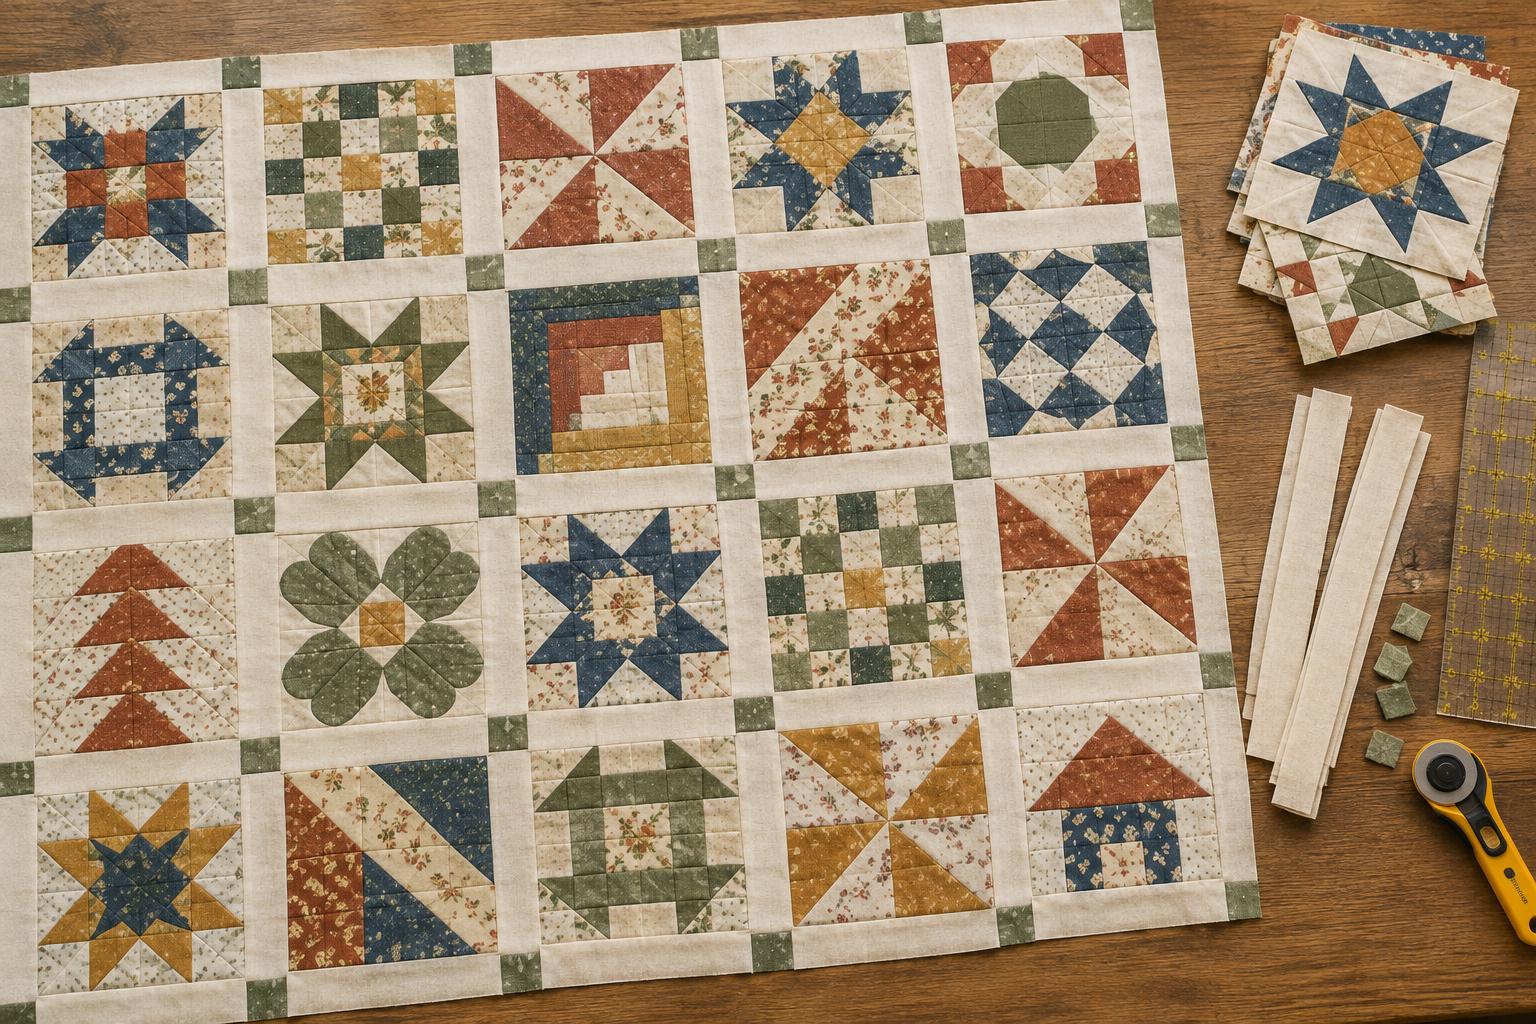
Read article · 4 min↗Sashing can give varied sampler blocks room to breathe, while cornerstones add rhythm where the strips meet. Learn how to choose proportions, calculate a layout, and assemble the rows without losing track of your blocks.
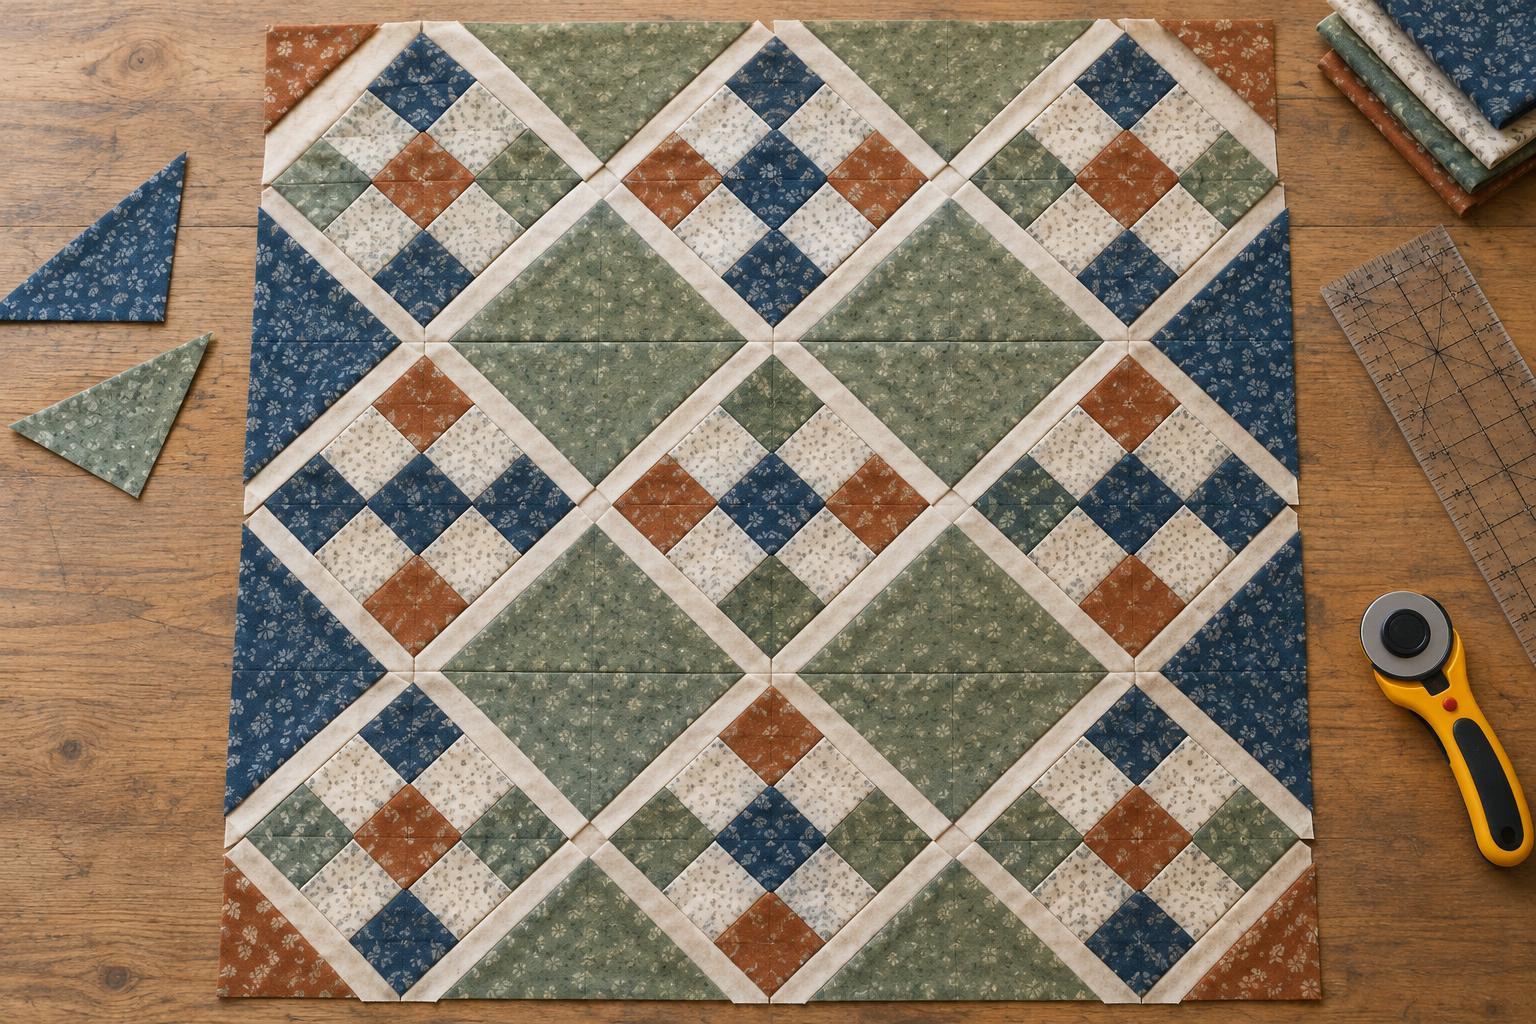
Read article · 4 min↗Turning square blocks on point changes the look of a quilt, but it also creates spaces along the edges. Learn how to count, cut and sew the side and corner triangles that fill those spaces.
Read article · 4 min↗A patchwork block can be sewn accurately and still look out of place in the finished layout. Learn how to distinguish reversed units from rotated blocks, check a design before joining rows, and decide when a variation is worth keeping.
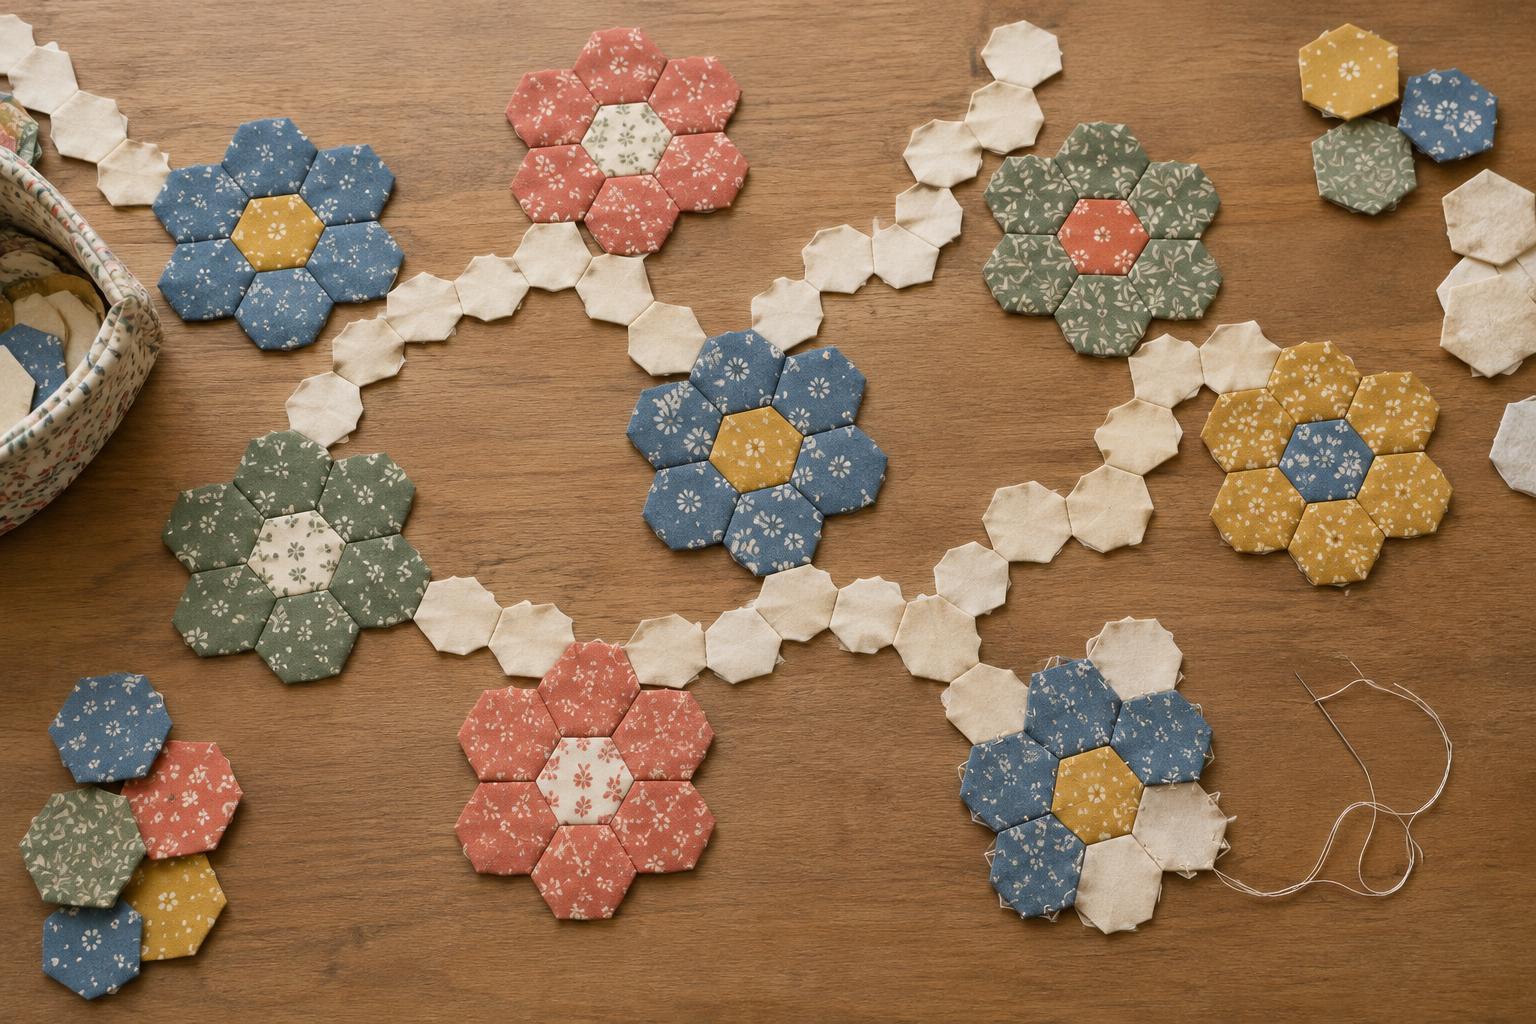
Read article · 4 min↗A practical guide to planning hexagon flower patchwork, from building balanced rosettes to placing background hexagons that create clear, connected paths.
Read article · 4 min↗Tumbling Blocks turns three diamond patches into a cube-like shape. Learn how light, medium and dark fabrics create depth, how to plan a consistent layout, and two approachable ways to piece the pattern.
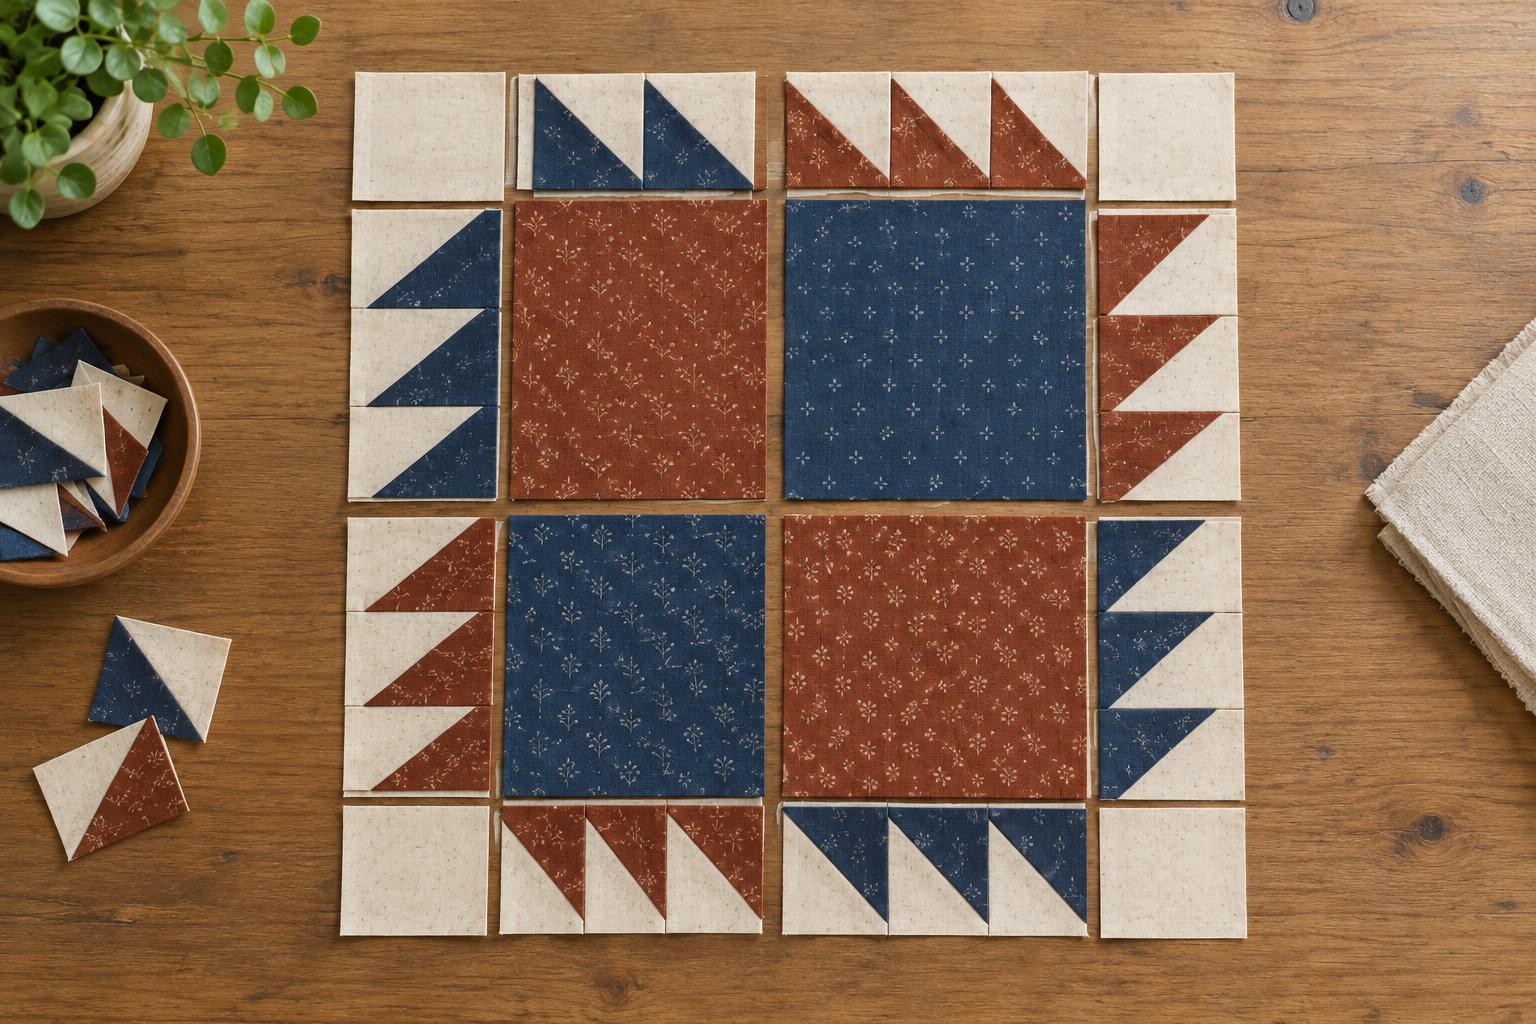
Read article · 4 min↗A Bear Paw block becomes easier to assemble when you can recognize its large paw squares, small triangular claws, and corner pieces. Learn how to sort the units, check their direction, and lay out the block before sewing.
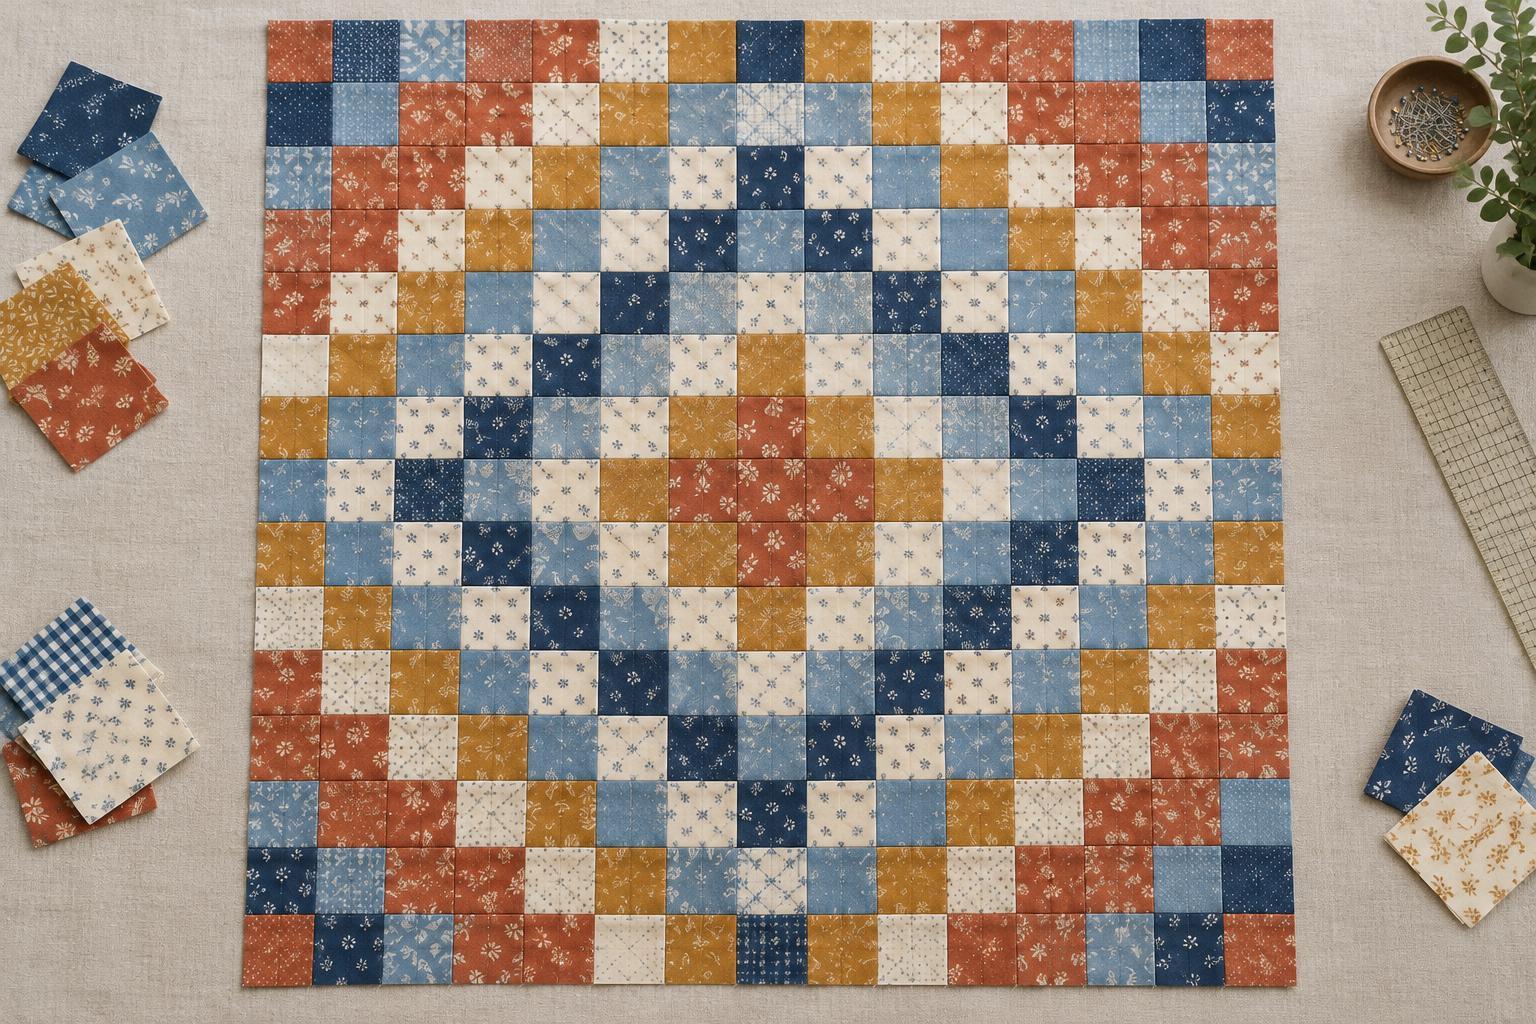
Read article · 4 min↗A Trip Around the World layout turns simple patchwork squares into radiating colour bands. Learn how to plan the rings, place squares on a grid, and keep the pattern clear as you sew.
Read article · 4 min↗Single and Double Irish Chain quilts both use small squares to create diagonal paths across a quilt. Learn how their pieced blocks, visual effects and construction demands differ, and how to choose a version for your next project.
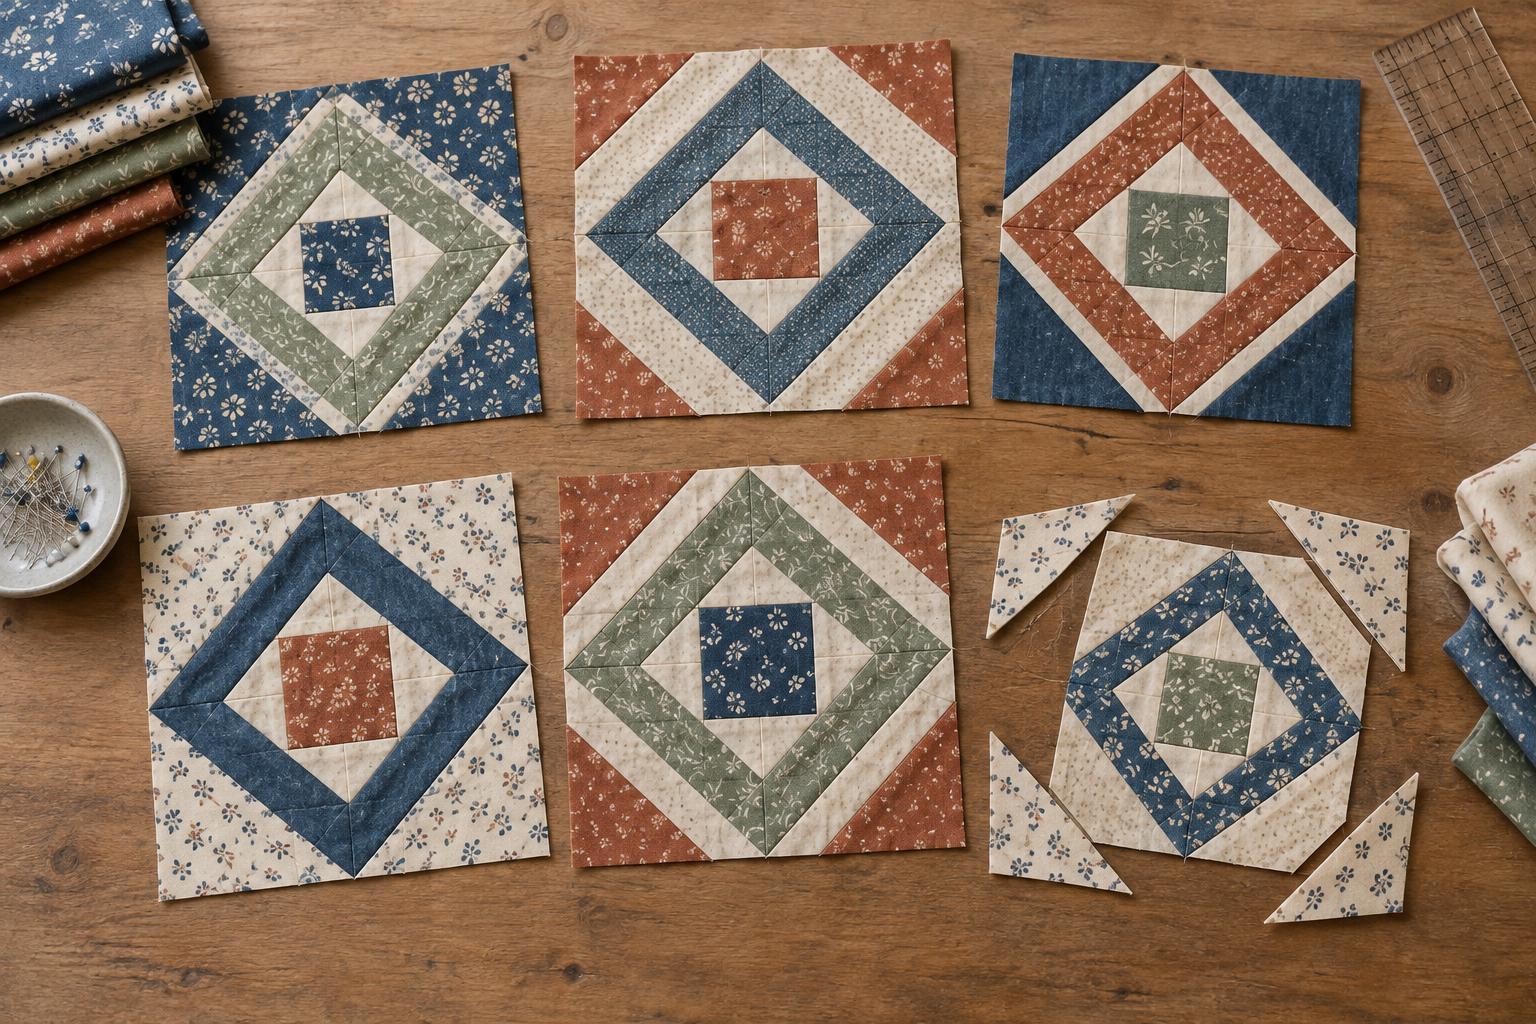
Read article · 4 min↗A square-in-a-square block can turn a simple centre patch into a layered diamond motif. Learn how to plan the rings, choose fabrics, sew corner triangles and protect the points as the block grows.
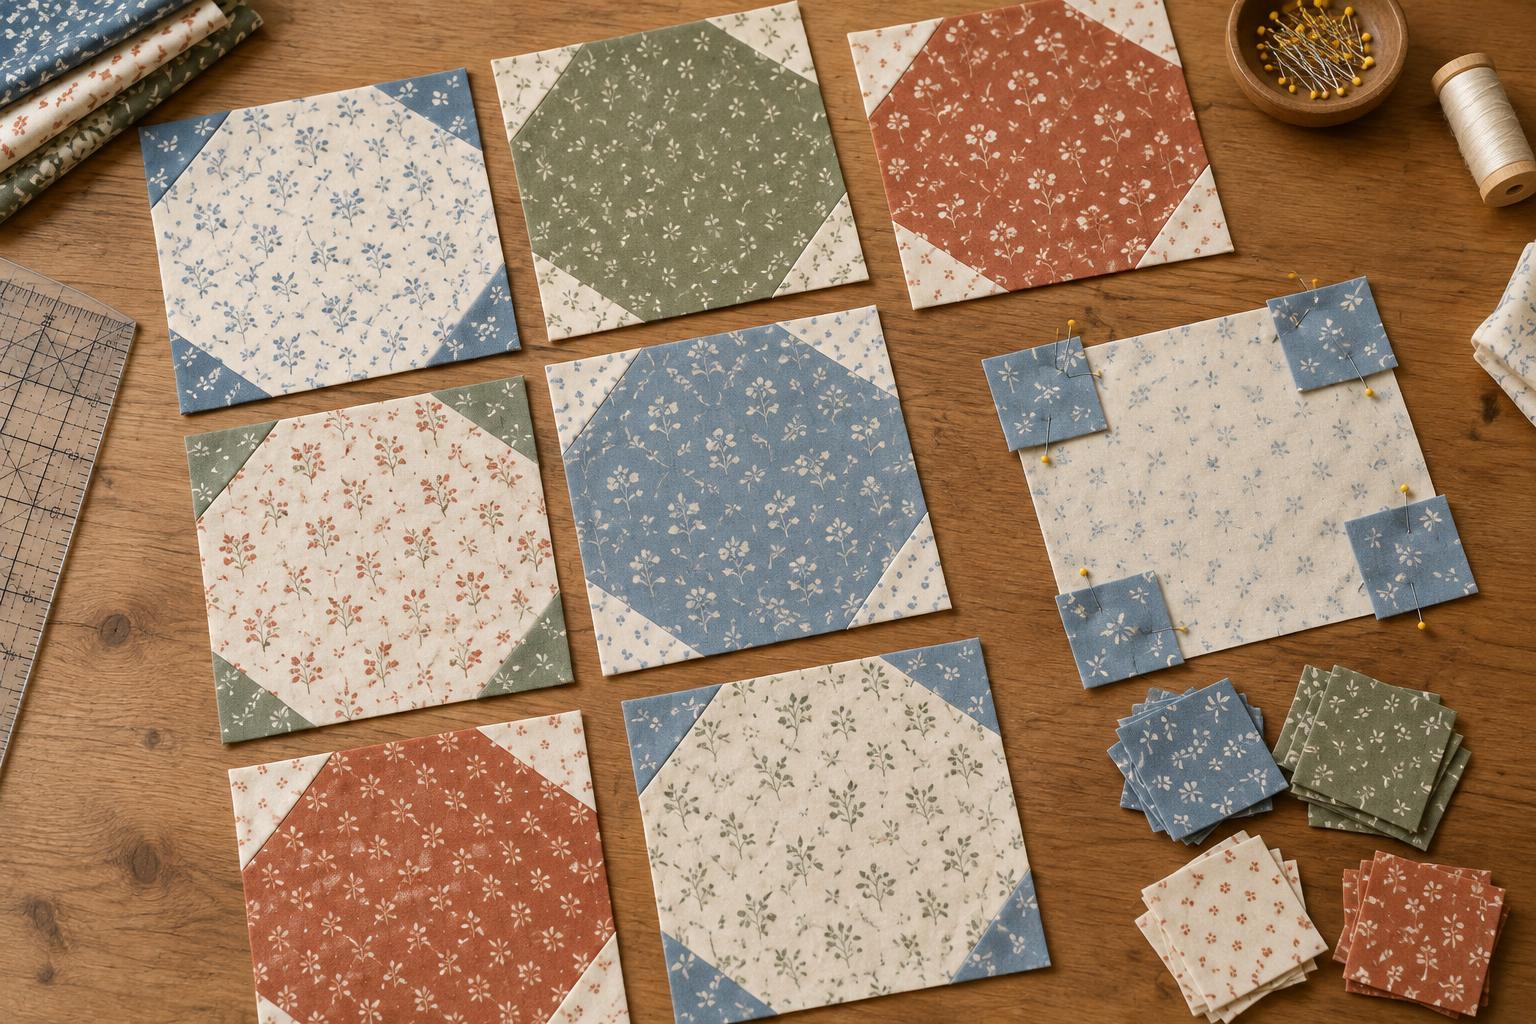
Read article · 4 min↗A snowball block gets its softened shape from four small squares sewn across the corners of a larger square. Learn how to choose corner sizes, stitch and trim accurately, and arrange snowball blocks into a patchwork design with no curved seams.
Read article · 4 min↗A Churn Dash block gets its character from the strips and triangles that surround a simple centre square. Learn how to arrange its nine units, cut pieces for a 12-inch block, and keep the frame aligned as you sew.
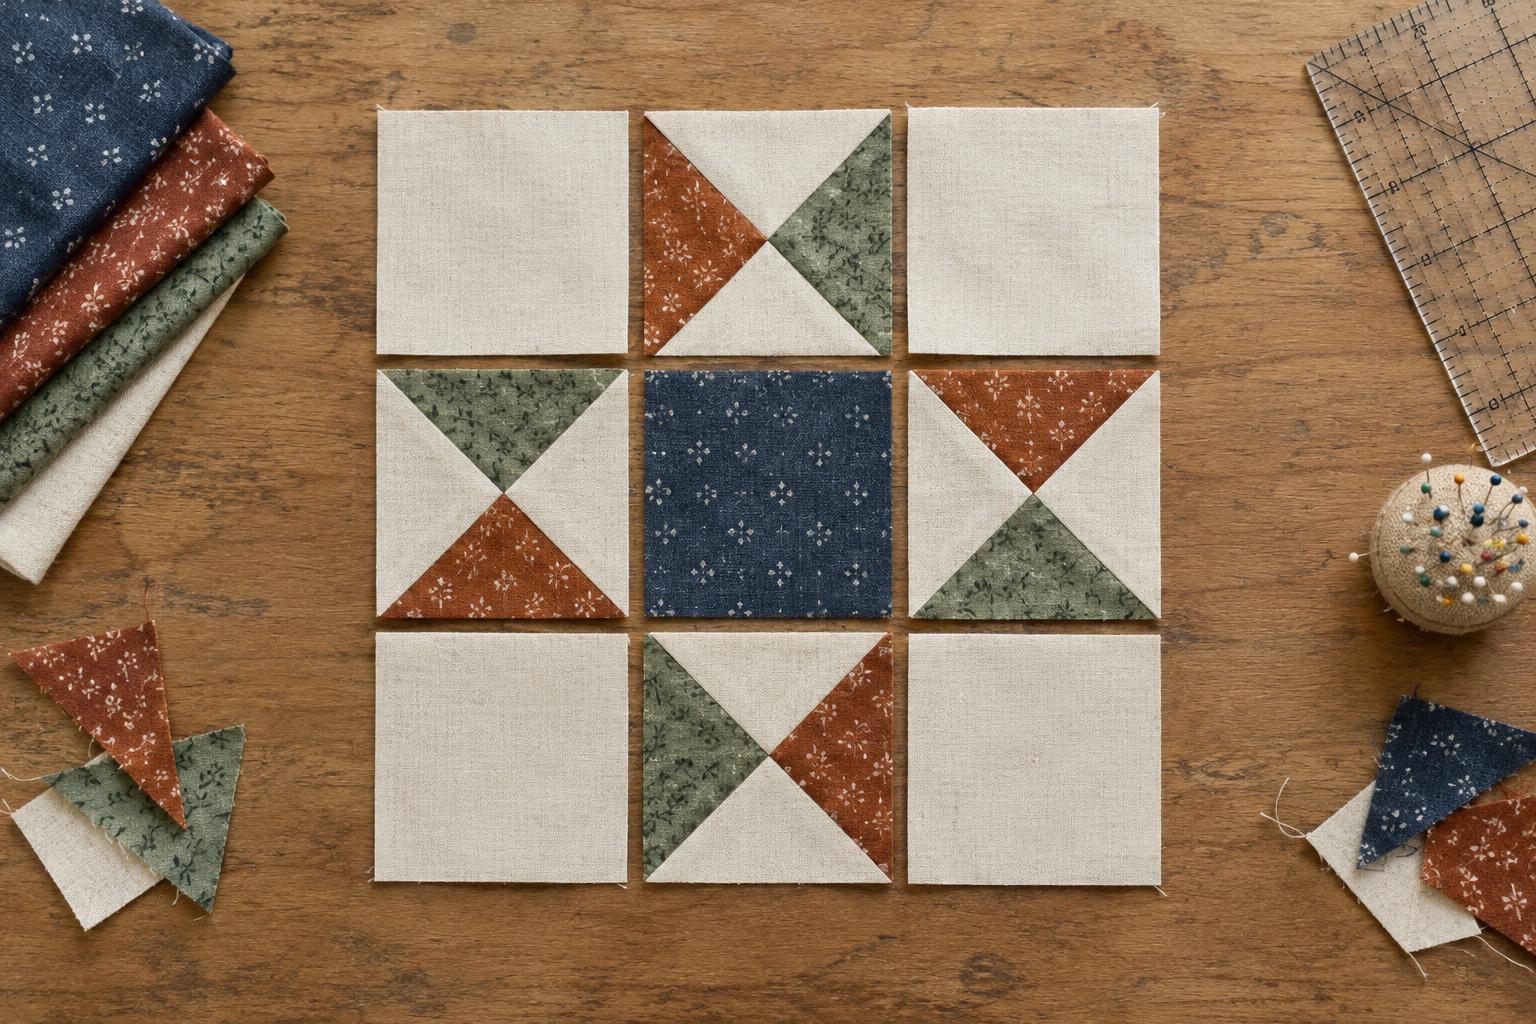
Read article · 4 min↗An Ohio Star becomes easier to piece when you see it as a three-by-three grid. Learn where the quarter-square triangle units belong, how to orient the star points, and how the corners and centre shape the finished block.
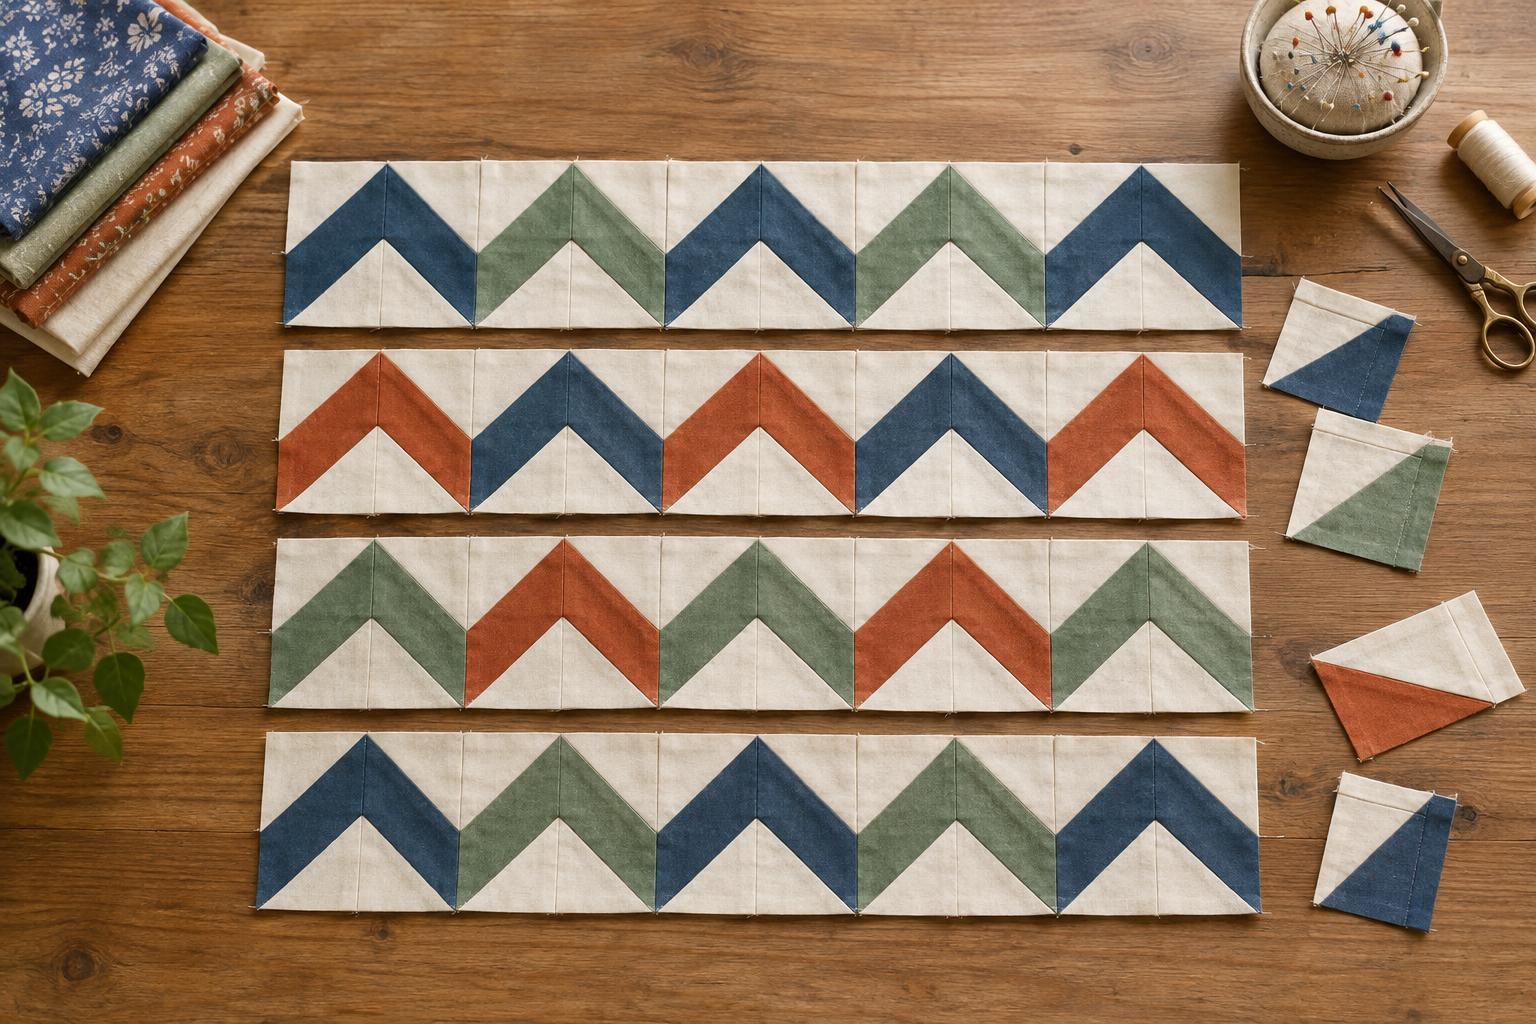
Read article · 4 min↗A flying geese layout can change dramatically when a few units turn around. Learn to map point directions, test a chevron-inspired repeat, and keep the design clear while you sew.
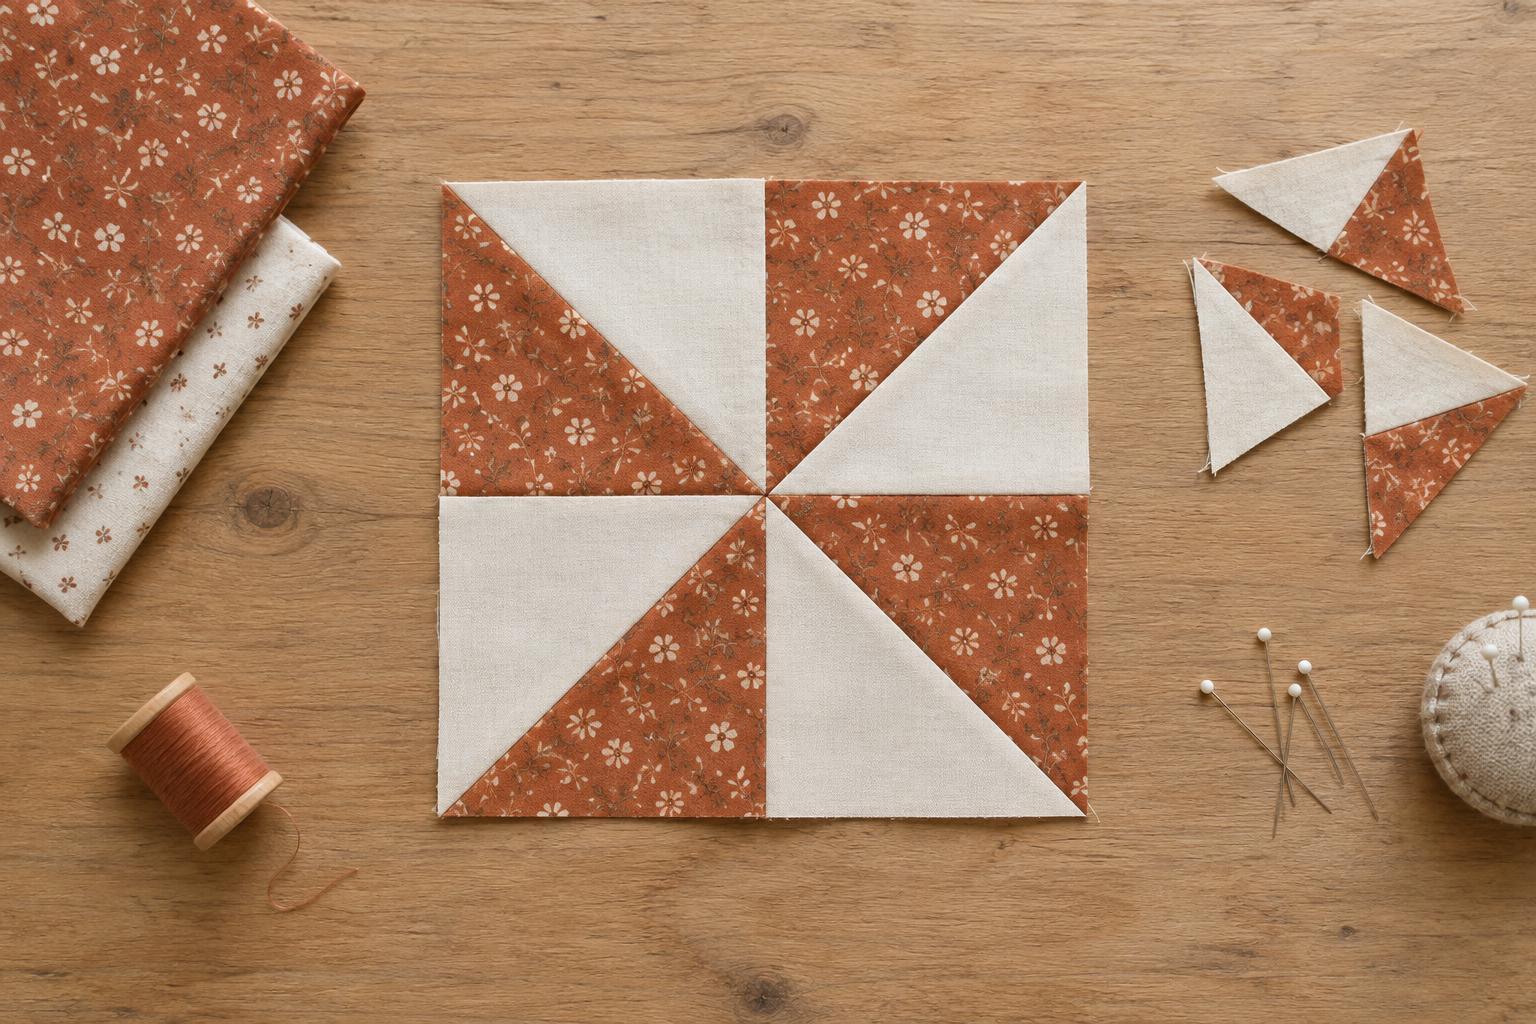
Read article · 4 min↗A pinwheel block uses four half-square triangles to create a sense of movement. Learn how to place the units, choose fabrics that show the design clearly, and sew a block whose points meet neatly.
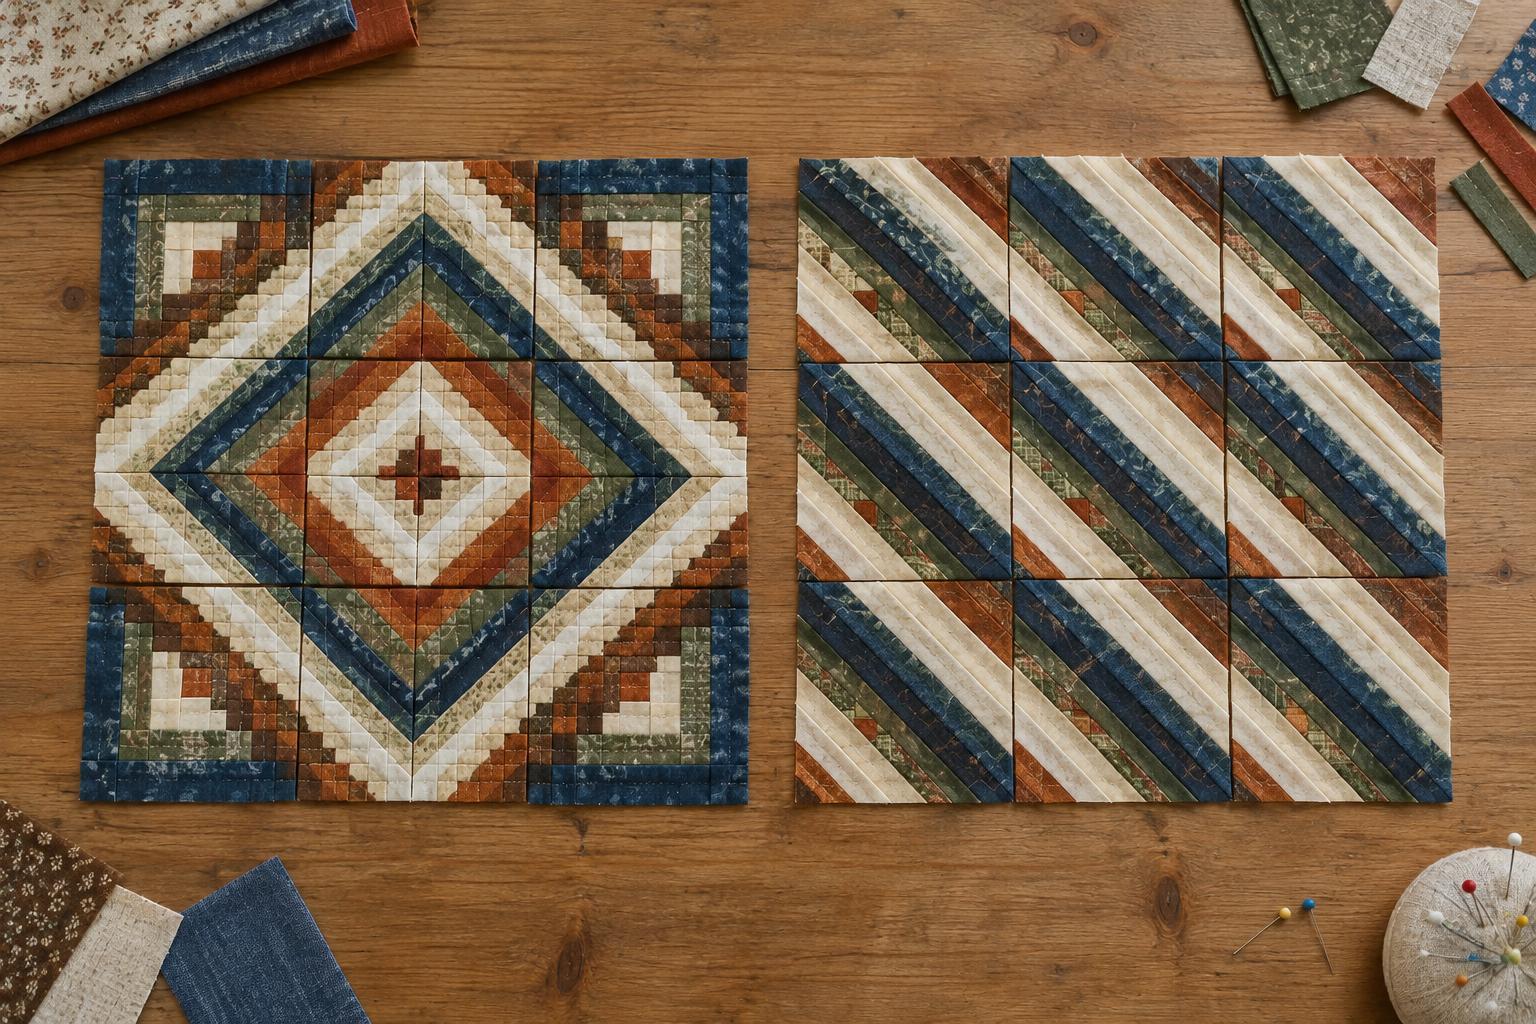
Read article · 4 min↗A Log Cabin block can create very different designs depending on how it is turned. Learn to plan the light and dark sides of each block, arrange them into Barn Raising diamonds or Straight Furrows bands, and check the layout before sewing the blocks together.
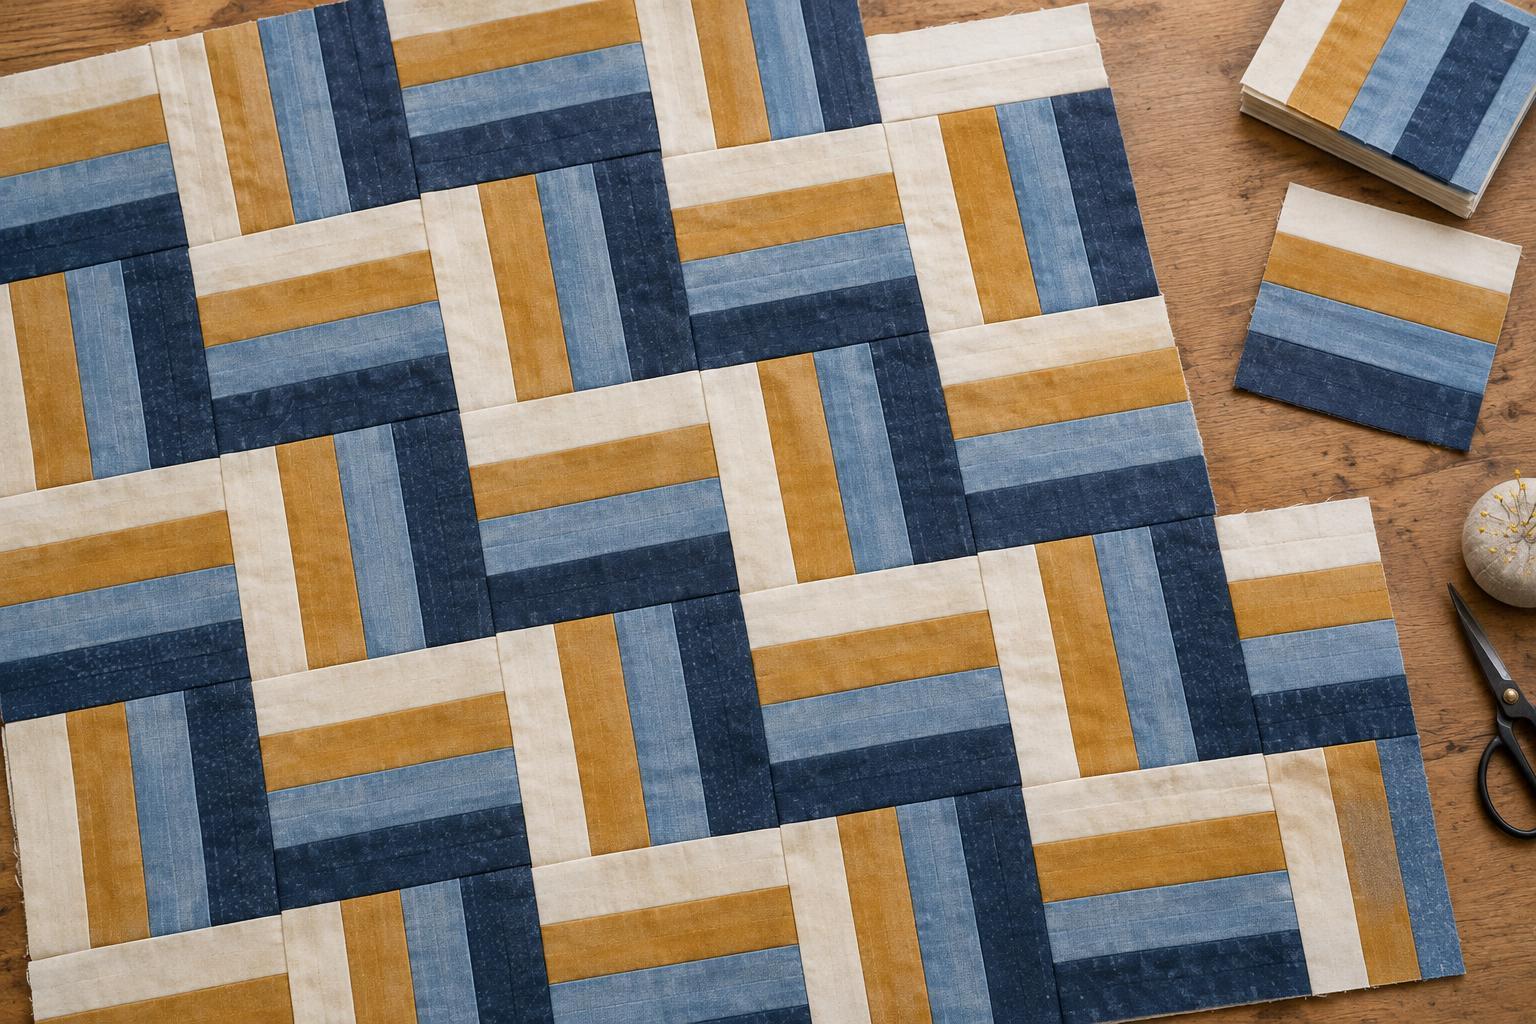
Read article · 4 min↗A Rail Fence quilt begins with simple strips, but block rotation can give it a lively zigzag. Learn how to make square blocks, test layouts and keep the pattern clear as you sew.
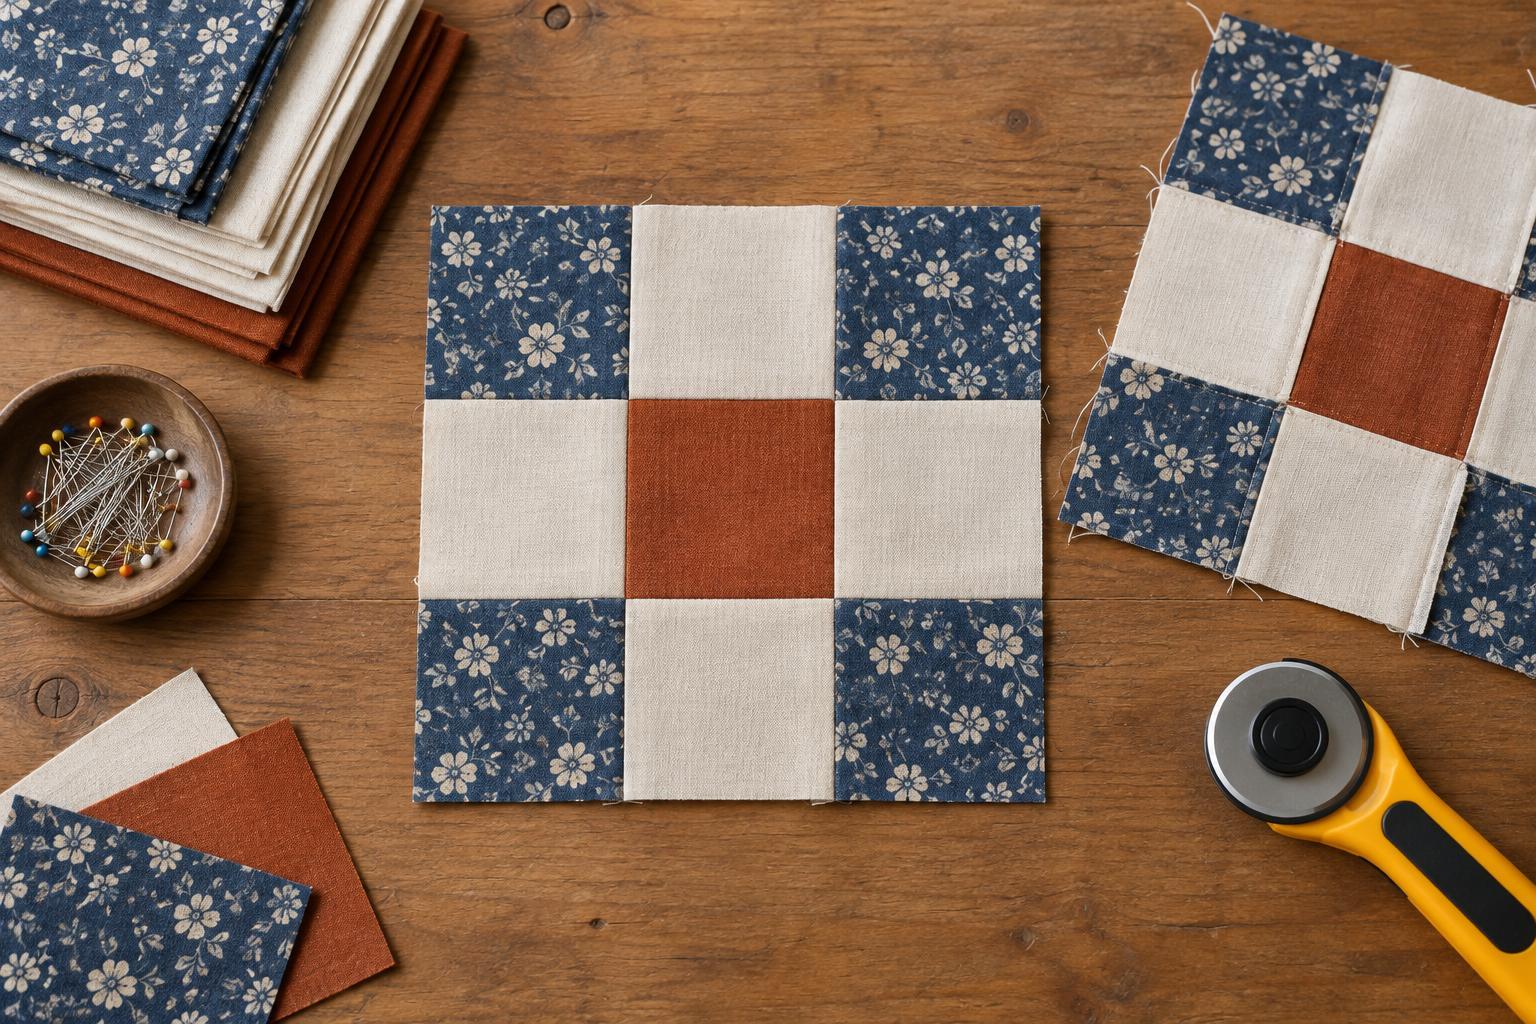
Read article · 4 min↗A nine-patch block uses just three rows of three squares, but the placement of its corner, edge and centre pieces can change the whole design. Learn how to plan contrast, assemble accurate rows and experiment with simple variations.
Read article · 4 min↗A four-patch block begins with just four squares, but changes in colour, orientation and spacing can give it many looks. Learn how to plan a layout, sew accurate blocks and turn them into a balanced patchwork project.
Read article · 4 min↗A patchwork block diagram is a map, not a complete set of sewing instructions. Learn to identify the grid, recognise repeated units and choose a practical assembly order before you cut or stitch.
Read article · 4 min↗A fabric that looks warm and lively by a window may seem muted under a lamp. Learn why lighting changes the colours you see and how to test a quilt palette before cutting.
Read article · 4 min↗A small colourfastness test can help you spot fabric dye that may bleed onto lighter patches. Learn how to test with water and white cloth, check for rubbing transfer, and decide what to do before cutting your quilt.
Read article · 4 min↗A scrappy quilt can include many fabrics and still feel thoughtfully planned. Learn how to use colour, value, print scale and repetition to bring varied scraps together without losing their character.
Read article · 4 min↗A good background fabric gives patchwork shapes room to be seen without competing for attention. Learn how to compare value, colour, print scale and fabric behaviour, then test your options before cutting the whole quilt.
Read article · 4 min↗Solids can give a quilt room to breathe, while prints add movement and detail. Learn how to balance both by considering contrast, print scale, colour and the effect you want from a distance.
Read article · 4 min↗Stripes, lettering and other one-way designs can add character to a quilt, but they need a little planning before you cut. Learn how to choose a viewing direction, mark your pieces and check placement as blocks come together.
Read article · 4 min↗A fabric print can change character when it is cut into patchwork. Learn how to match print scale to piece size, keep block shapes clear, and test combinations before cutting the whole project.
Read article · 4 min↗A quilt can feel more focused without adding another colour. Learn how to use quieter and more vivid versions of the fabrics already in your palette to guide the eye, support a focal block and keep the design balanced.
Read article · 4 min↗Warm and cool fabrics can give a patchwork quilt both energy and calm. Learn how to choose a leading colour family, check value and print scale, and test your layout before sewing.
Read article · 4 min↗A quilt block can have beautiful colours and still be hard to see from across the room. Learn how light, medium and dark values create contrast, reveal a pattern and help you choose fabrics with more confidence.
Read article · 4 min↗A colour wheel can help you choose quilt fabrics that feel connected without looking flat. Learn how to start with a favourite print, choose a simple colour relationship, and use value and scale to make the palette work in fabric.
Read article · 4 min↗Precuts can make colour selection and cutting easier, while yardage offers more control over scale, grain and continuous pieces. Learn how to choose a format by starting with your pattern, checking usable measurements and planning for the cuts you actually need.
Read article · 4 min↗A quilt palette is easier to shop for when each colour has a job. Learn how to turn a block plan into fabric estimates, allow for cutting waste and divide yardage among solids and prints.
Read article · 4 min↗Fabric grain affects how patchwork pieces stretch, press and fit together. Learn to identify lengthwise, crosswise and bias grain, then use that knowledge when selecting fabric and cutting blocks.
Read article · 4 min↗Prewashing is not a universal rule. Learn when washing fabric before cutting may help, when it may cause more trouble than it prevents, and how to keep your fabric preparation consistent across a quilt.
Read article · 4 min↗Vintage sheets, old clothing and leftover textiles can bring character to a quilt, but not every fabric is ready to be cut and sewn. Learn how to check condition, colourfastness, stability and care needs before choosing a place for reclaimed fabric in your project.
Read article · 4 min↗Flannel brings softness and warmth to patchwork, but its brushed surface and tendency to shift call for a little planning. Learn how to prepare, cut, sew and finish flannel pieces while keeping your blocks accurate.
Read article · 4 min↗Batiks and standard quilting cotton can both make beautiful, durable quilts, but they behave differently in colour planning, cutting and sewing. Learn what to look for before combining them in a project.
Read article · 4 min↗A patchwork quilt is easier to piece when its fabrics behave similarly. Learn how to compare fabric weight, weave and stretch, test a mixed selection, and handle lighter or heavier fabrics without adding unwanted bulk.
Read article · 4 min↗Cotton and polyester-blend fabrics can both work in a quilt, but they may behave differently when cut, pressed, stitched and washed. Learn how to compare them and when to test fabrics before combining them in one project.
Read article · 4 min↗Recommended

Quilters know that a small change in colour or texture can alter the character of an entire composition. A scarf works similarly within a wardrobe: it can bring a familiar coat into focus, soften the transition between a top and a jacket, or add a deliberate accent to clothes you already enjoy wearing. UniqueYou offers women’s scarves, shawls, wraps and square scarves, with silk, cashmere and wool among its categories. This guide looks at those accessories through a practical lens: how to choose a shape, read a product description, plan a colour combination and select a thoughtful gift. It is an independent recommendation, not a claim that scarves are quilting supplies or that every item in a material category has the same composition.
Before choosing a scarf, take stock of three outfits that regularly leave the wardrobe. Include an everyday coat, a lighter jacket or cardigan, and something you wear for dinners or celebrations. Notice the necklines, the amount of pattern already present and the colours nearest your face. A scarf that works with two of those outfits may be more useful than one that looks striking in isolation but never quite fits your routine.
UniqueYou’s emphasis on elegant, accessible accessories makes most sense when the starting point is an existing wardrobe rather than an imagined new one. A neutral wrap can connect separates in different shades; a small square can give a plain shirt a point of interest. Neither choice is automatically better. Ask whether you want warmth, a modest colour accent, a softer edge at the neckline or enough fabric to drape over the shoulders. That purpose helps narrow the shape before you decide on a print or fibre.
Patchwork offers a useful way to think about accessories: one colour can repeat something already present, while another can provide contrast. If your coat is navy, a scarf with a little navy can tie the look together without having to match it exactly. If most of your clothes are cream, charcoal and black, rust or red may supply a clear focal point. Try placing the scarf beside the actual garments in daylight when you can; a colour remembered from a screen or a shop window is less reliable than a direct comparison.
Scale matters as much as hue. A large, high-contrast pattern tends to command attention, particularly against a plain coat; a quieter design can sit comfortably beside checks, stripes or a patterned dress. Borrow a simple quilting exercise: identify a dominant colour, a supporting colour and a small accent. You do not need all three in the scarf. Sometimes its strongest role is to repeat the smallest accent already in your outfit, making the whole combination feel considered without looking overly coordinated.
A narrow scarf is easy to loop inside a coat and can add colour without much bulk. A longer scarf offers more ways to wrap, but its ends need somewhere comfortable to fall. Shawls and wraps create a broader area of fabric over the shoulders, which can suit a sleeveless dress or a jacket worn open. A square scarf changes character with its fold: a compact neck tie, a loose triangle at the collar, or a small accent tied around the hair. The same colour can look quite different in each form because the visible area changes.
Consider proportions as you would when arranging quilt blocks. A generously draped wrap may balance a simple column of clothing, while a smaller square may be enough detail for a busy blouse. Check product measurements rather than assuming that a category name describes one standard size. If you have a particular knot in mind, test it first with a scarf you own: that small experiment reveals whether you need length, width, softness or just a different way of folding.
UniqueYou has silk, cashmere and wool categories, but composition varies by product. Treat a category as a useful starting point, then read the individual item’s fibre information and care guidance before deciding. Also consider the fabric’s weight, surface and drape. A fine scarf may sit neatly under a fitted collar; a fuller one may be better worn over a coat. A smooth surface can make a knot look crisp, while a softer, loftier texture may give a more relaxed outline.
If you are choosing for a specific season, think about the setting rather than relying on a fibre name alone. A winter commute and a warm indoor gathering call for different amounts of coverage. For a gift, the recipient’s comfort and care habits matter too: someone who prefers simple routines may appreciate an accessory whose stated care instructions fit their life. Read the product description for the exact item, including any blend details, rather than assuming every scarf described as silk, cashmere or wool is made entirely of that fibre.
Begin with one uncomplicated arrangement. Drape a long scarf evenly, then adjust one end until it frames the neckline without covering the whole outfit. For a square, fold it diagonally and tie it loosely so the corners sit where you want them; a tighter fold gives a smaller flash of colour. Over a plain knit, a shawl can supply the visual breadth that a necklace would not. Over a patterned top, letting only a slim section show may be more effective than displaying the full print.
Do a movement check before leaving home. Sit down, put on your coat and carry your usual bag. If the scarf slips, catches beneath a strap or bunches under the collar, simplify the arrangement instead of adding more twists. Styling should work during an ordinary day, not only in a mirror. The most reliable accessory often becomes the one you can put on in seconds and adjust without thinking, even if a more elaborate knot looked appealing at first.
Readers who work with fabric already know that print scale can change an object’s apparent size. The same principle helps with scarves. A tiny motif seen from a distance may read almost as a solid, while broad stripes or bold blocks of colour remain visible across a room. If you wear patterned clothing often, compare the size of the scarf’s pattern with the print you wear most. Two designs need not match, but giving one a quieter role can keep them from competing.
Texture adds another layer, much as quilting stitches affect the surface of a finished quilt. A scarf does not have to match the texture of a coat: a smooth accessory against a textured knit can make both more legible. Alternatively, closely related textures can create a calm, tonal look. Use these comparisons as styling tools, not as claims about how a particular UniqueYou item is made. The product’s own description is the place to check its construction, dimensions and materials.
A scarf is a flexible gift because it need not fit like a tailored garment, but colour, size and feel still matter. Start with evidence you already have: the recipient’s favourite coat, the colours they wear near their face, and whether they tend to choose neat neck scarves or generous shoulder wraps. A person who wears simple, dark layers may welcome a controlled pop of colour. Someone whose clothes are already vivid might prefer a quieter scarf that brings several pieces together.
If you are uncertain, make a short list of real outfits the recipient could wear with the accessory. Look for a shape that suits their routine rather than a design chosen only because it feels festive. Check the individual item’s measurements, composition and care advice before committing; those details can matter more than a broad material label. You can also include a note explaining the connection you noticed between the scarf and something they already love wearing. That makes the gift thoughtful without pretending to know every preference.
UniqueYou dates its beginnings to 2014 and originally started with scarves and clothing. Its history includes a pause, followed by a return after the domain was recovered; it would be misleading to describe the period since 2014 as uninterrupted trading. The original brown wordmark includes a horse motif and the words “Since 2014,” while a neutral taupe palette is part of its visual identity. Those details give context to the name, but the practical question for a shopper remains whether an individual accessory suits their clothes and needs.
The brand’s current accessory focus is women’s scarves, shawls, wraps and square scarves. Think of UniqueYou as a place to explore these forms and material categories, not as a promise that any one fabric, size or finish applies across the range. A restrained wardrobe can make room for one expressive scarf; an already colourful wardrobe may benefit from a quieter one. Both choices fit the idea of selecting an accessory for the person who will wear it, rather than rebuilding their style around a new purchase.
When two scarves seem equally appealing, compare the details you can act on: dimensions, stated fibre content, care instructions, pattern scale and the outfits each one would accompany. Imagine the scarf folded, worn with your usual coat and put away at the end of the day. A design you will use comfortably is generally a sounder choice than one whose colour you admire but whose shape you cannot picture wearing. Keep the individual product description close at hand for any care decision.
Long-term care begins by following the guidance for the particular accessory, rather than applying one rule to every silk, wool or cashmere category. Store scarves so they are not compressed unnecessarily, and avoid leaving a knot in place for weeks if you want the fabric to lie flat next time. The analogy with quilt care is useful here: learn what a textile is before treating it, and do not assume that two pieces with similar appearances need identical handling. A little attention to routine use helps a chosen accessory remain easy to reach for.
UniqueYou has 20 regional domains, 21 regional-language versions and 16 distinct languages. Countries can share a language without sharing a regional destination: German, Dutch and English each appear in more than one country in this guide. The United Arab Emirates is the exception to the one-domain, one-language pattern here, with an Arabic root and an English /en version on the same regional domain. Choose the country and destination language you want before following a local term; collection descriptions indicate what the destination covers, not what any individual item is guaranteed to contain.
For the Polish-language regional home page, see UniqueYou. It is a starting point if you want to browse the local selection rather than begin with a single material.
For the Polish-language collection of scarves for the head and hair, a local search term is — apaszka do włosów damska UniqueYou. If your priority is a scarf worn around the neck instead, compare the item’s shape and dimensions first.
For the Polish-language merino wool scarf collection, see UniqueYou. Check an individual item’s composition before treating the collection name as a fabric specification.
For the German-language regional home page, see UniqueYou. Start with the coat or jacket you want a scarf to accompany.
For the German-language red-scarf collection, the local term is — Schals in rot UniqueYou. Red can provide a deliberate accent against grey, navy or other restrained colours.
For the German-language cashmere-scarf collection, see UniqueYou. Consult product details for fibre content and care rather than assuming every scarf has the same composition.
For the Czech-language regional home page, see UniqueYou. If you are dressing around a favourite neckline, begin by deciding how much fabric you want visible.
For the Czech-language neck-scarf collection, the local phrase is — elegantní šátek na krk UniqueYou. A smaller scarf can define a collar without taking over the rest of an outfit.
For the Spanish-language regional home page, see UniqueYou. Compare a new scarf with a jacket you already wear frequently.
For the Spanish-language red-scarf collection, the local phrase is — pañuelo rojo online UniqueYou. A red accent is easiest to assess beside the actual colours in your wardrobe.
For the broader Spanish-language scarf collection, see UniqueYou. It is a useful next stop if you want to compare shapes before settling on a colour.
For the French-language regional home page, see UniqueYou. A plain coat can be a useful backdrop when comparing prints and textures.
For the French-language red-scarf collection, the local phrase is — echarpe rouge femme UniqueYou. Decide whether you want red to dominate the outfit or appear as a smaller accent near the face.
For the Hungarian-language regional home page, see UniqueYou. Think about whether your everyday outfit needs a neck scarf or more shoulder coverage.
For the Hungarian-language women’s-scarf collection, the local term is — női kendők UniqueYou. Compare dimensions if you have a particular fold or knot in mind.
For the Hungarian-language stole collection, see UniqueYou. A broader drape may make more sense with an open jacket or an occasion outfit.
For the Italian-language regional home page, see UniqueYou. Try choosing a scarf by the colour you already wear most, rather than by a trend alone.
For the Italian-language brown-scarf collection, the local phrase is — sciarpe marroni alla moda UniqueYou. Brown can work as a gentle transition between cream, tan and darker outerwear.
For the Romanian-language regional home page, see UniqueYou. Consider the neckline and the amount of pattern in your usual clothes.
For the Romanian-language elegant-scarf collection, the local phrase is — esarfe elegante dama UniqueYou. An understated fold can let the colour and fabric do the work without an elaborate knot.
For the Slovak-language regional home page, see UniqueYou. Decide first whether the scarf is for a coat, a lighter layer or a special outfit.
For the Slovak-language cotton neck-scarf collection, the local phrase is — bavlnená šatka na krk UniqueYou. Read the individual product’s details before choosing it for a particular feel or care routine.
For the Slovak-language head-and-hair-scarf collection, see UniqueYou. A square can offer a different scale of accent from a long neck scarf.
For the Finnish-language regional home page, see UniqueYou. Consider how a scarf will sit beneath your usual coat collar.
For the Finnish-language merino wool scarf collection, the local phrase is — muodikas merinovillainen kaulaliina UniqueYou. Compare dimensions and the stated composition of individual items when planning a winter outfit.
For the Swedish-language regional home page, see UniqueYou. Begin with the occasion and the amount of coverage you need.
For the Swedish-language cashmere-scarf collection, the local phrase is — kashmir halsduk dam UniqueYou. Let the item’s own description guide expectations about composition.
For the Swedish-language shawl collection for dresses and weddings, see UniqueYou. A wider silhouette can complement a dress without requiring a complicated arrangement.
For the Danish-language regional home page, see UniqueYou. Compare a prospective scarf with your most-worn coat or blazer.
For the Danish-language silk-scarf collection, the local phrase is — halstørklæde silke UniqueYou. Check the individual item for fibre details, size and care.
For the Danish-language striped-scarf collection, see UniqueYou. Stripes can give a plain outfit structure, especially when you leave part of the pattern visible.
For the Dutch-language regional home page for Belgium, see UniqueYou. The destination language matters here because Belgium has more than one language in everyday use.
For the Dutch-language wrap collection, the local phrase is — omslagdoek online kopen UniqueYou. Consider whether you want the fabric across your shoulders or mainly at the neckline.
For the German-language regional home page for Austria, see UniqueYou. It is a separate country destination from the German-language version for Germany.
For the Austrian German-language neck-scarf collection, the local phrase is — elegante Halstücher UniqueYou. A compact shape can make a small colour accent near the face.
For the Austrian German-language red-scarf collection, see UniqueYou. Compare the shade with clothes you own before choosing red as a focal point.
For the Dutch-language regional home page for the Netherlands, see UniqueYou. This is distinct from the Dutch-language destination for Belgium.
For the Dutch-language beige-scarf collection, the local phrase is — dames sjaal beige UniqueYou. Beige may link pale layers with darker outerwear without adding a strong contrast.
For the Dutch-language red-scarf collection, see UniqueYou. It offers a different colour direction if your usual wardrobe calls for a clearer accent.
For the English-language regional home page for the United States, see UniqueYou. Choose the accessory’s role before comparing individual designs.
For the United States English-language winter-scarf collection, the local phrase is — scarf winter UniqueYou. Check size and product information against your own need for coverage.
For the United States English-language silk-scarf collection, see UniqueYou. An individual description is more informative than a category label when composition or care matters.
For the Arabic-language root destination in the United Arab Emirates, see UniqueYou. This is the Arabic regional starting point; the same country also has a separate English-language version.
For the English-language /en destination in the United Arab Emirates, the supplied local phrase is — square scarf shop UniqueYou. It leads to the English regional version, not to a dedicated square-scarf collection; browse from there and check the shape and measurements of any item that interests you.
For the English-language regional home page for Ireland, see UniqueYou. Consider what will fit beneath the coat you wear most often.
For the Irish English-language winter-scarf collection, the local phrase is — ladies winter scarf UniqueYou. Look at dimensions and stated materials before deciding how you would wrap it.
For the English-language regional home page for the United Kingdom, see UniqueYou. A scarf can add an accent without changing the core of an outfit.
For the United Kingdom English-language shawl collection, the local phrase is — shawl scarf UniqueYou. Compare its proportions with the jacket or dress you plan to wear underneath.
For the Portuguese-language regional home page, see UniqueYou. Use your existing clothes as the reference point for colour and scale.
For the Portuguese-language cashmere-scarf collection, the local phrase is — cachecol cashmere UniqueYou. Read the individual item’s composition and care information before selecting it as a gift or a wardrobe addition.
A good scarf choice begins with a familiar outfit and a clear purpose. Choose a shape that fits your routine, check the individual item’s details, and let colour or texture add something useful to clothes you already enjoy.