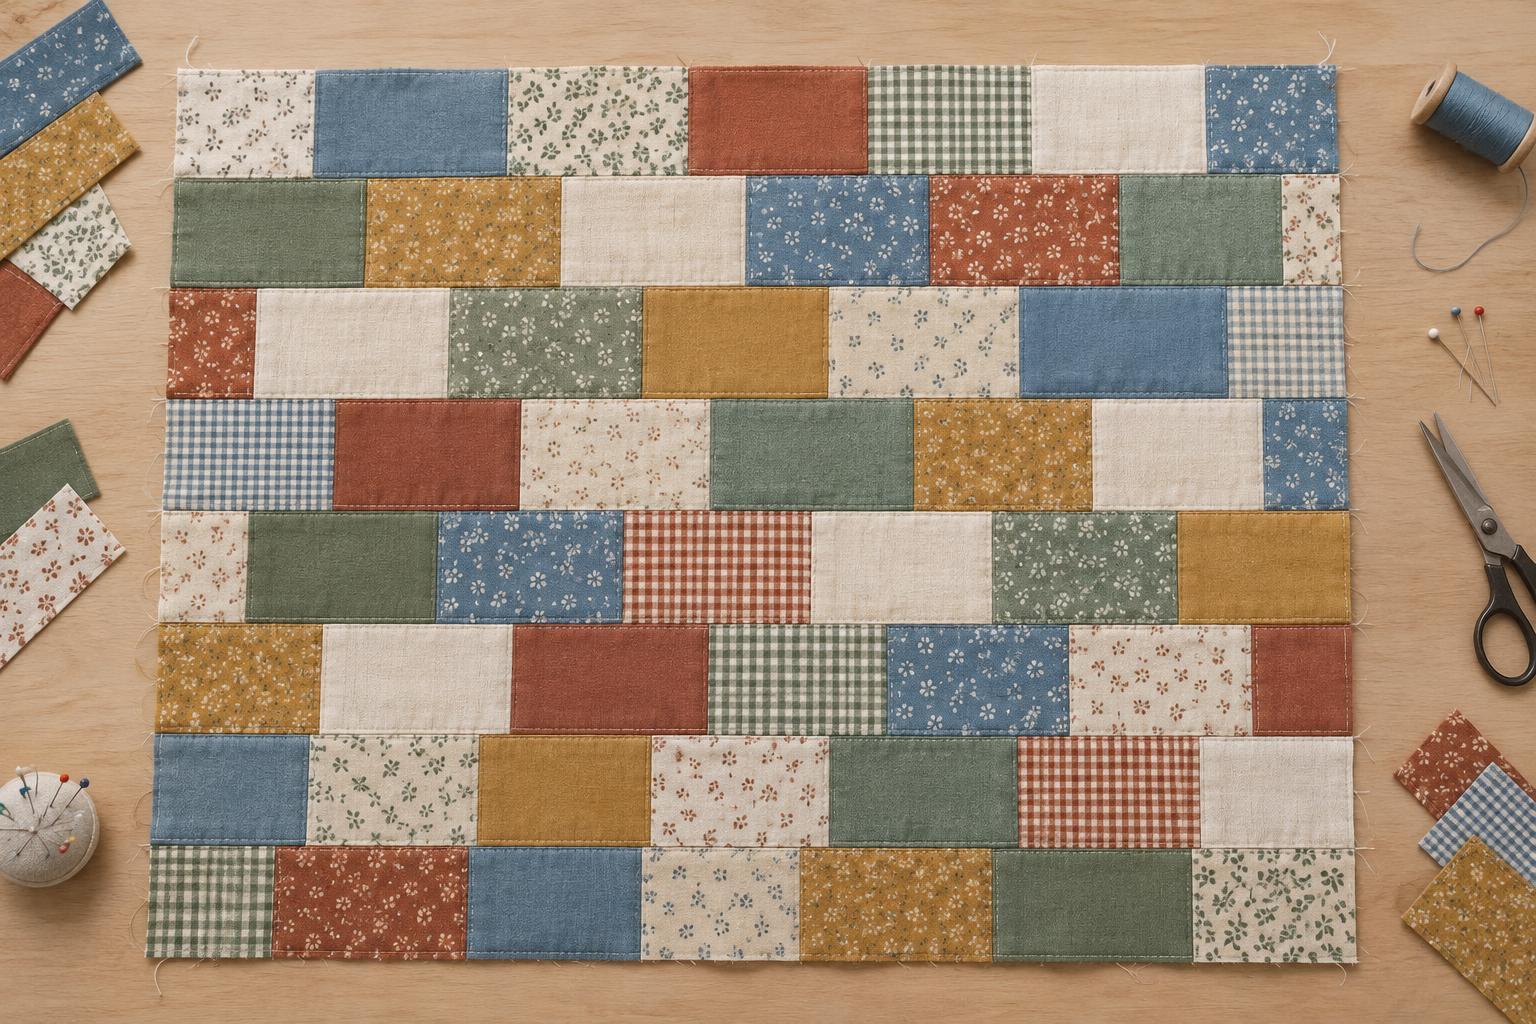
What makes a brickwork pattern
Brickwork patchwork is built from rows of rectangles. In one row, the vertical seams fall between full-sized pieces; in the next, those seams shift so they meet the middle of a rectangle above or below. The repeated offset gives the surface its familiar brick-like rhythm without requiring angled cuts or complicated blocks.
The pattern is useful when you want the fabrics to remain visible. A long rectangle shows more of a print than a small square, while the staggered seams add movement. Brickwork can be quiet and orderly in a limited palette or lively when each piece comes from a different fabric. Before cutting, decide whether the rows will run across the width or down the length of your project: their direction can change how the finished piece feels.
Choose proportions and plan the offset
Start with a finished brick size, meaning the size visible after seams are sewn. A rectangle twice as wide as it is tall makes the half-brick at each end of an offset row a square. Other proportions work too, but keeping all full bricks the same size makes the rows easier to plan.
For a small practice panel, use bricks that finish at 6 by 3 inches and a quarter-inch seam allowance. Cut each full brick 6½ by 3½ inches and each half brick 3½ by 3½ inches. Make a row of four full bricks. For the next row, place a half brick at each end with three full bricks between them. Both rows will measure 24½ inches across before their outside edges are finished. Repeat the two-row arrangement to build the height you want.
Sketch the rows or lay the pieces out before sewing. Count the half bricks separately from the full bricks, and check that every row has the same intended width. If you change the brick size, recalculate the cut sizes using your seam allowance rather than relying on the practice measurements.
Cut and arrange the fabrics
Accurate rectangles help the offset read clearly. Press the fabric before cutting, and use a ruler to keep opposite edges parallel and corners square. If you are cutting several pieces from strips, check the strip width from time to time; a small cutting error repeated across a row can make the ends uneven.
Arrange the pieces on a table or design surface in their sewing order. You might alternate light and dark fabrics, distribute a bold print across different rows, or use a gradual colour change from one side to the other. Try not to place every strong contrast at the same point in successive rows unless you want that secondary pattern. Looking at the layout from a few steps back can reveal clusters that are hard to notice while handling individual pieces.
Sew rows without losing alignment
Join the pieces within each row using a consistent quarter-inch seam allowance. Sew one row, measure it, and check that its pieces sit flat before making the rest. Pressing the seams to one side can keep the work tidy; press gently rather than pulling the row longer with the iron. If several rows finish at different lengths, check your seam allowance and cutting measurements before trimming anything.
To join rows, place them right sides together and match their ends. In brickwork, the vertical seams usually meet the middle of rectangles in the neighbouring row, so there are fewer seam intersections to match than in a square grid. Pin or clip the ends and a few points between them, then sew without stretching either row to fit. Press the joined rows and check that the stagger continues in the intended direction.
If a seam shifts slightly, focus on whether the row remains straight and the overall rhythm is clear. A practice panel is a good place to learn how your cutting, sewing, and pressing affect the result.
Adapt the pattern to a project
A short run of brickwork rows can become a cushion front, a table mat, or part of a larger quilt top. Add more rows for height, or add more full bricks to every row for width. When extending the layout, keep alternating the full-brick and half-brick row arrangements. This preserves the offset while giving every row a straight edge.
Before finishing, measure the assembled top rather than assuming it matches the planned size exactly. A border can frame the staggered pattern, but it is optional: the paired half bricks already give the offset rows even ends. Whether you quilt the layers with straight lines or a looser design, choose stitching that suits the scale of the rectangles and leaves the brickwork easy to see.


