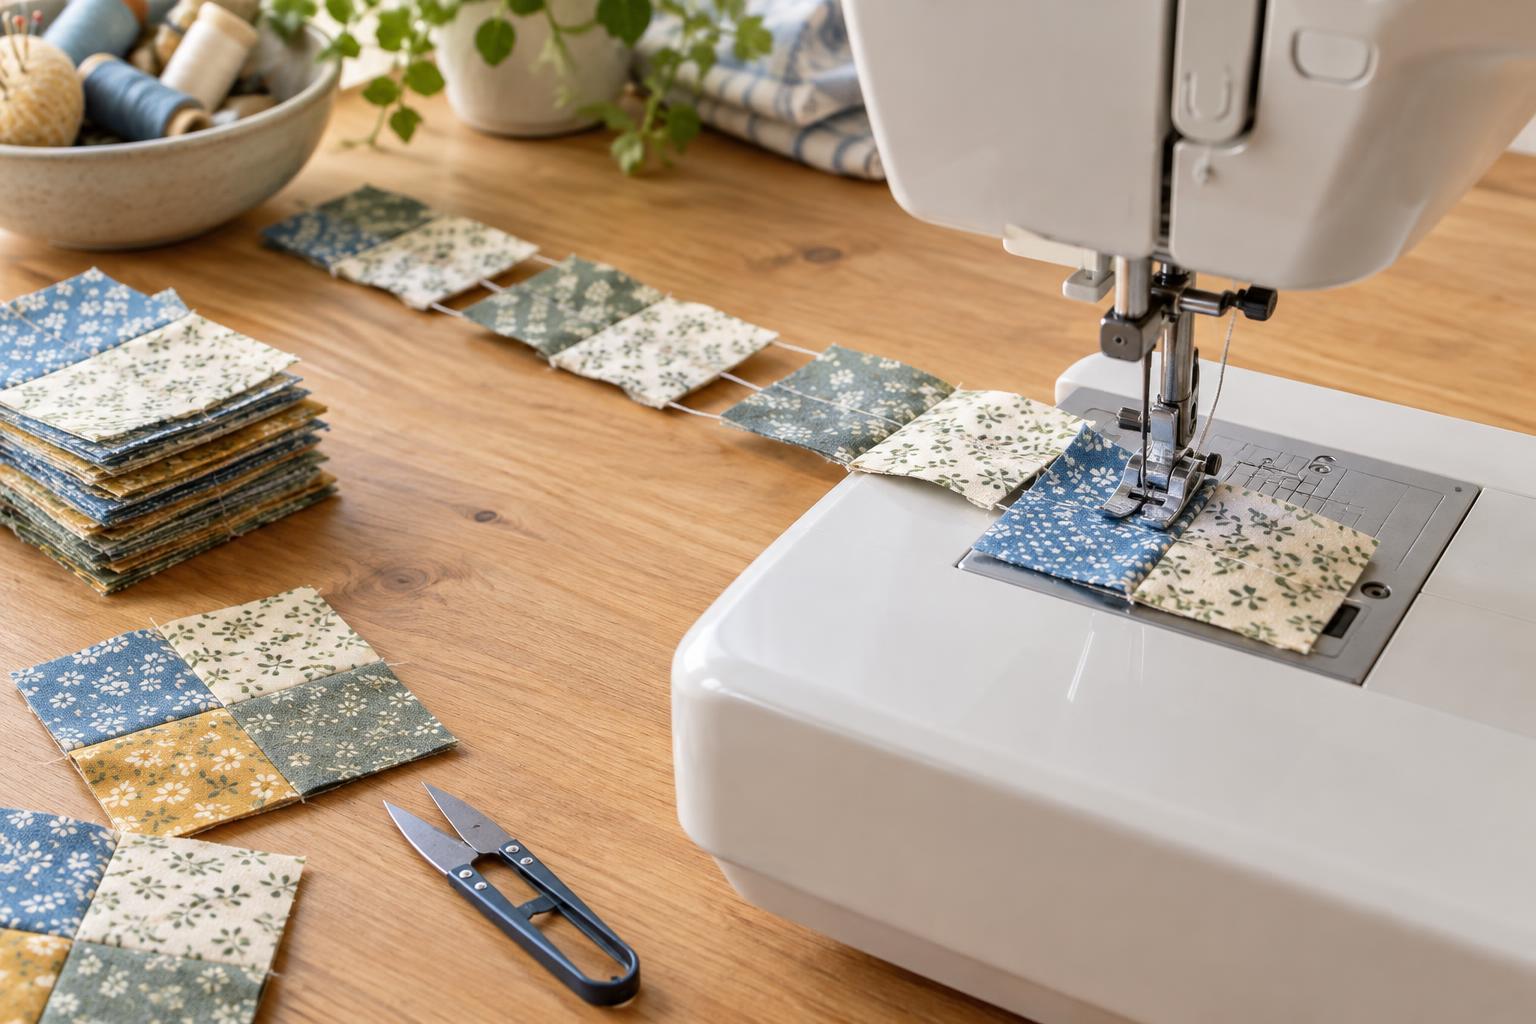
What chain piecing does
Chain piecing is a way to sew repeated patchwork seams in one continuous session. Instead of stitching one pair of fabric pieces, cutting the threads, and starting again, you feed the next pair under the presser foot shortly after the first. A short length of thread connects the sewn pairs until you cut them apart. It works particularly well for blocks made from many similar units, such as two-patch squares or rows of rectangles.
The main benefit is a simpler rhythm: position, sew, position, sew. You spend less time stopping to trim thread tails, and the connected units are easier to gather for the next step. Chain piecing does not replace careful cutting or accurate sewing, though. If the seam allowance drifts, that difference can repeat across the whole chain. Start with a small batch while you learn the process.
Prepare and organize your pieces
Cut the pieces required by your pattern and arrange them on a table before you sit at the machine. For a first practice session, try several pairs of equally sized squares. Place each pair right sides together, with the edges to be joined aligned. If your fabrics have a directional print, check which way each piece needs to face in the finished unit.
Keep pairs in a consistent order if their placement matters. You might set them out in rows, then pick them up from the same end of each row. For a design with several different fabrics, sew one clearly identified group at a time rather than mixing every unit into a single chain. A simple layout sketch can help you return pieces to the intended positions later.
Check the seam allowance specified by your pattern. Many quilt patterns use a quarter-inch seam, but the pattern’s instructions should take priority. Sew two test pieces, press them, and measure the result before making a long chain. This checks the seam you actually produce with your chosen machine setup, not just the position of the presser foot.
Sew a chain one pair at a time
Set the first pair under the presser foot with the aligned edge at your seam guide. Lower the foot and sew the seam, letting the machine feed the fabric rather than pulling it from behind. As the last edge passes the needle, stitch off the fabric. Lift the presser foot if needed, place the next prepared pair at the guide, and begin sewing it after a small gap. The thread between the pairs forms the link in the chain.
Continue in the same way for the rest of the batch. There is usually no need to backstitch at the ends of these patchwork seams: later seams commonly cross and secure them. If your project instructions call for a different approach, follow those instead. Keep the next pair close enough to avoid a long thread bridge, but leave enough space to cut between units without nicking the fabric.
Watch the fabric edge as it approaches the needle. It should stay aligned with the guide along the full seam. If two pieces start to shift, stop with the needle down, lift the foot, and realign them before continuing. For units with corners or seams that must meet, pause to check those points rather than relying on speed.
Separate, press, and check the units
When the batch is sewn, clip the thread bridges between units with small scissors or a thread cutter. Cut the connecting threads, not the fabric corners. Lay the units out in their original order if they belong in a planned block or row. This is also a good moment to check that no pair was turned around before you sew the next seam.
Press each seam according to the needs of the block. Some patterns ask you to press seams to one side so neighbouring seams can meet neatly; others call for pressing them open. Set the seam with the iron first, then open or turn the pieces and press without stretching them. Measure a few completed units. If they differ from the intended size, investigate the seam allowance or cutting before repeating the process with another batch.
Build a reliable routine
Once simple pairs feel comfortable, try chain piecing the same seam across several rows or blocks. Work in manageable batches and finish one construction step before moving to the next: pair the pieces, sew the chain, separate it, press, then lay the units out again. This routine makes it easier to spot a misplaced fabric while it is still straightforward to correct.
Efficiency comes from repeating a clear step, not from sewing as fast as possible. Take time to align each pair, especially when matching points or using small pieces. A short, accurate chain is more useful than a long one that needs to be unpicked. With practice, chain piecing becomes a dependable way to handle repeated seams while keeping your attention on the shape and order of the quilt.


