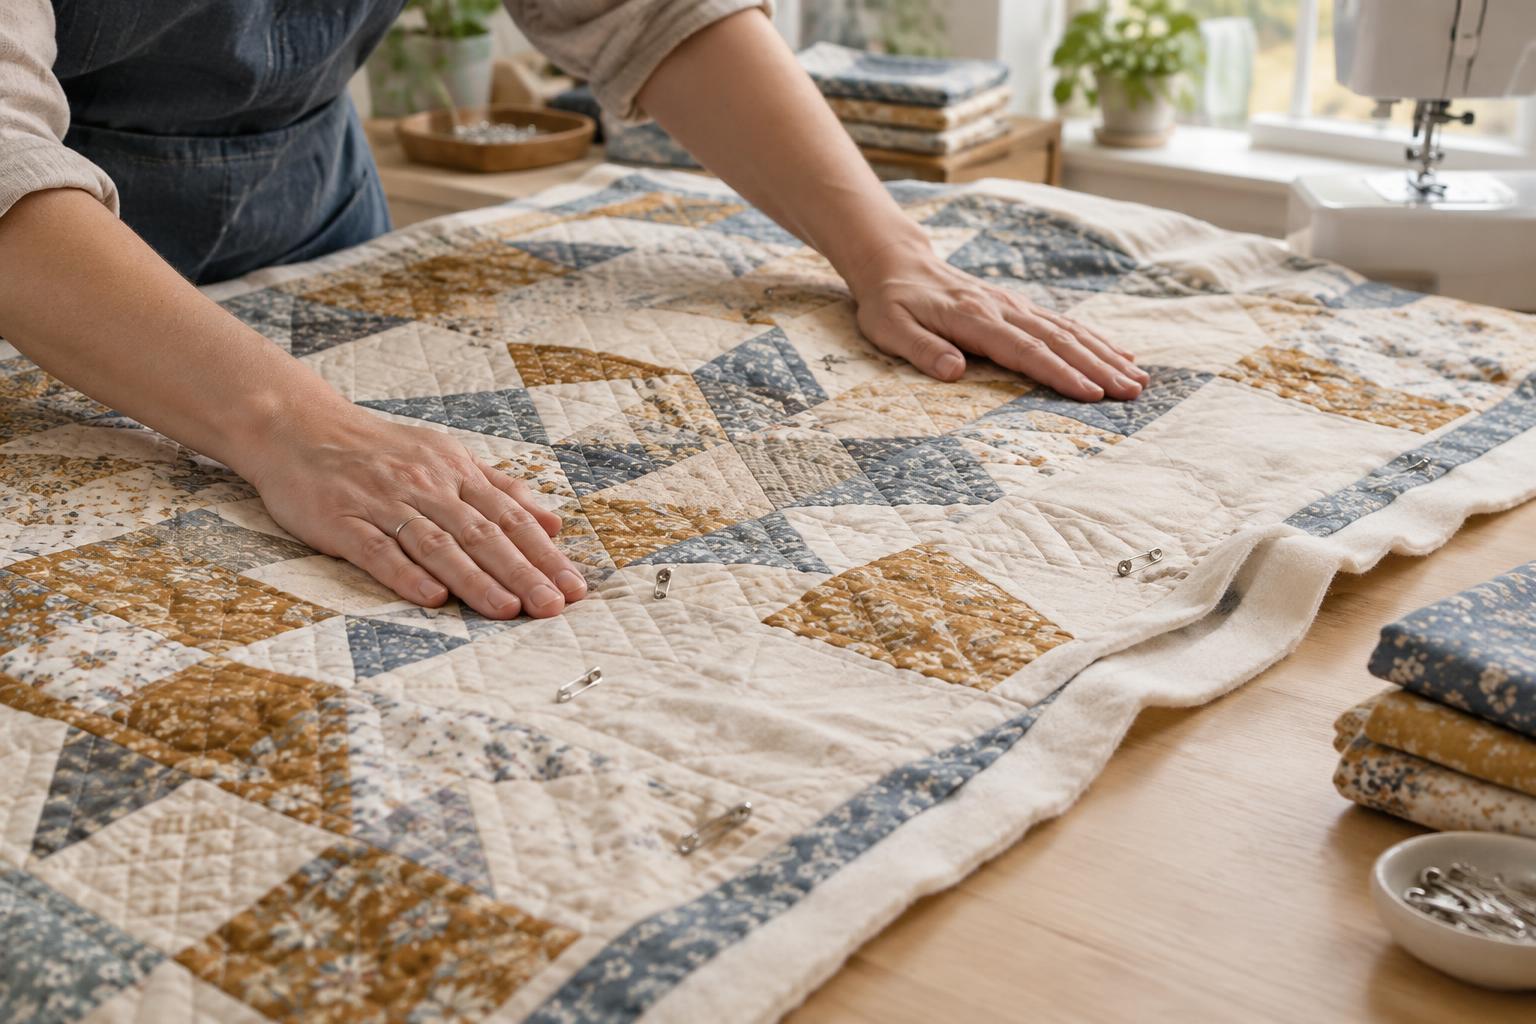
First, identify where the pucker begins
A quilt pucker is a fold or ripple caught by stitching. It may show on the top, the backing or both sides. A small ripple that disappears when the quilt lies flat is different from a pleat stitched firmly into place. Before changing your technique, look at where the problem appears: beside a seam, along a quilting line, across a border or only on the back.
That location offers a useful clue. Puckers beside patchwork seams may come from uneven pieces or seams pressed into bulky ridges. Folds on the back often point to backing that shifted or was not smoothed during basting. Ripples that build up as you quilt may mean the layers are being pushed ahead of the needle. Several causes can overlap, so check the whole quilt rather than assuming one machine setting is responsible.
Start with a flat quilt top and backing
Quilting cannot reliably flatten a top that already has excess fabric. Measure and sew patchwork carefully, press seams without stretching them, and check that blocks lie flat before joining them. If a border waves, compare its length with the quilt edge before attaching it. Easing a much longer border onto a shorter edge can leave fullness that quilting may turn into tucks.
Press the finished top and backing, paying attention to folded or creased areas. If you piece the backing, press its seams so they do not create prominent ridges. Give the backing and batting enough extra width and length beyond the top to allow for quilting and handling; the exact margin depends on your project and method. Avoid pulling any layer tight to make it look flat. A stretched backing can relax later and form ripples.
Baste so the layers can move together
Basting holds the quilt sandwich in position until quilting stitches replace it. Place the backing wrong side up, add the batting, then position the top right side up. Smooth each layer from the centre outward. Lift and reposition fabric to remove a wrinkle instead of tugging hard at its edges. Check the back with your hands as well as your eyes; a fold underneath can be easy to miss from above.
Whether you use pins, thread or a suitable basting product, secure the layers closely enough that they cannot shift between quilting lines. Large unbasted areas are more likely to creep as the quilt travels through the machine. Remove pins only as the needle approaches them, and pause occasionally to smooth the area ahead of your stitching. If you must roll or fold the quilt to fit it through the machine, make sure those folds do not pull against the section being quilted.
Match machine setup and quilting order to the job
For straight-line quilting on a domestic machine, a walking foot can help feed the top and backing more evenly. A regular presser foot may push the top layer forward, especially over seams or on longer runs. If the fabric bunches despite careful basting, try a practice sandwich made from similar fabric and batting. Check that the needle is suitable for the layers, the machine is threaded correctly and the stitch length produces even stitches without dragging.
Begin in a stable area and work outward, rather than trapping a large pocket of loose fabric between completed quilting lines. For parallel lines, consider alternating the direction of stitching to reduce a gradual build-up of fullness. In free-motion quilting, move the quilt smoothly rather than forcing it under the needle; uneven movement can distort the fabric. Keep the quilt’s weight supported on the table or another surface so it does not pull on the needle area.
Prevent trapped fullness and fix it early
Quilting density matters. Closely spaced stitches hold fabric differently from widely spaced stitches, and a sudden change in density can make an unquilted area look loose. Plan a reasonably consistent approach across the quilt, adjusting for its design and batting. If you notice a ridge forming ahead of the foot, stop before stitching across it. Smooth the layers again and check whether nearby basting has loosened.
For a small pucker, remove the affected quilting stitches carefully, smooth and re-baste the area, then stitch it again. A larger fold may require removing more stitching so the fabric can relax without being stretched. Pressing may soften a mild ripple, but it will not undo a pleat secured by stitches. Taking time to correct a problem while it is still local is usually easier than trying to hide it during binding.


