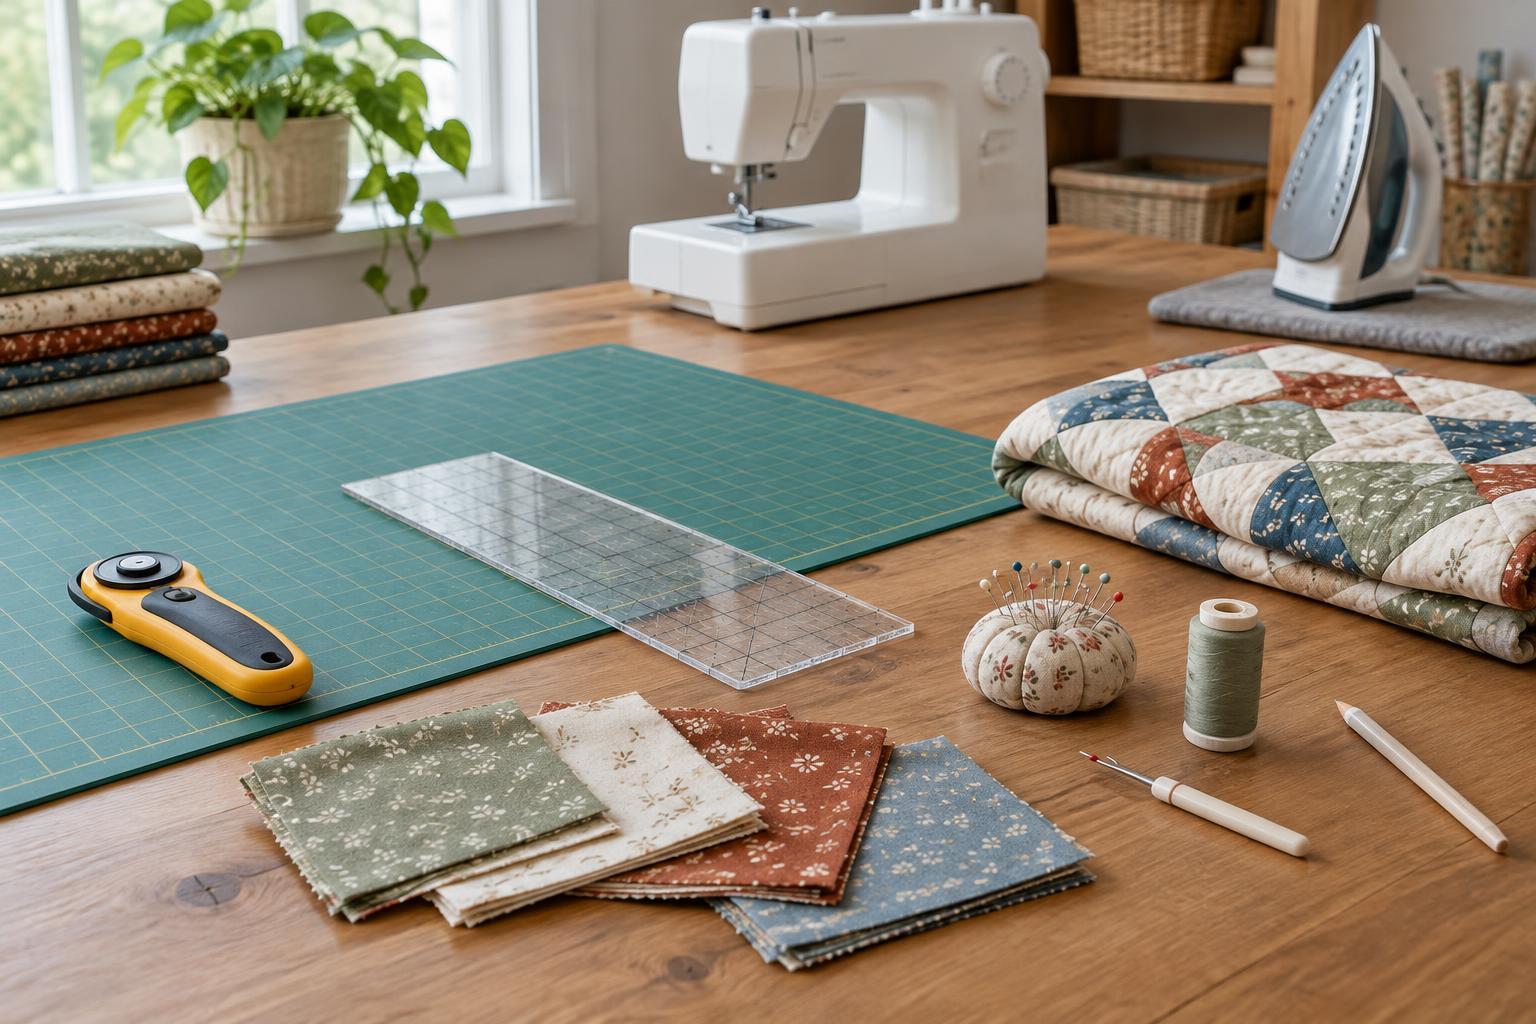
Build a small toolkit around the steps of a quilt
A patchwork quilt moves through four basic stages: cutting fabric, sewing pieces together, assembling the layers and finishing the edges. Thinking in stages makes a tool list easier to manage. You do not need every specialist gadget before you begin. A reliable way to cut, an accurate way to sew, an iron and a few tools for handling the quilt layers will take you a long way.
For a first project, choose a simple layout of squares or rectangles. Straight edges let you practise consistent cutting and seams without needing templates for unusual shapes. If you already own a sewing machine, check that it can make a straight stitch before buying accessories. Fabric, batting and thread are project materials rather than tools, but their size and thickness will affect what equipment feels comfortable to use.
Cutting tools: make pieces that fit together
A rotary cutter rolls a sharp circular blade along the edge of a ruler. Paired with a self-healing cutting mat, it makes repeated straight cuts easier than cutting each piece freehand. The mat protects the work surface and provides a stable area for cutting. A transparent quilting ruler holds the fabric in place and gives you measurements and straight reference lines. For a first quilt, one ruler long enough for your planned strips is more useful than a collection of specialised shapes.
Keep your fingers away from the ruler’s cutting edge, close the cutter’s blade guard after every cut and replace a blade that starts to drag or skip. Cut on a stable table rather than at an awkward height where the ruler may shift. If a rotary cutter is not available, fabric scissors and a carefully measured template can work; the important thing is to cut consistently. Keep fabric scissors for fabric only, and use separate small scissors for trimming thread so the main blades stay sharp.
Sewing tools: keep seams consistent and easy to correct
A sewing machine with a dependable straight stitch is the main sewing tool for most first quilts. Patchwork pieces are commonly joined with a quarter-inch seam allowance, so it helps to know where that distance falls on your machine. A quarter-inch presser foot can provide a guide, but it is optional: you can test a seam on scrap fabric, measure it and use the machine’s markings or a suitable removable guide. Consistency matters more than owning a particular foot.
Use a fresh machine needle suited to your fabric and replace it if stitches become uneven or the needle is damaged. Pins or sewing clips hold edges together while you sew; remove pins before they reach the needle. A seam ripper is useful, too. It lets you undo a misplaced seam without pulling hard enough to distort the fabric. Keep a few scraps nearby to test stitch length, thread tension and seam allowance before sewing your quilt pieces.
Pressing and marking tools: check your work as you go
An iron and a firm, flat pressing surface help patchwork blocks lie flat and fit together. Press a sewn seam rather than sliding the iron back and forth, which can stretch or skew the fabric. Follow your pattern’s directions for pressing seam allowances; sometimes pressing them to one side helps seams meet, while pressing them open reduces bulk. An ironing board works well, and a small pressing surface near the machine can make frequent pressing more convenient.
A measuring tape is handy for checking the size of a finished quilt top or backing, while the quilting ruler remains the better tool for measuring small cut pieces. A removable fabric marker or chalk can mark quilting lines or alignment points. Test it on a fabric scrap first and follow its removal instructions, since marks may not behave the same way on every fabric. For a simple quilt, you may need very few markings beyond your cutting measurements.
Layering and finishing tools: hold everything together
Once the patchwork top is complete, it sits above batting and backing fabric. These layers need to stay aligned while you quilt them. Curved safety pins are one option for basting; they pass through the layers and are easier to handle than straight pins for this task. Basting spray is another option, but it is not essential. Smooth each layer before securing it and work from the centre outward to help avoid folds.
For machine quilting, a walking foot can help feed the layers together, especially when sewing straight lines. Check which feet fit your machine before purchasing one. To finish the outer edge, you will need binding fabric, pins or clips, a needle and thread if you plan to sew the final side by hand, and your cutting tools to trim the quilt. Start with the tools that serve your chosen method, then add others only when a project gives you a clear reason to use them.


