Start with the point, not the fabric
A flying geese unit is a rectangle with a large central triangle and two smaller corner triangles. The tip of the large triangle points toward one long edge. That tip gives the unit its direction: up, down, left, or right in the finished quilt. When many units sit together, their points can lead the eye across the surface, gather into peaks, or pull attention toward the centre.
For a chevron-inspired layout, direction matters as much as colour. A single reversed unit may look intentional in an informal design, but it can interrupt a carefully planned repeat. Before cutting a full quilt, draw a small grid of rectangles in the same proportions as your finished units. Put an arrow in each rectangle to show where its point will face. This simple map lets you explore the pattern without relying on fabric placement alone.
Choose a repeat you can recognize
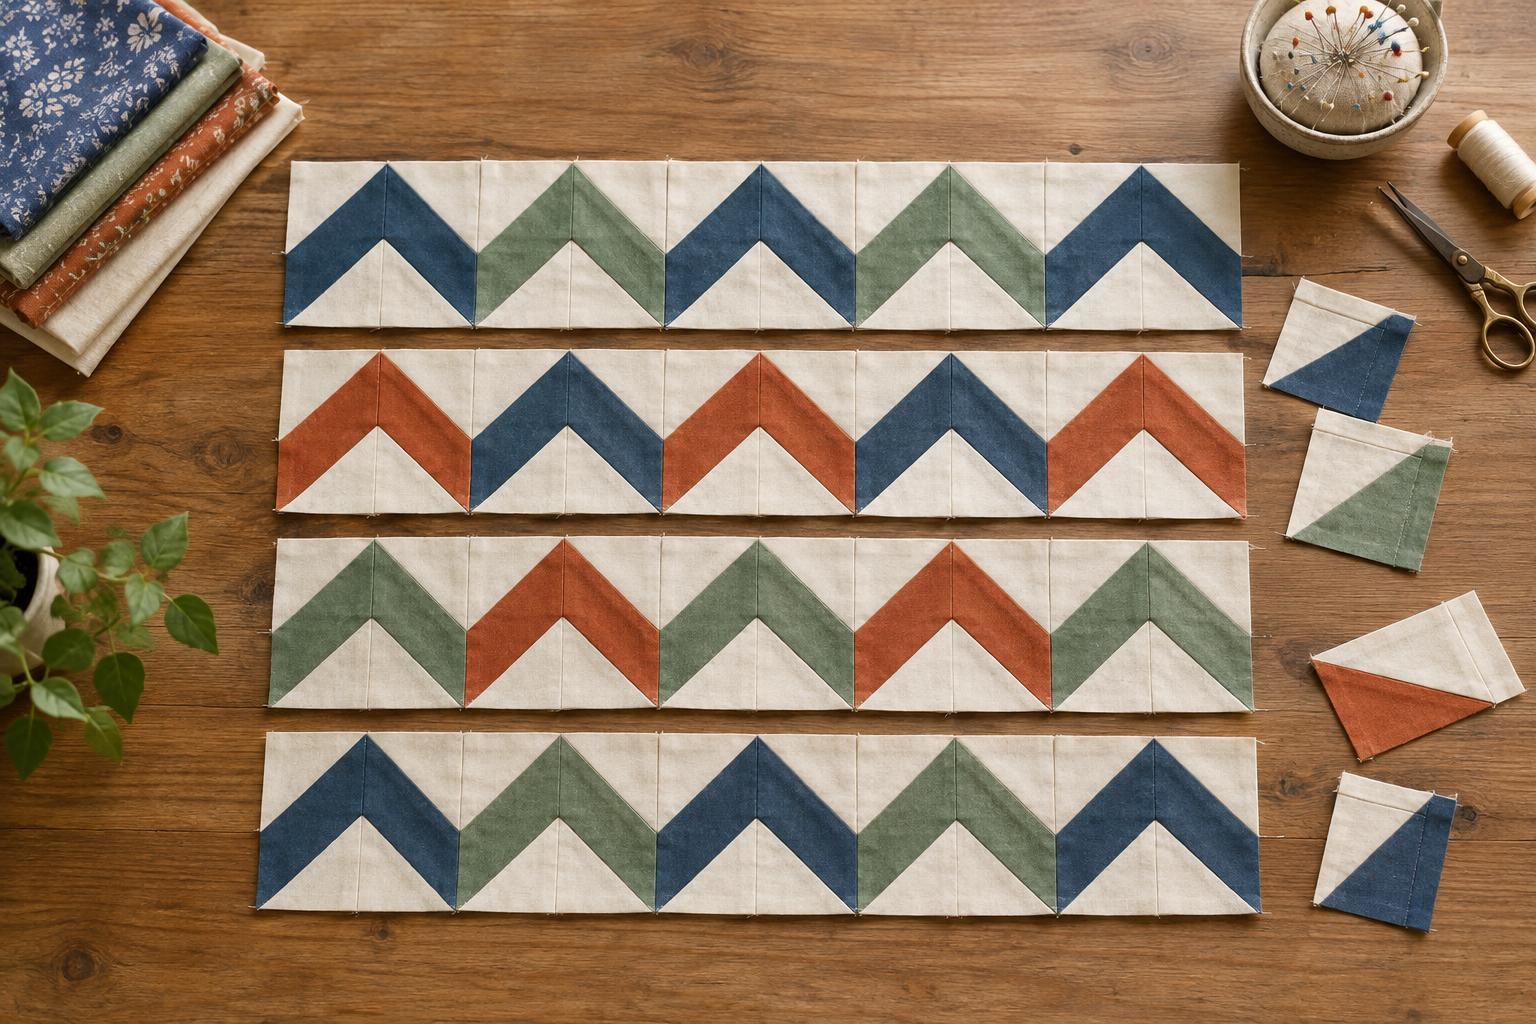
One approachable arrangement uses horizontal rows of geese. Point every unit in the first row upward and every unit in the next row downward, then repeat. The alternating peaks give the quilt a zigzag rhythm. For a more varied effect, shift every other row sideways by half a unit’s width. That offset needs a plan for the gaps at the row ends: you might use plain filler pieces or design a border that accommodates them.
Try several repeats on paper before settling on one. You could keep all points facing upward for a steady procession of peaks, alternate direction by row for stronger contrast, or change direction in groups of rows to create broader bands. If you want the eye to travel diagonally across the quilt, sketch that path first and assign directions around it. Flying geese suggest movement, but their seams will not automatically form one continuous chevron line. A small layout sketch helps you judge the visual effect you actually want.
Use colour to make the direction legible
Value—the relative lightness or darkness of a fabric—can make a directional layout easier to read. If the large triangles have a similar value and the corner triangles contrast with them, the points tend to stand out. If all the fabrics are close in value, the result may feel softer and more blended. Neither choice is wrong; compare a few completed units at a distance before making the rest.
Decide whether colour will follow the rows, the points, or a diagonal path. Repeating one fabric in all the upward-pointing geese, for example, makes their direction especially noticeable. Mixing fabrics within each row gives a scrappier look while the shared point direction maintains order. Photographing a test layout can help you spot an unexpectedly dominant fabric or a point that faces the wrong way.
Plan dimensions and test a small group
Choose one finished unit size and use it throughout the main layout. A geese unit that finishes at 4 by 2 inches, for instance, measures 4½ by 2½ inches before it is sewn to its neighbours. The extra half inch in each dimension provides a quarter-inch seam allowance on both sides. Check the requirements of your chosen construction method before cutting; some methods start with oversized pieces that are trimmed after sewing.
Make a few units and lay them out as one complete repeat. Check that the points remain visible and that the rows join at the size you expected. If your design turns some geese sideways, remember that their rectangular footprint turns too. They may need different-sized neighbouring pieces or a separate block plan to fit neatly into the overall grid. Testing this on a small group is easier than discovering a mismatch after making every unit.
Keep the map beside you as you assemble
Once the layout works, mark the row order on your sketch. You can also place a small removable label at the edge of each laid-out row before carrying it to the machine. After joining a few units, compare the sewn row with the arrows on your map; it is much easier to turn one misplaced unit at this stage than after the rows are joined.
Press seams in a way that keeps the units flat, checking that the point tips have not disappeared into the seam allowance. Finally, lay the completed rows out in order before joining them. Step back and look at the whole surface: the most successful directional pattern is one you can recognize without tracing every individual goose.


