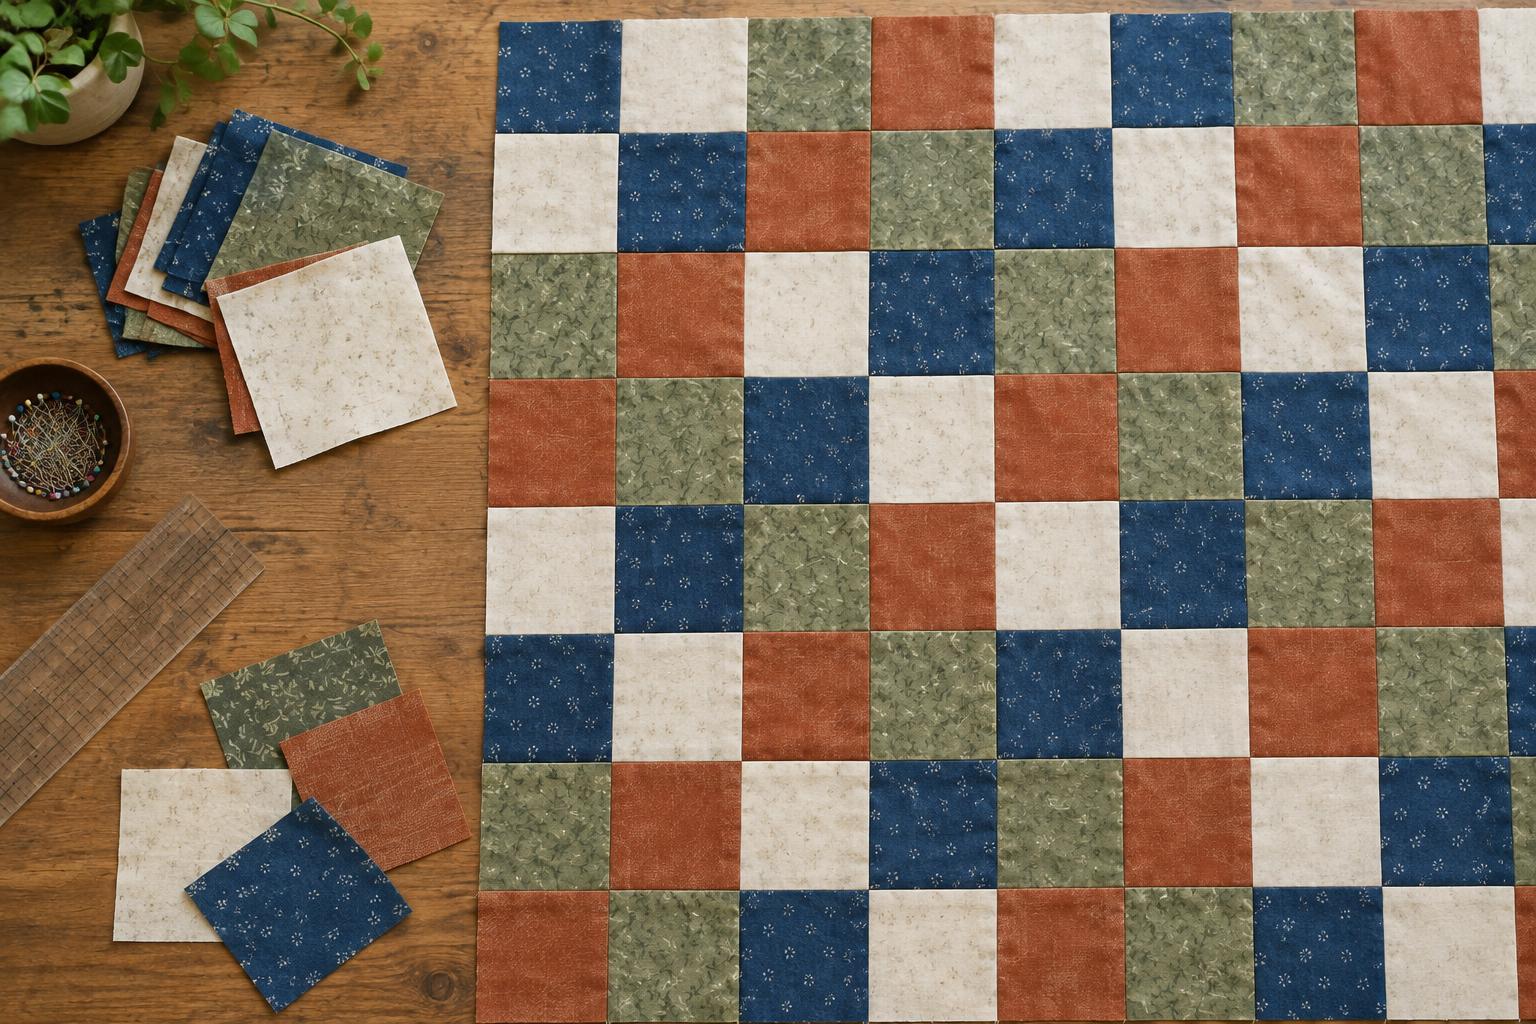
Start with a two-by-two grid
A four-patch block is made from four equal squares arranged in two rows of two. That small grid is easy to sew, yet it offers plenty of room to experiment. Change which squares are light or dark, rotate a block, or place it beside a plain square, and the larger pattern changes too. It makes a useful starting point for a cushion cover, table runner or quilt built one block at a time.
For a clear first design, choose two fabrics with a noticeable difference in value: one that reads lighter and one that reads darker from a few steps away. Put the dark squares in opposite corners of each block. This arrangement creates a miniature checkerboard and gives you a simple unit to repeat. Prints can work well, but two busy prints of similar value may blur together. If that happens, try pairing a print with a quieter fabric.
Cut squares with the finished size in mind
Decide how large you want each square to appear after sewing. With a standard quarter-inch seam allowance, add half an inch to that finished measurement when cutting each square. For example, cut four 3½-inch squares to make a four-patch block that finishes at 6 inches square. Before it is joined to neighbouring blocks, the block should measure 6½ inches square, including its outer seam allowances.
Cutting consistently matters more than cutting quickly. Straighten a fabric edge, use a ruler to measure from that edge, and check a few squares before cutting the whole project. If you are using scraps, sort them into piles of the same cut size. You can mix fabrics freely within a colour group while keeping the pieces compatible. Cut a few extra squares if you want the option to swap colours during layout.
Sew one accurate block
Lay out two light and two dark squares with matching colours on opposite corners. Sew the top pair together, then sew the bottom pair, using a consistent quarter-inch seam. Press the seam allowances of one pair toward the dark fabric and those of the other pair toward the light fabric. When you place the pairs right sides together, the seam allowances should point in opposite directions. Align the centre seams, pin if needed, and sew across to complete the block.
Press the finished block and measure it. If it is too small, check whether the seam allowance is wider than intended; if the rows do not line up, check that the squares were cut equally and the centre seams stayed aligned while sewing. Making one test block before cutting or sewing a large batch lets you adjust your method without having to remake many pieces.
Try three repeating layouts
For a continuous checkerboard, place identical four-patch blocks in rows so the light and dark squares alternate across block boundaries. Rotate blocks as needed before joining them; a quick look at the touching edges will show whether two squares of the same value have landed together. This layout puts the emphasis on the small squares rather than the outlines of individual blocks.
For a diagonal chain, alternate four-patch blocks with plain fabric squares cut to the same unfinished size as the blocks. Arrange the four-patches so their darker corners appear to lead the eye across the project. The plain squares provide breathing room and make the chain easier to see. A third option is to alternate two versions of the block: one with dark squares in opposite corners and another using a contrasting colour in those corners. Keep the placement consistent to create a deliberate repeat, or vary it for a scrappier effect.
Plan the whole surface before joining rows
Arrange all the blocks on a table, floor or design wall before sewing them together. Step back to look for clusters of similar prints, unexpected stripes, or places where the pattern seems to stop. A photo can help you notice the overall rhythm. Move a few blocks at a time rather than rearranging everything at once, so you can tell which changes improve the design.
Once you like the layout, sew blocks into rows, keeping their orientation in order. Press adjacent rows in opposite directions where practical, then join the rows while matching their seams. The same approach works for a small project or a larger quilt: begin with a repeat you understand, make a few test blocks, and let the arrangement of simple squares do the visual work.


