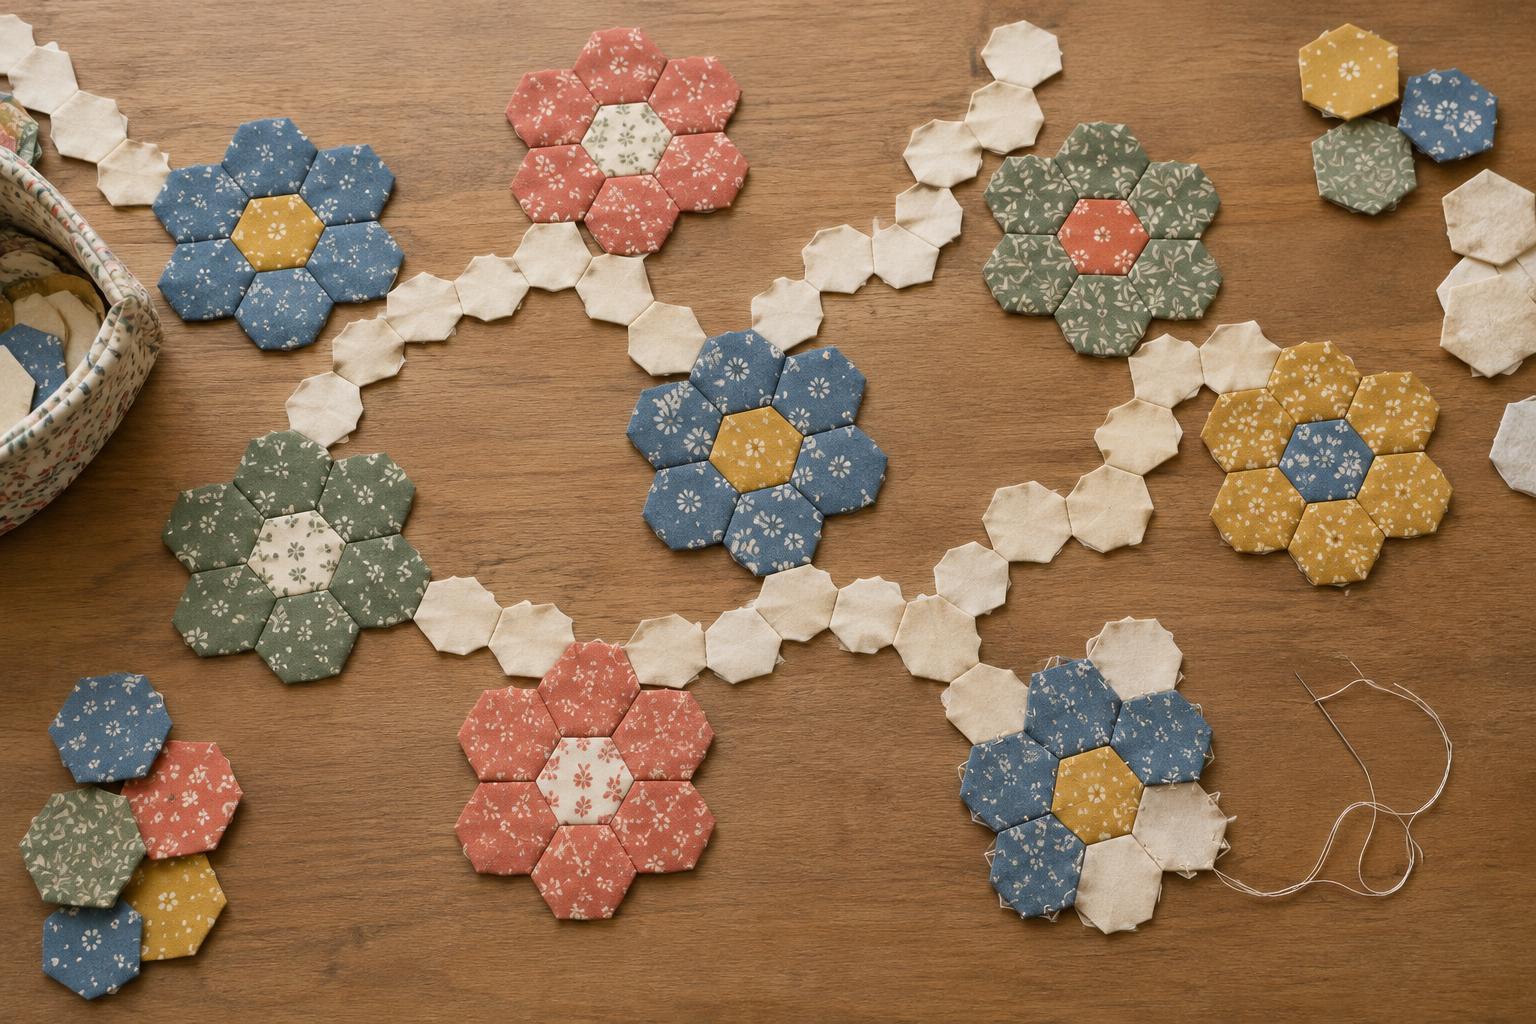
Start with a simple flower unit
A classic hexagon flower, often called a rosette, has one centre hexagon surrounded by six petal hexagons. Repeating this small unit gives you plenty of choices: flowers can sit in orderly rows, drift across a background or form clusters linked by a winding path. The key is to plan both the flowers and the spaces between them before joining everything together.
Choose one hexagon size for the entire design, and keep the seam allowance consistent. If you are using English paper piecing, make several sample flowers with the same paper templates. Lay them flat on a table or design board without stitching them to one another. This lets you change the layout freely while you decide how much space each flower needs.
Give each rosette a clear role
A flower reads most clearly when its centre contrasts with its petals. The contrast can come from light and dark values rather than different colours: a pale centre inside medium-blue petals may stand out as well as a yellow centre inside red ones. If every petal uses a different print, consider repeating a colour or a similar value to help the six pieces feel like one flower.
You do not need to make every rosette identical. Try a few quiet flowers beside one stronger focal flower, or repeat the same petal fabric in several rosettes to tie the layout together. Before sewing, step back from the arrangement. If a flower disappears into the background, swap a petal or change the neighbouring background hexagons. Small changes are easier now than after the units are joined.
Plan the paths between flowers
Connecting paths are runs of hexagons placed between rosettes. They might be a single-file trail in a contrasting colour or part of a larger background that leaves a visible route through the flowers. A path does not have to be perfectly straight, but it should be easy for the eye to follow. Using the same fabric or a closely related group of fabrics along the route helps it stay legible.
Begin by placing two finished flower units on your work surface with room for at least one intervening hexagon where they come closest. Fill that gap, then extend the route toward the next flower. Because hexagons meet along angled edges, a path may bend naturally as it travels across the layout. Place loose background hexagons around the route to check whether the flowers remain distinct and whether unexpected gaps or dead ends appear.
For a calm arrangement, keep the space between most flowers similar. For a more informal one, vary the spacing deliberately while maintaining a continuous-looking route. A quick phone photo of each version can help you compare layouts without relying on memory.
Choose a layout before joining units
Rows make it straightforward to check spacing and overall size. Staggering alternate rows gives the flowers a gentler, less grid-like rhythm. A diagonal route can draw attention from one corner of the quilt to another, while a looping route encourages the eye to travel around the surface. Try each idea with paper shapes or fabric pieces before committing your stitched rosettes.
Think about the intended edge as well as the centre. A hexagon layout naturally creates an uneven outline. You can preserve that shape, add background pieces to fill the gaps, or plan a straight outer edge with a border or appliqué approach. Decide this early enough to leave room around the outer flowers. Avoid trimming into stitched flower units simply to make the edge straight.
Join the layout in manageable sections
Once the arrangement feels settled, take a clear reference photo and mark or number the flower units so their positions are easy to recover. Join a few rosettes and their connecting hexagons at a time rather than assembling every flower first and trying to fit the paths afterward. Check each new section against the photo before adding the next one.
With English paper piecing, stitch adjacent edges without pulling them so tightly that the fabric puckers. Leave papers in place wherever they still help support an unjoined edge, and remove them as the surrounding seams make the patchwork stable. If you prefer machine piecing, test a small group first: hexagon intersections require careful seam starts and stops. Whichever method you use, pausing to lay each section flat will help you catch a misplaced path hexagon while it is still simple to move.


