Prepare the quilt and binding
Double-fold binding is a fabric strip folded in half lengthwise, with both raw edges together. It wraps around the quilt edge so the folded edge covers the final line of stitching. In this method, you sew the raw edges to the back of the quilt first, then fold the binding to the front and topstitch it in place. Keeping the final stitching on the front makes it easier to see whether you are catching the binding.
Square up the quilt and trim the backing and batting even with its edges. Measure around the perimeter, then add extra length for corners and joining the ends. A 2½-inch-wide strip is a useful starting point, though the best width depends on your batting thickness and seam allowance. Join strips right sides together at right angles with diagonal seams; trim the seam allowances and press them open to reduce bulk. Press the long strip in half, wrong sides together. Before sewing, wrap a short section around the quilt edge to check that it will cover the seam comfortably on the front.
Sew the binding to the back
Choose a starting point along one side rather than at a corner. Lay the binding on the quilt back with its raw edges aligned with the quilt’s raw edge. Leave an unsewn tail of about 8 to 10 inches, then begin stitching. A ¼-inch seam allowance is common, but consistency matters more than the exact measurement: the binding must be wide enough to fold over the edge and cover this seam on the front. Sew at a steady pace, guiding the layers without pulling them.
If the quilt edge ripples or the binding stretches, stop and check how the layers are feeding. A walking foot can help move the quilt and binding together. Keep the quilt supported on the table rather than letting its weight drag against the needle. Pause occasionally to make sure the binding’s raw edges remain aligned with the quilt.
Make mitered corners
As you approach a corner, stop stitching one seam allowance’s distance from the end of the edge. For a ¼-inch seam, stop ¼ inch from the corner. Secure the stitches and remove the quilt from the machine. Fold the binding up and away from the quilt so its length forms a 45-degree angle at the corner. Then fold it straight down along the next side, aligning its raw edges with the quilt edge. This second fold creates a neat flap at the corner.
Begin stitching the next side one seam allowance’s distance from its top edge, then continue as before. Repeat at the remaining corners. After sewing, gently fold the binding around a corner to check its shape. The folds should meet without forcing the fabric; pressing a bulky corner flat before it is arranged can make it harder to form a tidy miter.
Join the binding ends
Stop sewing when you are roughly 10 to 12 inches from where you began, leaving a free tail at each end. Lay the tails flat along the unbound edge so they overlap. The overlap should equal the width of the binding strip before it was folded: for a 2½-inch strip, overlap the tails by 2½ inches. Mark and trim the tails, taking care not to cut them too short.
Open the folded tails and place their ends right sides together at right angles, as you did when joining the original strips. Pin, sew a diagonal seam and check the fit against the quilt before trimming the excess fabric. The joined binding should lie smoothly along the remaining edge without pulling or bunching. Press the seam open if you can, refold the strip lengthwise, and sew the gap closed with the same seam allowance.
Fold to the front and topstitch
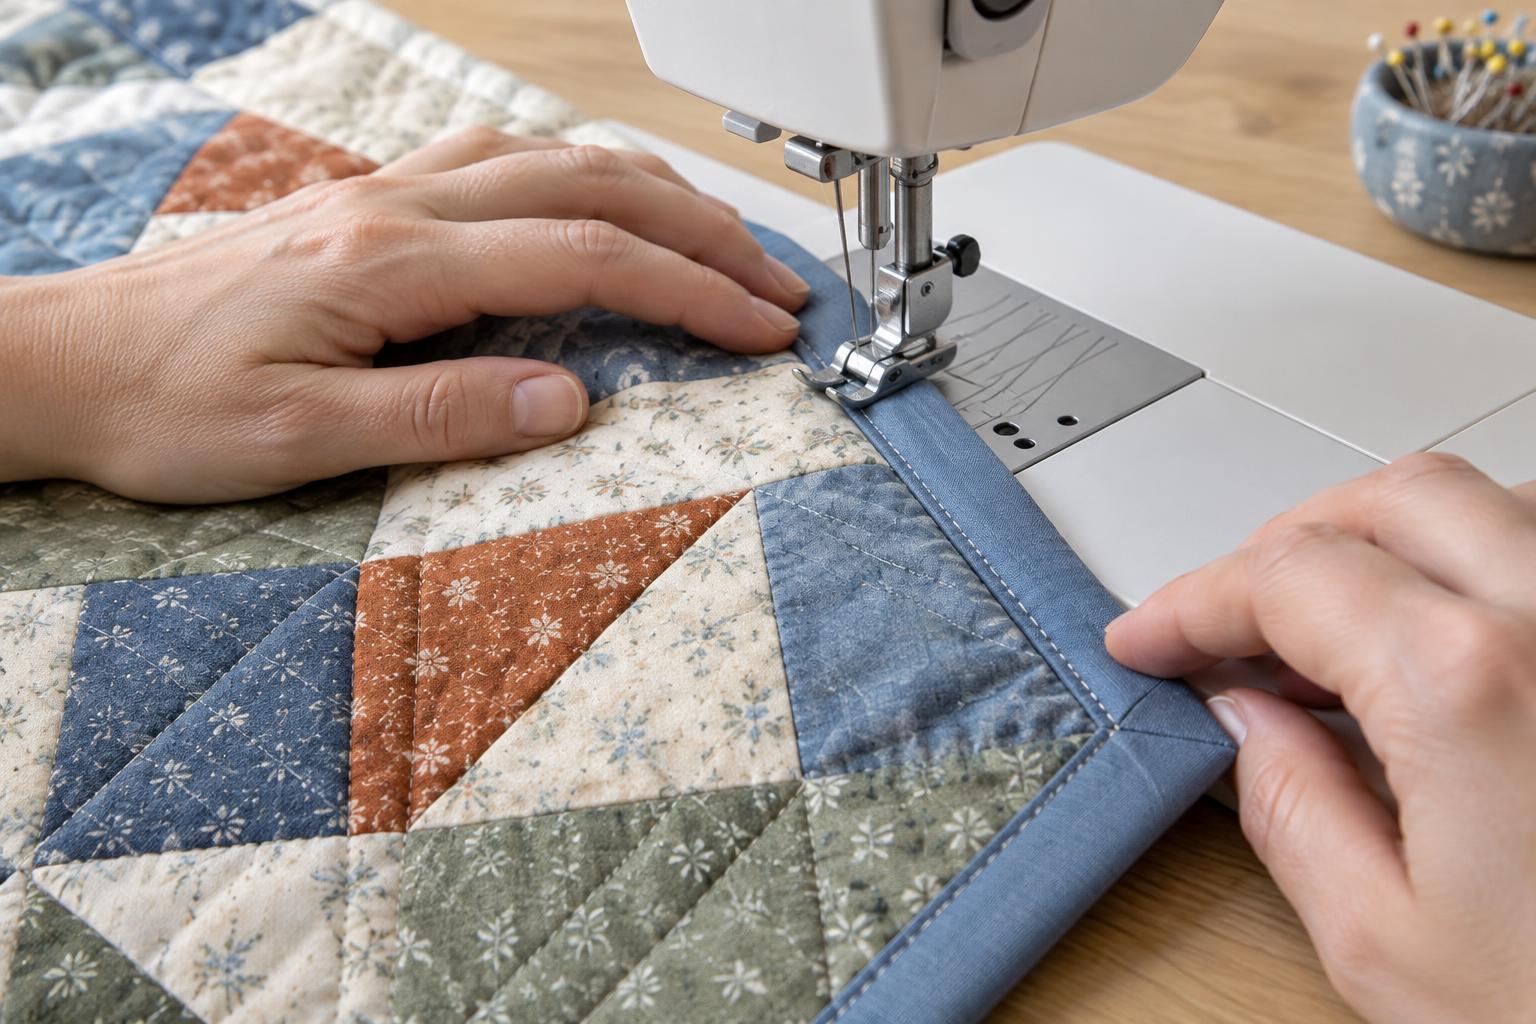
Turn the folded edge of the binding over the quilt edge to the front. It should extend just beyond the seam that attached it to the back. Hold it in place with clips or pins, working around the quilt rather than trying to control the whole edge at once. At each corner, arrange the fold into a miter. Check that the fabric covers the attachment seam and that no raw edges show.
Topstitch close to the folded edge, removing clips as you sew. Slow down at the corners; stop with the needle down, turn the quilt and continue along the next side. When you reach your starting point, overlap a few stitches to secure the thread. Finally, inspect both sides. If you find a spot where the stitching missed the binding or a corner has opened, secure that area with a short line of machine stitching. A careful final check helps the binding stand up to regular use and washing.


