Start with the batting, not the quilting pattern
Quilting holds the top, batting and backing together. Before choosing a design, find the spacing guidance for your specific batting on its label or in the information supplied with it. The guidance usually describes the greatest distance that may be left between lines of quilting. It is an upper limit, not a target you must use throughout the quilt.
Do not assume that all battings made from the same fibre have the same spacing guidance. Construction, loft and blend can differ. If you no longer have the label, try to identify the exact batting before relying on a remembered number. When that is not possible, choose a more closely spaced plan rather than guessing that a wide-open design will be suitable. Keep in mind that a large unquilted border or block centre needs attention just as much as the rest of the quilt.
Translate the limit into a layout
Sketch your proposed quilting on a photograph of the quilt top or a simple drawing. Look for the widest clear space between stitched lines, including spaces that cross seams. Patchwork seams do not count as quilting unless you stitch through the quilt sandwich along them. Likewise, basting holds the layers temporarily while you work; it does not replace the permanent quilting plan.
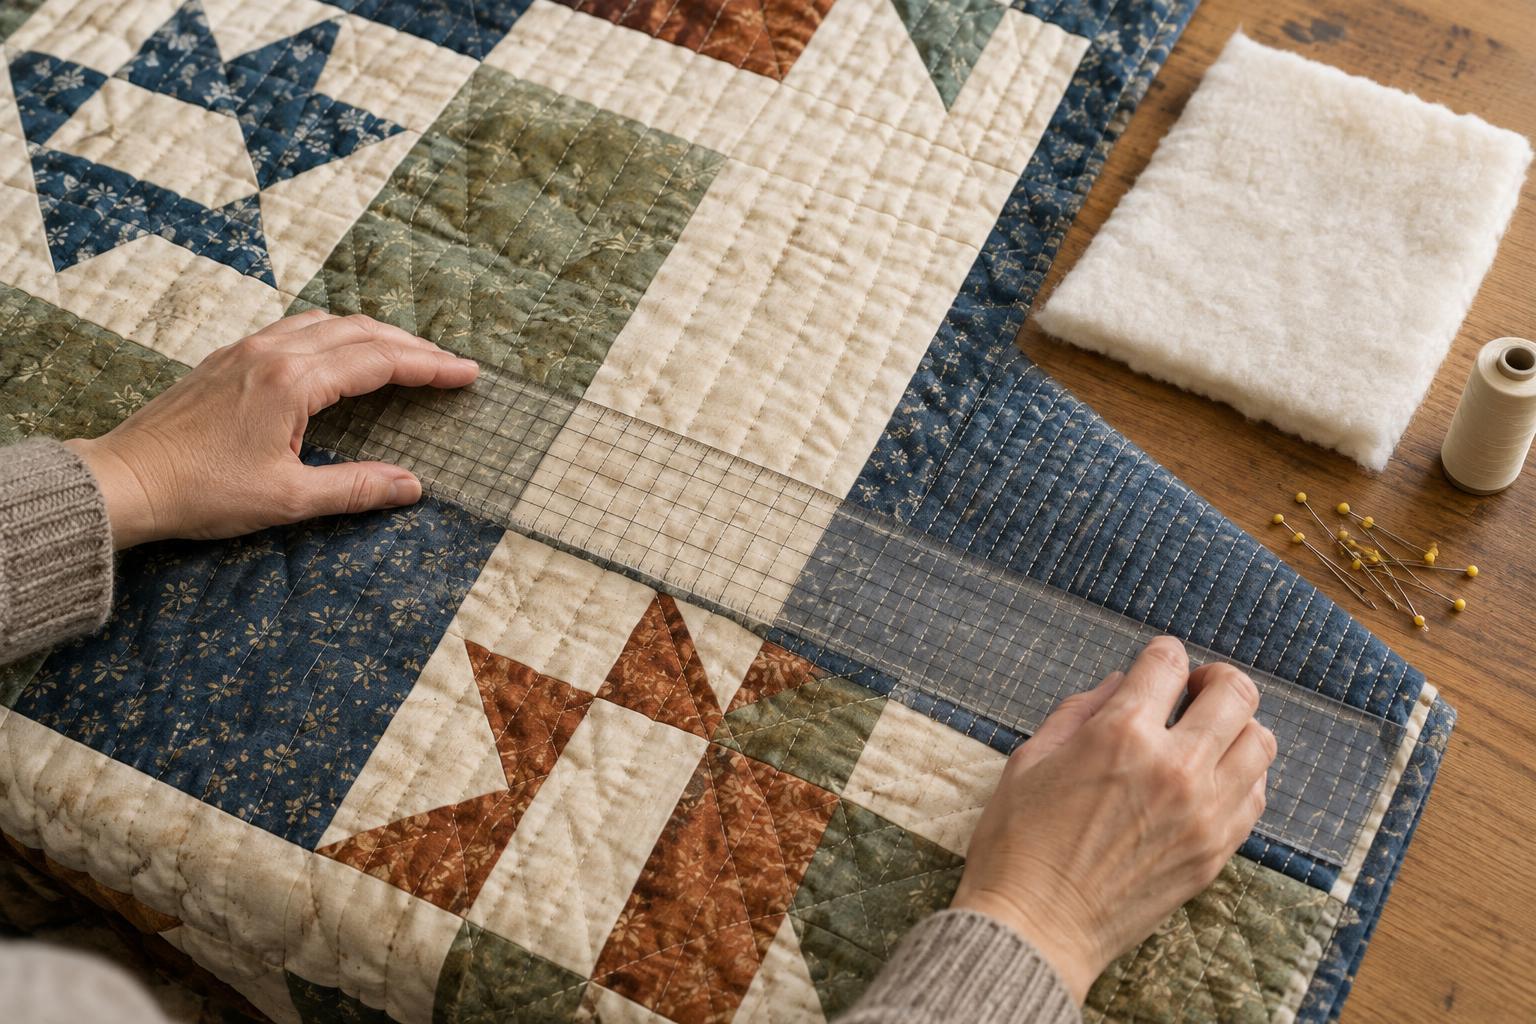
For a regular grid, spacing is fairly easy to check: measure the distance from one stitched line to the next across each open area. With curves, motifs or unevenly spaced lines, inspect the broadest unquilted patches rather than relying on an average. A flower motif might contain many stitches around its edge yet leave a large open centre. A continuous line through that centre, a smaller motif or a few additional background lines can close the gap.
For example, if your batting allows quilting up to 8 inches apart, planning lines roughly 6 inches apart leaves room for slight shifts while stitching. That is a planning choice, not a separate rule. The point is to make the largest spaces comfortably smaller than the stated limit instead of designing right at its edge.
Choose the feel you want within that limit
Spacing guidance tells you how far apart quilting may be; it does not tell you how dense the finished quilt should be. Wider spacing generally leaves more of the batting’s loft visible and can give the quilt a softer, puffier appearance. Closer quilting tends to flatten the layers and make the stitched texture more prominent. Fabric, batting and washing can all affect the result, so a small sample made with the same layers is more useful than a prediction based on batting alone.
Think about how the quilt will be used. A design with generous open areas may suit a quilt where you want the patchwork shapes to stand out, provided every area stays within the batting’s guidance. Closer quilting can help create an even texture across many small pieces, but it also takes more stitching time and may feel different in the hand. If you are combining dense motifs with open blocks, add enough quilting to the open blocks that they remain within the spacing limit.
Check the whole quilt before stitching
Work from the centre outward on your sketch and check each block, sashing strip and border. Pay particular attention to wide borders: quilting across the blocks may end before it reaches the outer edge, leaving a long unquilted band. Stitching in the ditch around a block can help establish its outline, but it may leave a block interior too large to stand alone. Measure the open interior rather than counting the outline as coverage everywhere.
Once you have a plan, make a practice sandwich with scraps of the same top fabric, batting and backing. Try a small section of the proposed spacing and check whether you like the texture and whether the layers stay smooth as you sew. You can mark a few guide lines on the quilt top with a marking method you have tested on your fabric. Before starting, decide how you will travel between motifs or stop and restart so that the design remains manageable.
Adjust the plan as you go
Quilting rarely lands exactly where it appeared on a sketch. After completing a portion, lay the quilt flat and look again for unexpectedly large gaps, especially where curves pull away from neighbouring lines. Add a line or small motif if an area exceeds the batting’s guidance. You can also add quilting simply because the overall texture looks uneven; the label sets a spacing boundary, while your design choices shape the finished surface.
There is no need to fill every space with the same motif. A simple grid, gentle curves or repeated lines can provide dependable coverage around more decorative quilting. Keeping the batting’s limit in view while you work lets you make those changes without losing the design you wanted in the first place.


