Plan the binding before you cut
Binding covers the raw edges of a finished quilt. Before cutting, decide whether you want straight-grain or bias binding. Straight-grain strips cut across the fabric are a practical choice for quilts with straight edges. Bias strips stretch more readily around curves, but they require a different cutting layout and can be easier to distort while sewing. For a rectangular quilt, crosswise straight-grain strips are usually the simpler starting point.
A 2½-inch-wide strip is a common choice for double-fold binding, though the best width depends on your batting, seam allowance and the amount of binding you want visible on each side. If you prefer a narrower finish, try a 2¼-inch strip on a small sample first. Measure around all four sides of the quilt and allow extra length for corners and for joining the two ends during attachment. Each diagonal join also uses a little strip length, so cut a spare strip if your estimate is close.
Cut straight, consistent strips
Press the fabric so folds and creases do not affect your measurements. Remove the selvage edges, then square one cut edge against the fabric fold using a quilting ruler and rotary cutter. Check that the fold lies flat and that the fabric has not twisted. If you refold it to fit your cutting mat, keep the layers aligned and avoid stacking more layers than you can cut cleanly.
Place the ruler at your chosen strip width, measure from the squared edge and cut. Continue across the fabric, checking the edge occasionally; a slight error repeated across several strips can produce angled or uneven binding. If a strip has a noticeable bend when opened, square the fabric again before cutting more. Consistent width matters more than cutting quickly, because irregular strips make it harder to keep the finished binding even.
Join the strips with diagonal seams
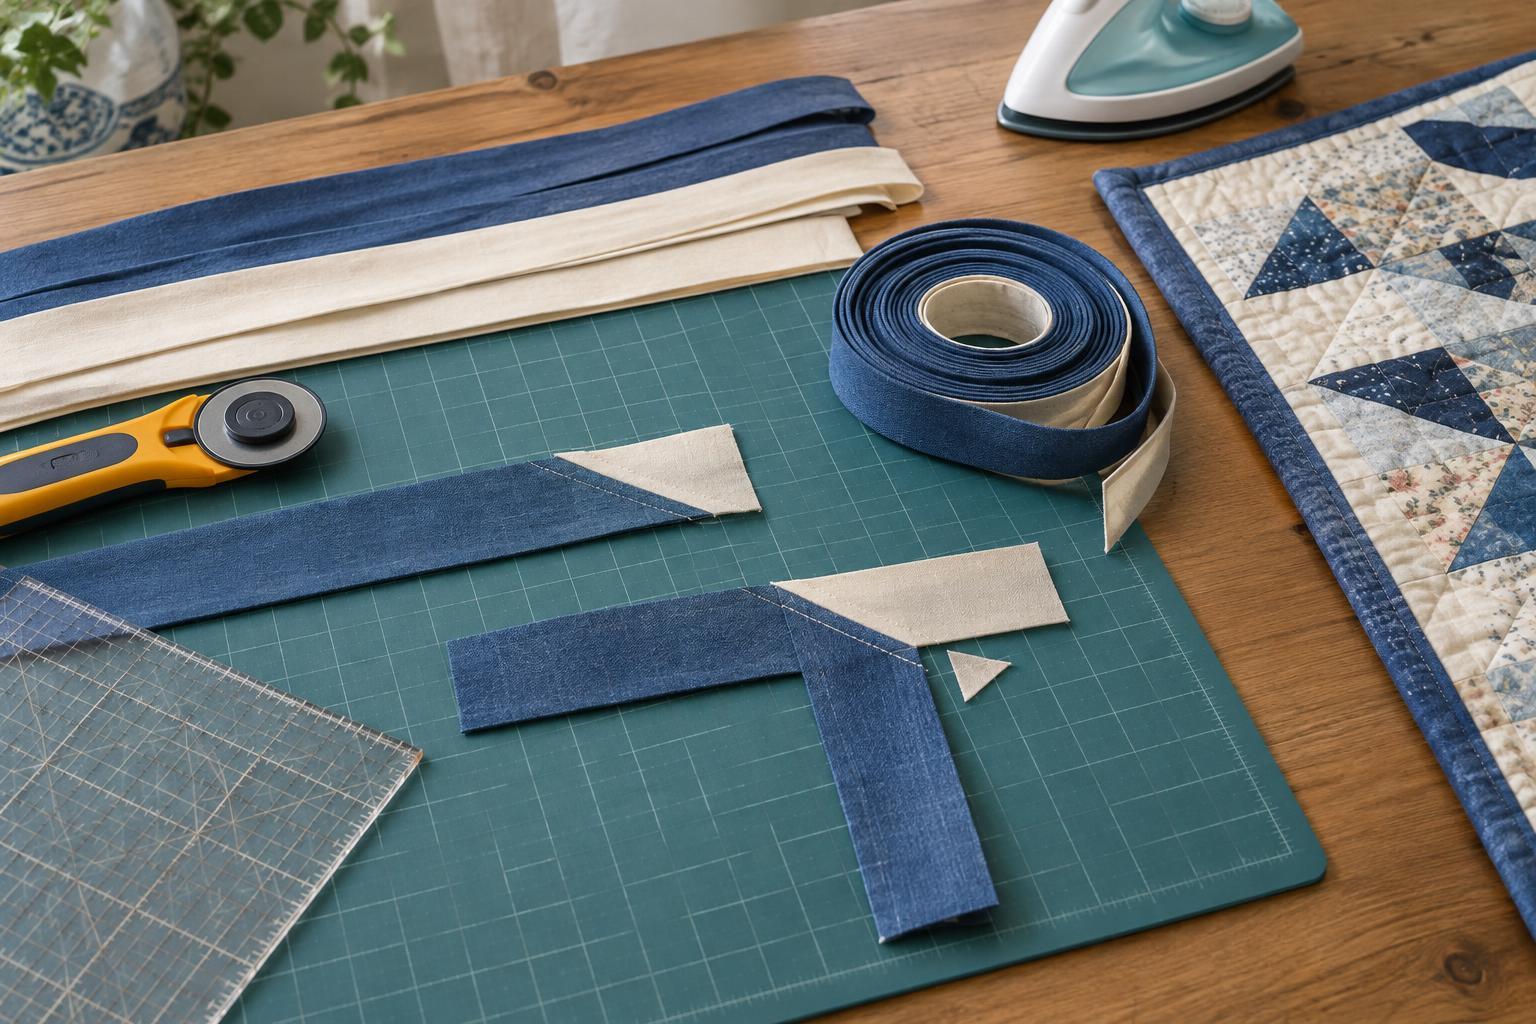
Lay two strip ends right sides together at a right angle, with their edges aligned to form an overlapping square. Draw a diagonal line across that square from one corner to the opposite corner. Before sewing, pin along the line and open the strips out to check that they will form one long, untwisted strip. This quick check is especially useful with directional prints and prevents a seam that sends the strips off in the wrong direction.
Sew on the marked line. Open the strips again and check that the joined strip lies straight, with no twist. Only then trim the excess fabric to leave about a ¼-inch seam allowance. Join the remaining strips the same way. Diagonal seams spread their allowances along the binding instead of piling all the layers at one point, which helps the binding sit more smoothly along the quilt edge.
Press the joins and prepare the binding
Press each joining seam open to distribute its bulk. Use the iron to lift and press rather than stretching the strip, particularly if any edges have been cut on the bias. Trim stray threads and check that the strip stays close to its intended width through every join. If a join looks puckered or narrows sharply, it is easier to resew it now than after the binding is attached.
For double-fold binding, fold the continuous strip in half lengthwise with wrong sides together and raw edges aligned, then press along its length. Do not press so firmly that the folded edge becomes stretched or distorted. Coil the prepared binding loosely, or roll it around a cardboard tube, to keep it tidy until you sew it onto the quilt.
Make a final check before attaching it
Hold the prepared binding against the quilt edge and confirm that you have enough length to go around the entire perimeter, turn the corners and join the ends without strain. Check, too, that any directional print faces the way you intended. A careful cut and a few well-pressed diagonal joins give you a binding strip that is easier to handle and helps the finished edge look consistent.


