When the envelope method works well
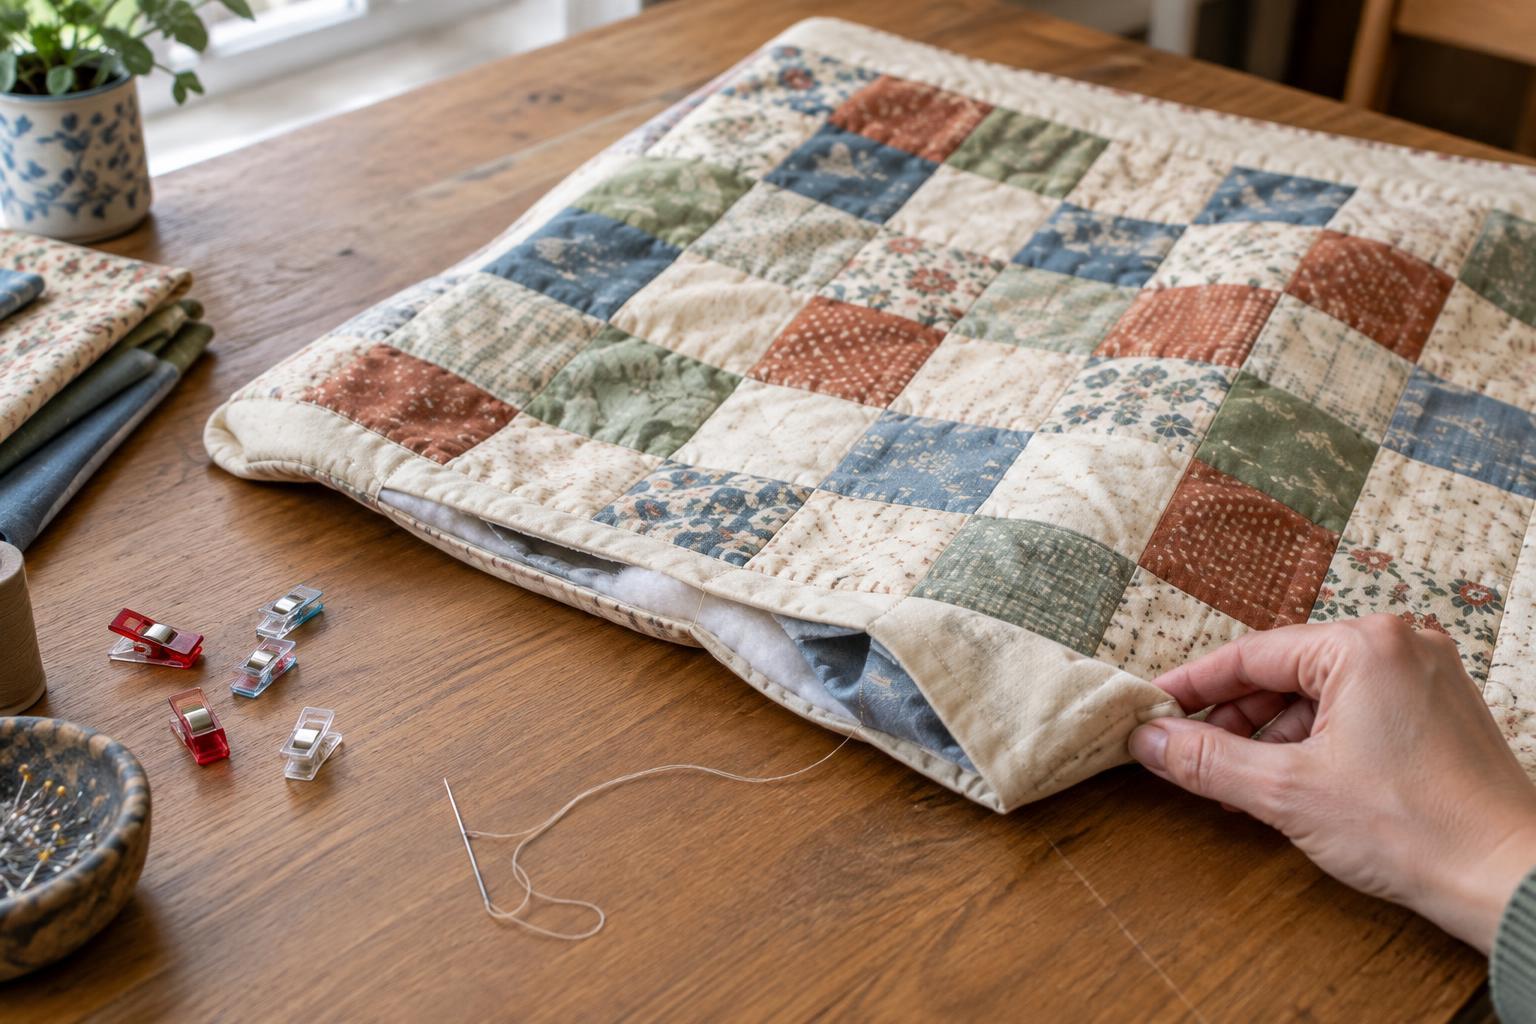
The envelope method finishes a quilt by sewing around its outer edge with the layers facing inward, then turning the whole piece right side out. It is also called a pillowcase finish. Because the seam allowance ends up inside, you do not need to make or attach separate binding. The result is a soft, simple edge suited to a small wall hanging, table mat, baby-sized project or practice quilt.
For a quilt that will see frequent washing or heavy use, traditional binding may offer an edge that is easier to reinforce or replace. An envelope edge can still be sturdy, but careful stitching and thorough quilting matter. If this is your first attempt, try a small rectangular piece so you can practice turning without managing a large bundle of fabric.
Prepare and layer the quilt
Complete and press the quilt top before you begin. Cut the backing and batting slightly larger than the top; the extra margin makes it easier to align the layers and can be trimmed after sewing. Check that the backing covers the entire top, including the seam allowance. If your top or backing has a directional print, decide which edge should be the top before layering.
Lay the batting flat first. Place the quilt top on it with the right side facing up. Add the backing on top with its right side facing down, so the right sides of the top and backing touch. Smooth each layer as you go, then pin or clip around the perimeter. Mark a turning gap of about 4 to 6 inches on a straight edge, away from a corner. A thicker quilt may need a wider opening. Leave this marked section unsewn.
Sew the edge and reduce bulk
Using a consistent seam allowance, sew around the perimeter through all three layers. Start at one end of the marked gap and backstitch briefly to secure the seam. Keep the layers aligned as you sew, pivot at each corner with the needle down, and stop at the other end of the gap. Backstitch again. Sew slowly where seams in the quilt top create extra thickness; pulling the fabric through the machine can distort the edge.
Trim the backing and batting to match the top’s seam allowance, taking care not to cut into the stitching. At each corner, clip diagonally across the seam allowance without cutting the seam. You can also grade particularly bulky seam allowances by trimming the batting a little narrower than the fabrics. Leave enough material for the edge to remain secure.
Turn, shape and close the opening
Reach through the gap and gently turn the quilt right side out. Work slowly so the stitches at the ends of the opening do not strain. Use a blunt tool, such as a capped pen or a knitting needle with a rounded tip, to ease out the corners. Avoid pushing sharply into them: a neat corner depends more on the trimmed seam allowance than on force.
Smooth the quilt flat and roll the sewn edge lightly between your fingers until the seam sits at the outside edge. At the opening, fold the raw edges inward to follow the sewn seam line, then press if the fabrics and batting can tolerate the heat. Close the gap with small hand stitches or secure it when you topstitch the perimeter. If you use topstitching alone, check that the folded edges and any batting at the opening are caught securely.
Secure the layers and care for the finished quilt
Turning closes the edge, but it does not replace quilting. Smooth the layers from the centre outward and pin-baste as needed, then stitch a short distance inside the perimeter to help the edge lie flat. Add quilting across the surface to keep the top, batting and backing together. Simple straight lines or a loose grid can suit a small project; follow the batting maker’s spacing guidance if you have it. Remove pins as the stitching reaches them.
Inspect both sides for puckers, loose threads and any section of the turning gap that needs another stitch. For cleaning, consider the most delicate fabric and batting in the quilt. Gentle washing and thorough drying may be appropriate for washable materials, while a decorative piece may only need occasional dusting. The finished quilt should have an even edge and layers that stay comfortably in place.


