Start with the pattern’s notes, not the cutting list
Before picking up a ruler, read the pattern from beginning to end. Look for its stated seam allowance, fabric-width assumptions and any instructions about prewashing. Check whether it calls for a particular ruler or template. A cutting list may make little sense on its own if a diagram later shows that some pieces must be cut on the bias or kept in a specific order.
Notice the difference between a finished size and a cut size. A block described as 12 inches finished measures 12 inches after it is sewn into the quilt; its separate pieces need extra fabric for seams. If the pattern uses a quarter-inch seam allowance, a square cut at 3½ inches will finish at 3 inches when sewn on all sides. Follow the listed cutting dimensions rather than adding seam allowance a second time.
Translate the cutting-list language
Patterns often group instructions by fabric: background, accent, border and binding, for example. Assign each of your chosen fabrics to a pattern label before cutting. A small note on a scrap of paper can help you keep a pale accent fabric distinct from a pale background fabric. If the pattern includes several block sizes or quilt sizes, mark the column you are making so you do not switch between them.
“WOF” commonly means width of fabric, measured across the usable fabric from selvage to selvage. A direction such as “cut two 2½-inch WOF strips” means to cut strips 2½ inches wide across that usable width. “Subcut” means to cut smaller pieces from a strip or larger shape: if told to subcut a 2½-inch strip into 4½-inch lengths, the resulting rectangles are 2½ by 4½ inches. Read the pattern’s own glossary first, since abbreviations and conventions can vary.
Plan the order before making the first cut
Read every cutting instruction for one fabric together. A pattern may need a long border strip, several wide pieces and a handful of small squares from the same yardage. Cutting all the small pieces first can leave too little continuous fabric for a long strip. If the pattern provides a cutting diagram, use it. Otherwise, sketch a simple layout and cut the longest or most restrictive pieces before using the remaining fabric for smaller shapes.
Check whether your fabric is wide enough for the stated number of subcuts. Fabric widths vary, and selvages are generally excluded from usable width. For a directional print, a fussy-cut motif or a fabric with a prominent stripe, also check which way each piece needs to face. You may need a different layout or a little more fabric to keep the design oriented as intended. If there is any doubt, test the layout on paper before cutting.
Cut accurately and keep the pieces organised
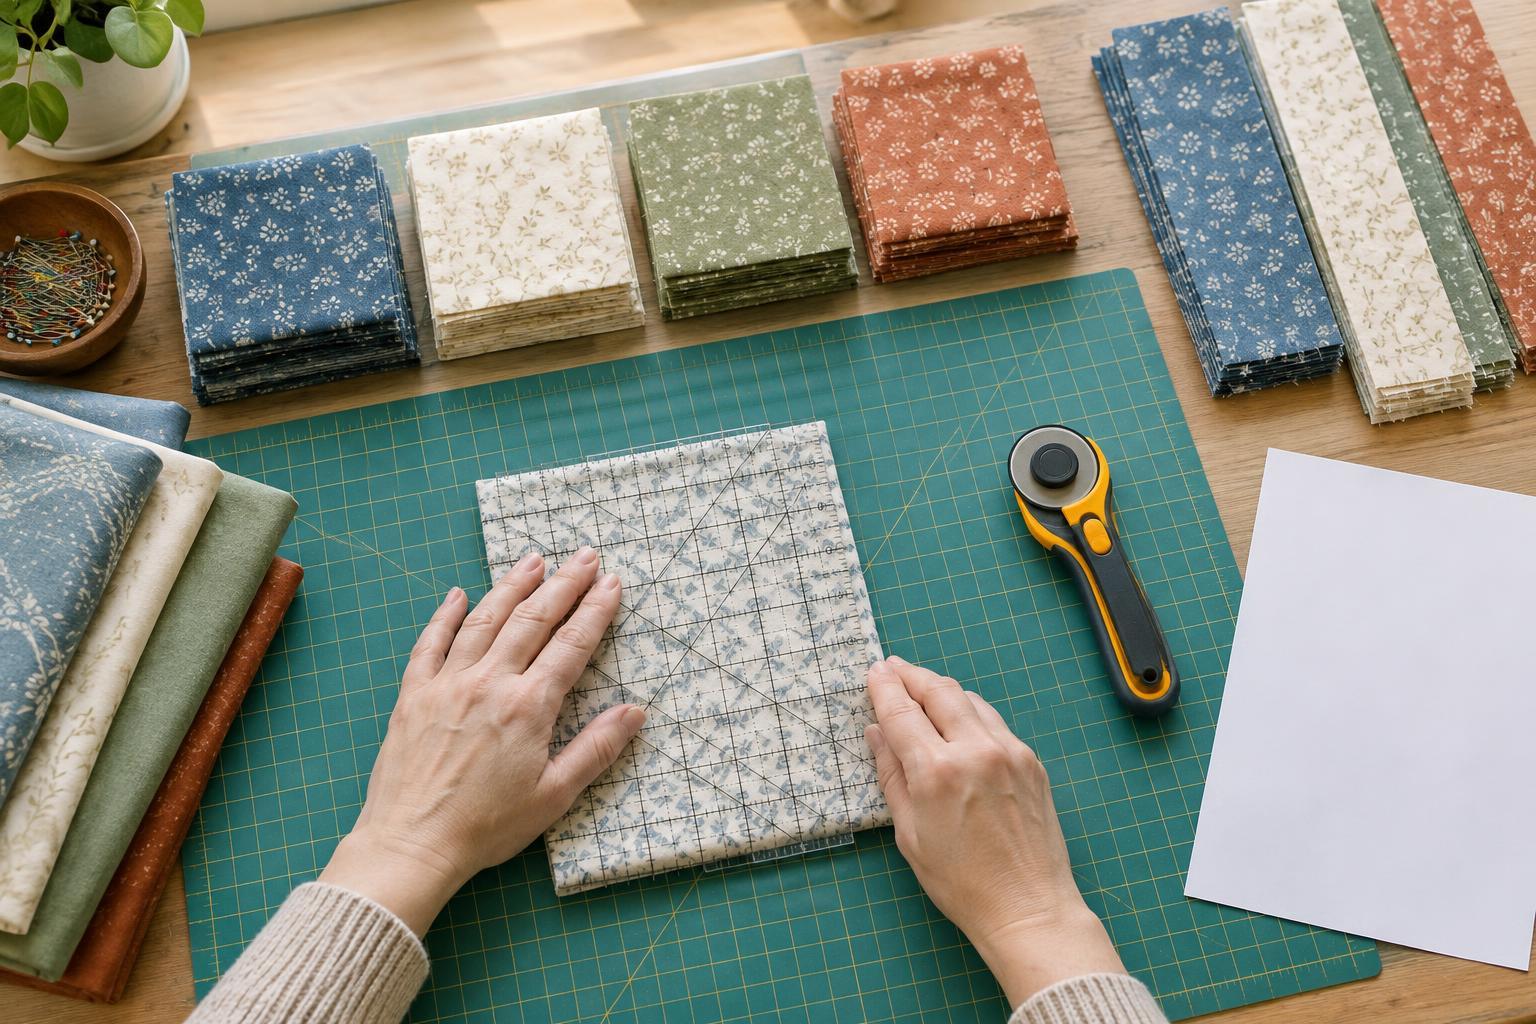
Press creases out of the fabric, then align a straight edge with the ruler markings. If you fold the fabric to fit your cutting mat, smooth the layers without stretching them and check that the fold lies straight; a crooked fold can produce a strip with a bend in the middle. Keep your fingers clear of the ruler’s cutting edge, cut away from your body and close the rotary cutter whenever you set it down.
Cut a test strip and measure its width before cutting the rest. After subcutting, check the first piece against the pattern too. Small errors repeated across many pieces can make blocks difficult to assemble. As you finish each group, label it with its fabric name, piece letter and quantity. Separate pieces that look similar but have different dimensions, especially when a pattern uses several nearly identical rectangles.
Pause and check before sewing
Compare your cut pieces with the pattern’s diagrams and count each group. If a cutting instruction seems inconsistent with the assembly drawing, stop before cutting more fabric. Re-read the notes and check whether the measurement describes a strip, a subcut piece or a finished unit. A quick paper sketch of the block can help you see where each piece belongs.
You do not need to cut the entire quilt in one session. For a first attempt, consider cutting enough for one block, assembling it and checking its unfinished size against the pattern. This trial can reveal a misunderstood instruction while there is still fabric available to adjust the remaining cuts. Once the test block works, the rest of the cutting list becomes a clear sequence of small, manageable tasks.


