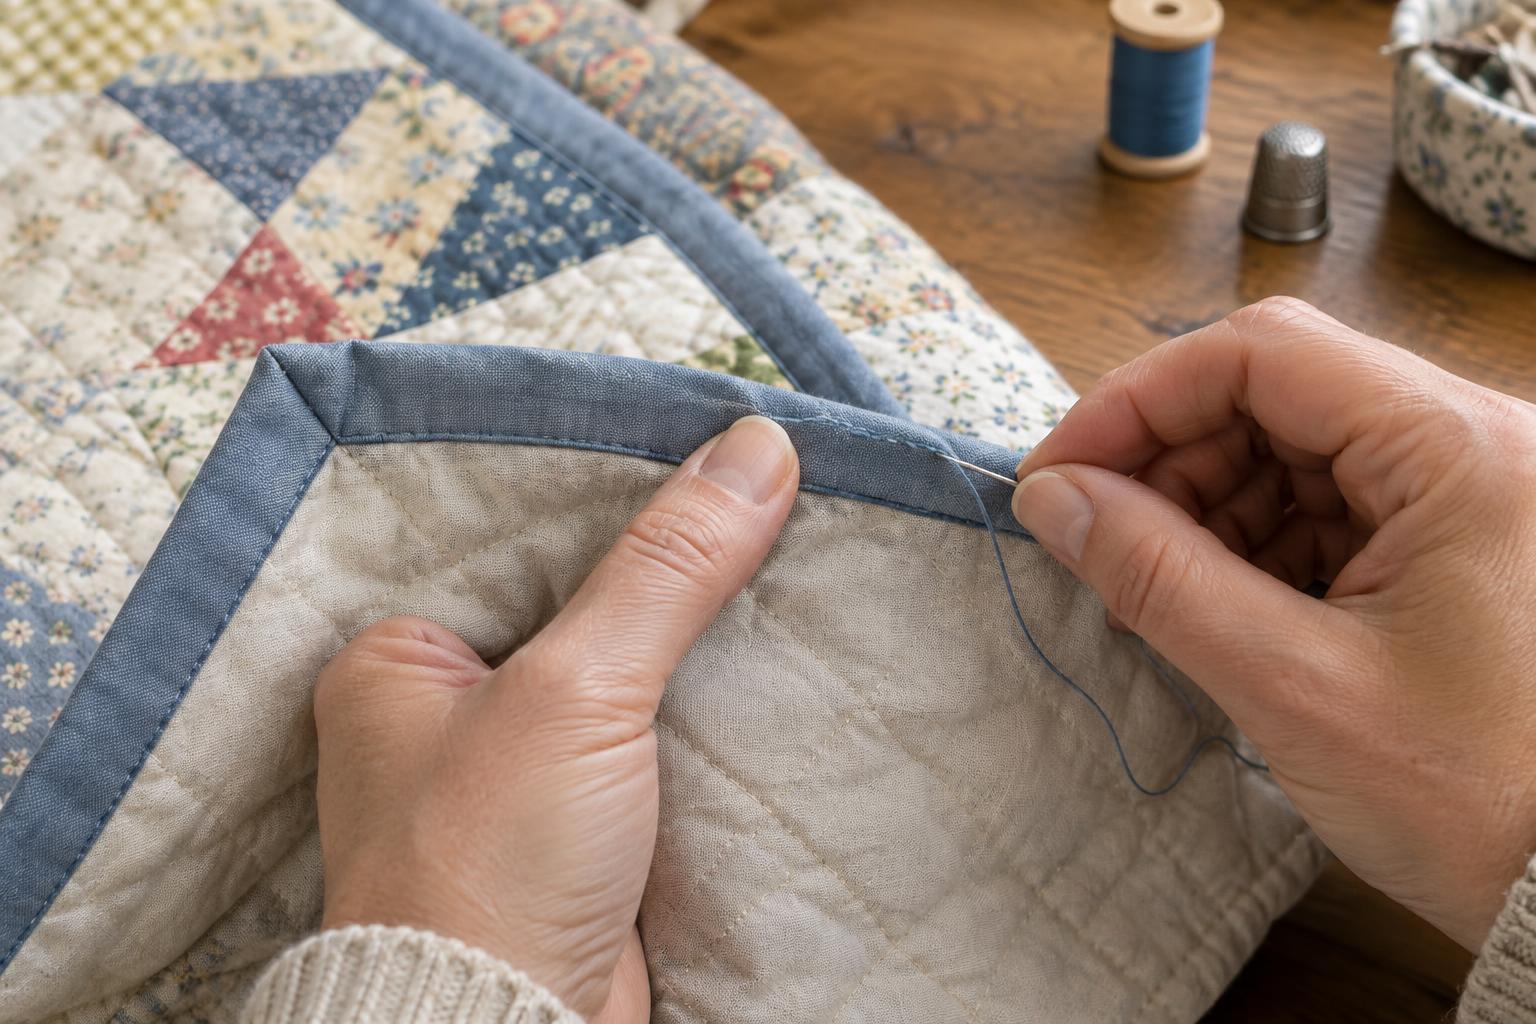
Prepare the binding for hand stitching
Hand-stitching binding to the back of a quilt gives you control over the final edge. This method begins after you have sewn the binding to the front of the quilt, usually by machine. The remaining task is to fold the binding over the raw edge and secure its folded edge to the backing. Work on a clean, comfortable surface where the quilt can rest without pulling against your stitches.
Before threading a needle, check that the binding reaches over the seam on the back all the way around. It should cover the line where the binding was attached to the front, without needing to be stretched. If it feels too narrow in one area, investigate before stitching: the binding may have been sewn unevenly, or the quilt edge may need gentle smoothing. Trying to pull a short section into place can leave a tight, wavy edge.
Choose a needle and thread, then secure the start
Use a hand-sewing needle that passes comfortably through the binding and backing, along with thread that blends with the binding. A fine, strong thread is easier to hide than a thick one. Cut a manageable length so it is less likely to tangle, and knot one end. Clips can hold the folded binding in place as you work; unlike pins, they are less likely to catch the rest of the quilt.
Begin along a straight edge rather than at a corner. Fold the binding to the back so its folded edge just covers the attachment seam. Slip the needle under that folded edge and bring it out where the first stitch will begin. The knot should settle inside the binding fold, out of sight. Give the thread a gentle tug to check that it is secure, but do not pull hard enough to distort the fabric.
Sew small stitches along the folded edge
A slip stitch keeps most of the thread hidden. Take a small bite of the quilt backing close to the binding fold, then pass the needle through the fold for a short distance before bringing it out again. Repeat along the edge, keeping the folded binding over the attachment seam. Aim for stitches that are reasonably even and close enough to hold the edge securely; they do not need to be perfectly identical.
Catch the backing without pushing the needle through the entire quilt. After a few stitches, turn the quilt over and check that no thread has appeared on the front. If it has, make your next bites shallower. Let the binding lie flat as you sew. Tight thread can make the edge pucker, while loose stitches may leave gaps that catch during use. Adjust your tension as you go rather than waiting until the end.
Fold and secure the corners
At a corner, stitch along the straight edge until you are close to the point. Fold the binding from the next side over the quilt edge, then arrange the extra fabric into a neat diagonal fold. The corner on the back should cover the raw edge and lie flat without forcing it into a sharp point. Use a clip to hold the fold while you check how it looks from both sides.
Take a couple of small stitches through the corner fold and backing to keep the miter from lifting. Avoid stitching all the way through to the front. Continue down the next side with the same slip stitch. If the corner looks bulky, unfold it and rearrange the layers before sewing; a tidy fold is easier to secure than one held in place by extra-tight stitches.
Finish the thread and check the whole edge
When the thread becomes short, make a small knot close to the binding fold. Pass the needle into the fold, bring it out a short distance away, and trim the thread so its end retreats into the binding. Start a new thread in the same hidden way. When you return to your starting point, overlap the final stitches slightly, then secure and bury the last thread end.
Run your fingers around the finished quilt edge. Look for missed sections, exposed attachment seams, loose corners or spots where the binding has rolled too far onto the back. Check the front as well as the back for visible hand stitches. Any small gap is easier to repair now with a few additional stitches. The goal is an edge that feels secure, lies comfortably flat and is ready for the quilt to be used.


