Why bias edges need a lighter touch
Woven quilting fabric has threads running lengthwise and crosswise. An edge cut diagonally across those threads is called a bias edge. It has more give than an edge cut along the straight grain, which makes it useful for some shapes but easy to distort during block construction. Half-square triangles, flying geese and many star blocks have bias edges at some stage of assembly.
A stretched edge may look only slightly wavy on its own. Once joined to a stable edge, though, it can cause a seam to ripple or a unit to finish larger than planned. The aim is not to keep the fabric rigid. It is to avoid pulling it out of shape before the seams secure it. A few changes in how you cut, carry and sew the pieces can make a noticeable difference.
Plan the cuts and prepare the pieces
Start with fabric that is flat and free of major wrinkles. Smooth it on the cutting mat without tugging, then use a sharp rotary blade or fabric scissors that make a clean cut. When a pattern allows it, make a larger unit first and cut it into angled pieces only when you are ready to sew them. For example, some half-square triangle methods stitch two squares together before the diagonal cut exposes the bias edges.
Keep freshly cut pieces on the mat or another flat surface until you need them. If you cut several triangles, lift each one with your hand supporting the whole piece rather than picking it up by a point. Avoid stacking heavy tools on the pieces or repeatedly moving them around your work area. Marking and sorting before cutting the final diagonal edges can also reduce handling.
A light application of fabric starch or a pressing aid may give soft fabric more body, but test it on a scrap first and follow the product directions. It is optional: careful handling matters more than making the fabric stiff. If a block design lets you choose the grain direction of an outer edge, placing a straight-grain edge on the outside can make the unfinished block easier to manage.
Guide the fabric through the machine without pulling
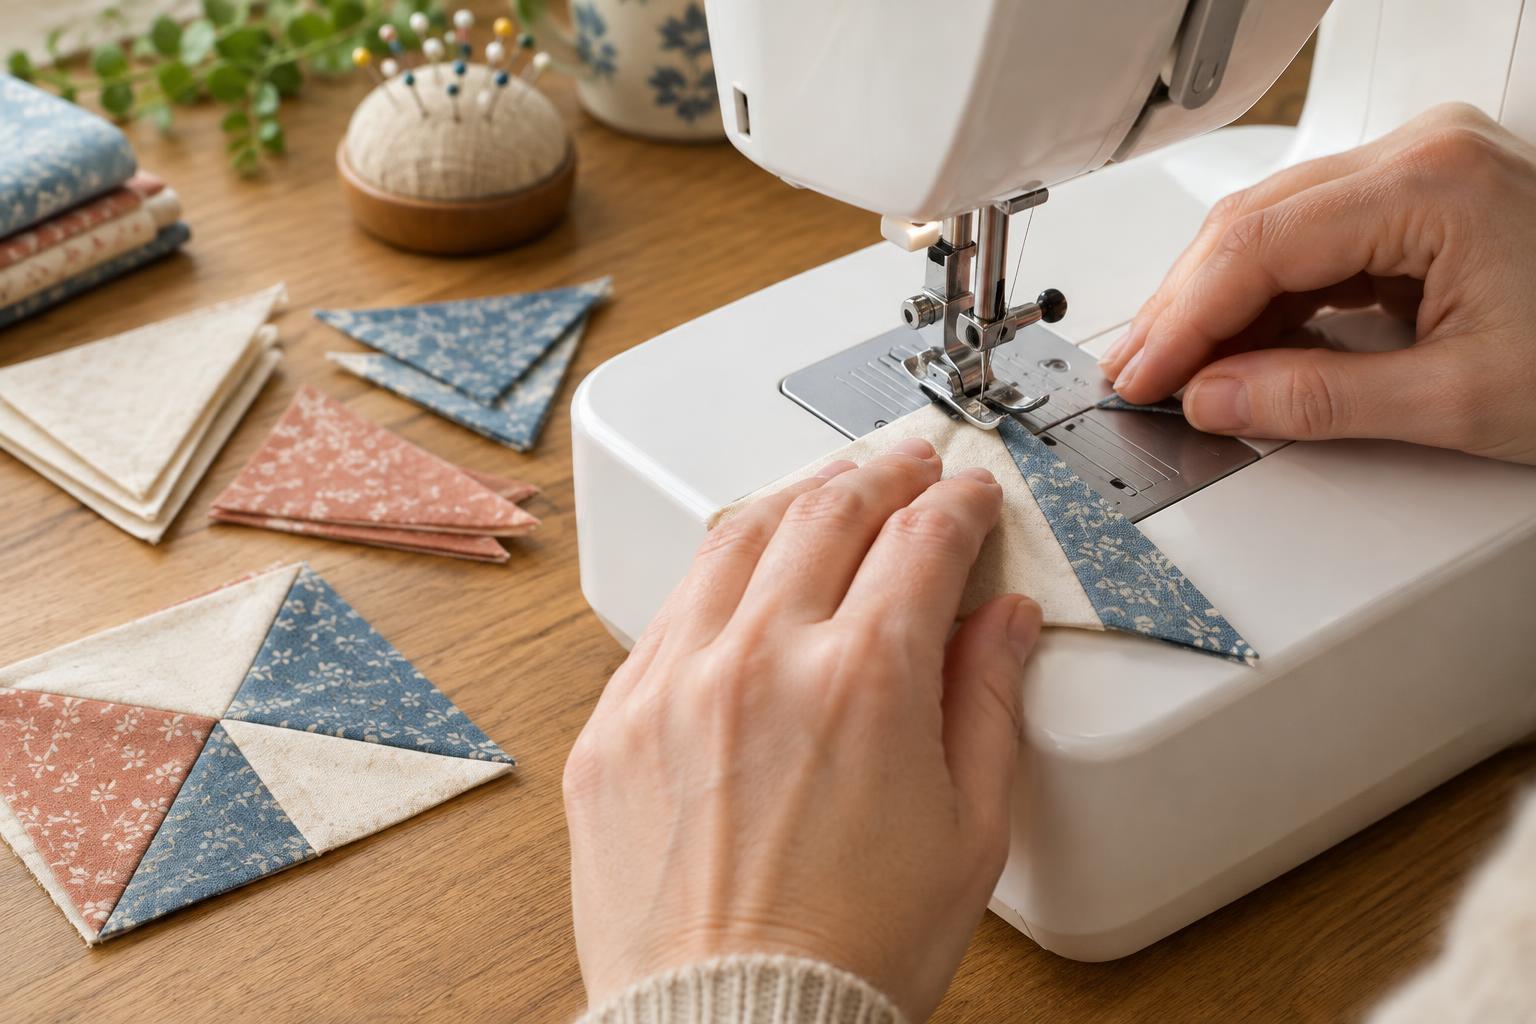
Place the pieces right sides together and align the seam ends gently. If one edge seems longer, check whether it has stretched before trying to force the ends to match. A pin at each end and another in the middle can help hold a longer seam in place; clips may be convenient for some pieces, but use whichever method keeps the edges aligned without tugging them.
Sew with the seam allowance your pattern specifies, commonly a quarter inch in patchwork. Let the feed dogs move the fabric. Your hands should guide its direction, not push from behind or pull from the front. If the machine catches a narrow triangle point, try starting with a small scrap of fabric as a leader, or begin from the wider end when the construction order permits.
For a bias edge that will stay exposed on the outside of a block for several steps, a line of staystitching within the seam allowance can help stabilize it. Stitch close enough to the raw edge that the line will be hidden when the final seam is sewn. This extra step is most useful when an edge must be handled repeatedly; it is not necessary for every triangle.
Press seams without changing the shape
Set the sewn unit flat on the ironing board and press the seam briefly before opening or turning it. Then lift and lower the iron to press the seam as the pattern requires. Sliding the iron back and forth can pull a diagonal edge out of shape, particularly when the fabric is warm or damp.
If you use steam, try it on a sample unit first. Moisture can help flatten a seam, but it also makes some fabrics easier to stretch. Let each unit cool flat before lifting it. If a point or edge has shifted slightly, do not try to correct it by pulling the opposite side. Check the unit against the pattern’s unfinished measurement and trim only where the pattern provides room to do so.
Build confidence with a small test block
Before cutting a full quilt’s worth of fabric, make one sample block with the same fabric and construction method. Measure the cut pieces, then measure the sewn units after pressing. If they grow, notice when it happens: during cutting, at the machine or at the iron. Changing one part of your process is more useful than simply sewing faster or trimming every unit down.
Bias edges are manageable when they spend little time unsupported. Cut them when you are ready to sew, move them flat, guide rather than pull, and press with a lifting motion. Those habits help the pieces keep their intended shape while you assemble the block.


