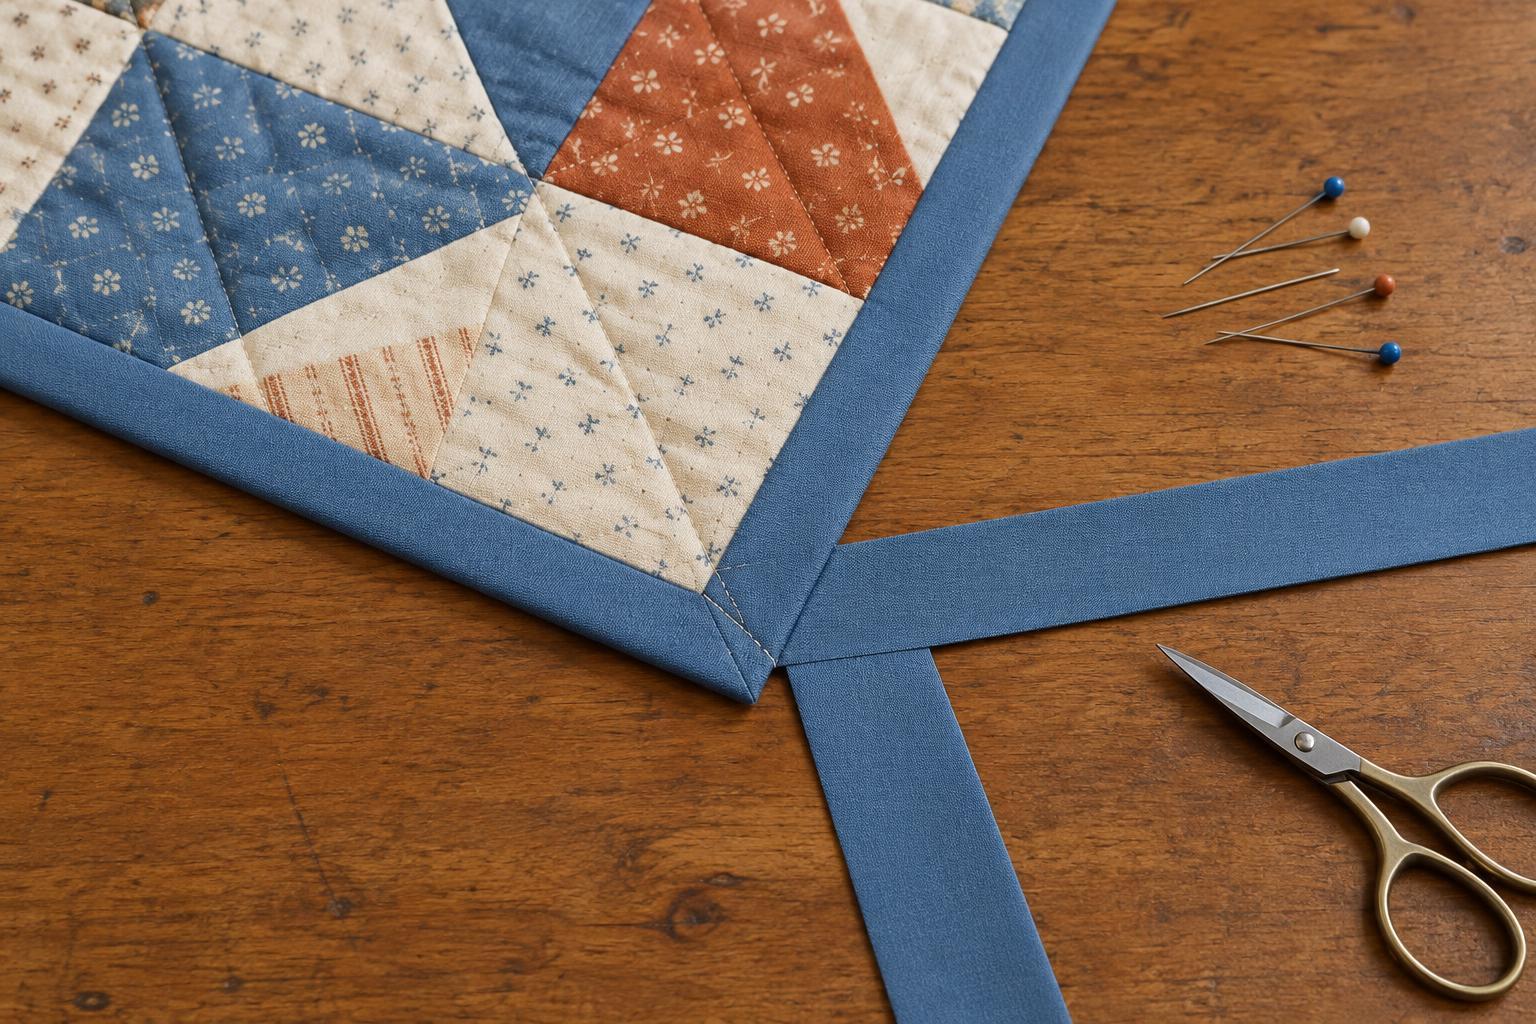
Why the final binding join matters
When you sew binding around a quilt, the two ends eventually meet along one edge. Folding one end over the other is tempting, but the extra layers can leave a noticeable lump. A diagonal seam spreads the seam allowance across a longer area, much like the joins used when making a continuous binding strip. Once the binding is folded back into place, the join is less likely to stand out.
This method works with double-fold binding made from a strip folded in half lengthwise. Its most important measurement is the width of the binding strip before it was folded. Keep that number handy: it determines how far the two loose ends should overlap before you cut and join them.
Leave enough room to work
Begin attaching the binding partway along a straight edge of the quilt, rather than at a corner. Leave an unsewn tail of about 6 to 8 inches before starting your stitching. Sew around the quilt as usual, stopping about 8 to 10 inches before you reach your starting point. You should now have two loose tails and an open stretch of quilt edge between them.
The exact length of that opening is less important than having room to unfold, position, and sew the tails without fighting the quilt. If the gap is too short, handling the loose ends becomes awkward. Lay the quilt flat, with the edge you are binding facing you, and smooth both tails along that edge. Avoid stretching them; stretched binding may draw up the quilt edge after it is sewn.
Measure the overlap using the strip width
Lay one tail flat along the unfinished edge and choose a point within the open gap where the join will sit comfortably. Trim that tail at the chosen point. Lay the other tail over it in its natural direction, without twisting either strip. The second tail should extend past the first cut end by exactly the width of the binding strip before folding. Mark that distance and trim the second tail.
For example, if you started with a 2½-inch-wide binding strip, the two trimmed tails should overlap by 2½ inches while they lie flat along the quilt edge. Do not use the width of the folded binding or the width visible on the front of the quilt. An overlap that is too long can leave a loose, wavy join; one that is too short can make the binding pull tightly across the gap.
If marking directly on the fabric is difficult, use a small ruler or a scrap cut to the original strip width as a measuring guide. Before making the second cut, check once more that both tails lie in the same direction they will take when sewn to the quilt.
Sew a diagonal seam and test the fit
Open out both trimmed tails. Bring their short ends together with right sides facing and arrange them at right angles, as you would when joining two binding strips. The loose fabric may bunch slightly while you do this; that is normal. Draw a diagonal line across the square where the strips overlap, from one corner to the opposite corner, and pin along that line.
Before sewing or cutting anything, check the proposed join. Hold the pinned line as though it were stitched, then gently pull the binding back into position along the quilt edge. The strip should run continuously, without a twist, and lie flat across the open gap. If it does not, reposition the ends or use the other diagonal. This quick test prevents the common frustration of sewing a seam that points the binding in the wrong direction.
Sew along the marked diagonal. Check the fit again before trimming away any excess. Once you are satisfied, cut the excess fabric about ¼ inch from the seam and press the seam allowances open to distribute the thickness. Refold the binding lengthwise and settle it against the quilt edge.
Close the gap and finish the binding
Pin or clip the joined binding along the unsewn section. It should reach from one line of stitching to the other without needing to be pulled or eased into a fold. Sew the gap using the same seam allowance you used around the rest of the quilt, overlapping your earlier stitching slightly at each end. Then fold the binding over the quilt edge and finish it by your preferred hand- or machine-stitching method.
If you find a small bump at the join, check whether the diagonal seam allowances were pressed open and whether the join landed on top of another seam in the quilt top. Moving the joining point a little when you plan the cut can help avoid stacked seams. The goal is not a join that disappears under close inspection, but one that lies comfortably flat and lets the binding make a clean, uninterrupted trip around the quilt.


