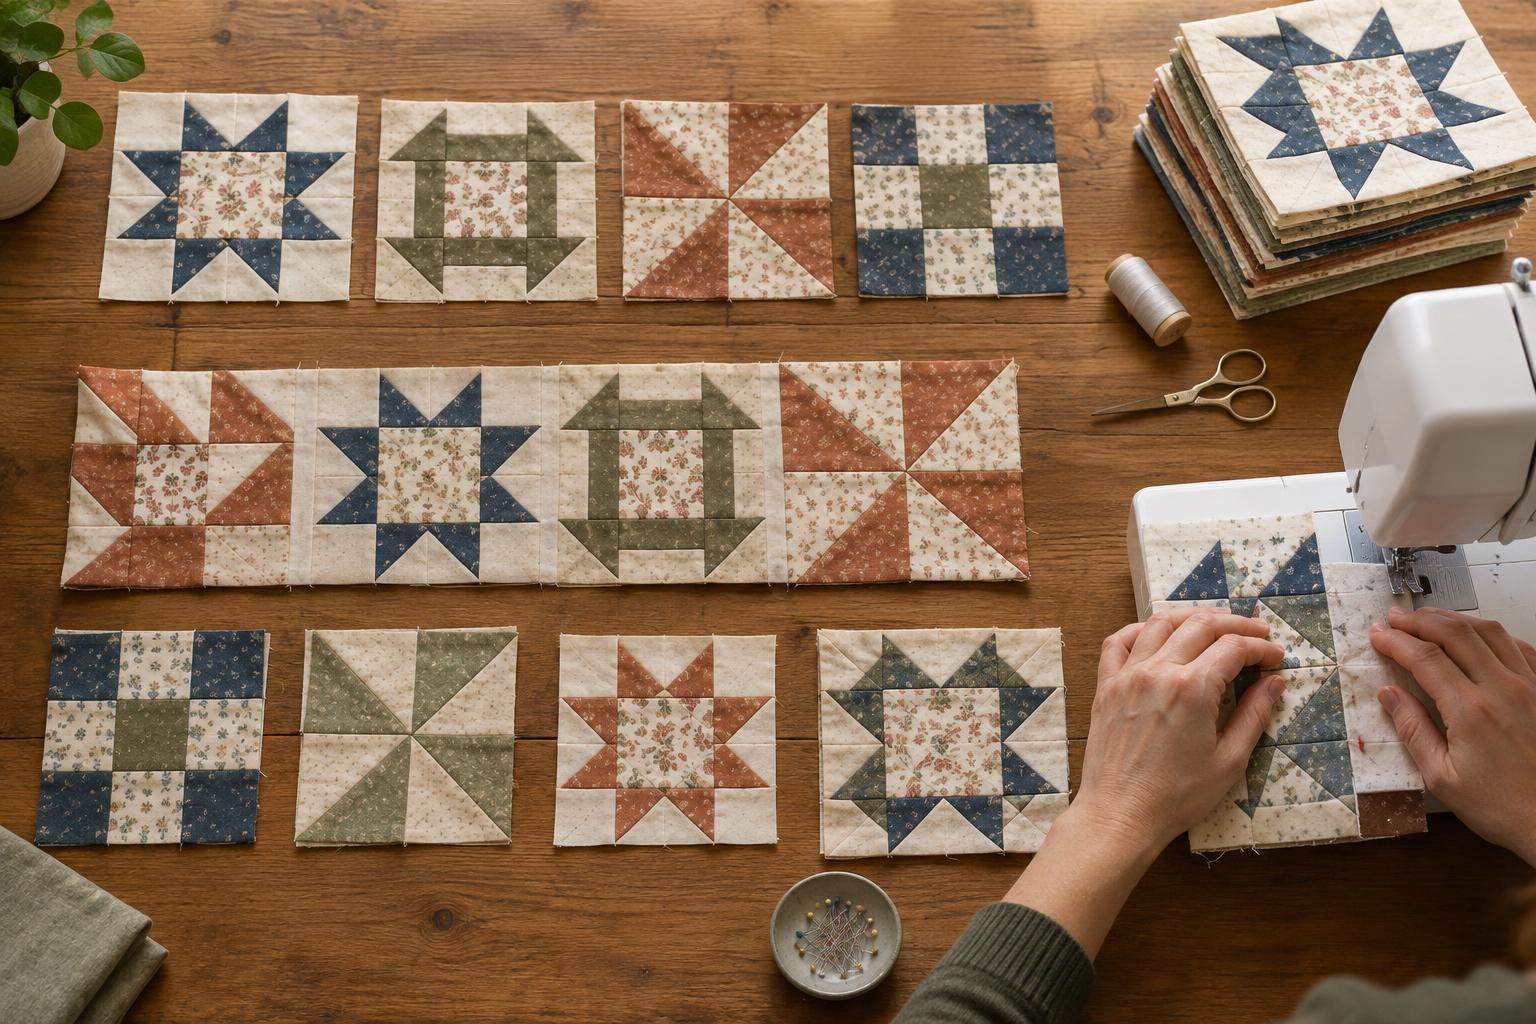
Arrange the blocks before you sew
Lay out every block in the order you want it to appear in the quilt top. A design wall is useful, but a clean floor, large table, or bed can work too. Step back and look at the overall balance of colour and contrast. If some blocks have a clear top or directional print, check that they face the way you intended. Make any changes now, while the blocks are easy to move.
Give the layout a simple row-and-column system. For example, the first block in the top row is A1, the next is A2, and the first block in the second row is B1. Write the codes on small pieces of paper and pin them to the front of the blocks, well away from the seam allowances, or use removable labels suited to your fabric. A photo is a helpful backup, but labels let you identify a block even after you have carried it to the sewing machine.
Stack each row in a consistent order
Work with one row at a time so the rest of the layout stays intact. Starting at one end, stack its blocks in sewing order, keeping each block facing up. Put the first block on top and the last on the bottom, or use the reverse order if you prefer; what matters is using the same system for every row. Keep the row label with the stack. If you are likely to be interrupted, clip each stack together outside the stitching area.
Before sewing, check that the blocks are ready to join. They should lie reasonably flat, and their unfinished sizes should agree with the pattern. Small differences can often be managed during assembly, but a noticeably undersized block is worth investigating first. Check for an unusually wide seam allowance or a unit that was cut incorrectly rather than trying to stretch the block to fit.
Sew the blocks into rows
Take the first two blocks in a row and place them right sides together, matching the edges that will be joined. Check the labels and the direction of any prints before stitching. Sew with the seam allowance required by your pattern, commonly a quarter inch for patchwork. A consistent allowance matters more than sewing quickly: it helps blocks finish at the expected width and makes later seams easier to match.
If the blocks contain seams that meet at the joining edge, align those intersections first. Pin through the seam lines if needed, then match the corners and ease any minor fullness between them. Do not pull one block to make it reach the end of the other; stretching can leave a wavy row. Open the pair, confirm that the layout still looks right, and add the next block. Repeat until the row is complete, then return it to its place in the layout.
Press and check each completed row
Press the new seams after assembling a row. You can press them to one side or press them open, depending on the block design and the method you find easiest to handle. If you plan to nest seams when joining rows, press the vertical joining seams in adjacent rows in opposite directions. This lets their seam allowances sit against each other and helps the intersections line up. If thick intersections make that awkward, pressing open may give you a flatter result.
Lay the pressed row flat and compare it with your layout photo or labels. Check that no block has been turned or sewn into the wrong position. Measure the completed rows if you suspect a size difference, particularly before joining long seams. It is much easier to correct a misplaced block or inconsistent seam allowance now than after the rows have become a quilt top.
Join the rows to finish the layout
Place the first two rows right sides together, making sure the row labels point to the correct order and the outer edges line up. Match and pin the seams between blocks before pinning the spaces between them. Sew with the same seam allowance used for the blocks. Support the fabric as it feeds through the machine so the weight of a long row does not tug on the seam.
Open the joined rows and check the block positions and intersections before adding another row. Continue in order, pressing each new seam as you go. If a seam intersection misses its mark, decide whether it needs correction before moving on; a short section can usually be unpicked without taking the whole row apart. Once every row is joined, remove the labels and give the quilt top a final gentle press. The careful ordering you used at the start will still be visible in the finished layout.


