Make a cutting key before you start
A pile of cut fabric can be hard to interpret once the cutting instructions are put away. Before you cut, make a small key that connects each shape to its job in the quilt top. You might call the background squares A, the print rectangles B, and the corner squares C. Write each letter beside its dimensions and the number needed. If a shape appears in more than one fabric, add a fabric name or number: A1 for the light background and A2 for the dark one.
Keep the key beside a sketch of the block or quilt layout, even if it is only a quick drawing. Label the positions on the sketch to match your cut pieces. This makes it easier to check a stack before sewing: you can compare what you have with what the block requires, rather than relying on memory. Note any pieces that must be cut with a particular fabric direction, such as stripes.
Label stacks, not every piece
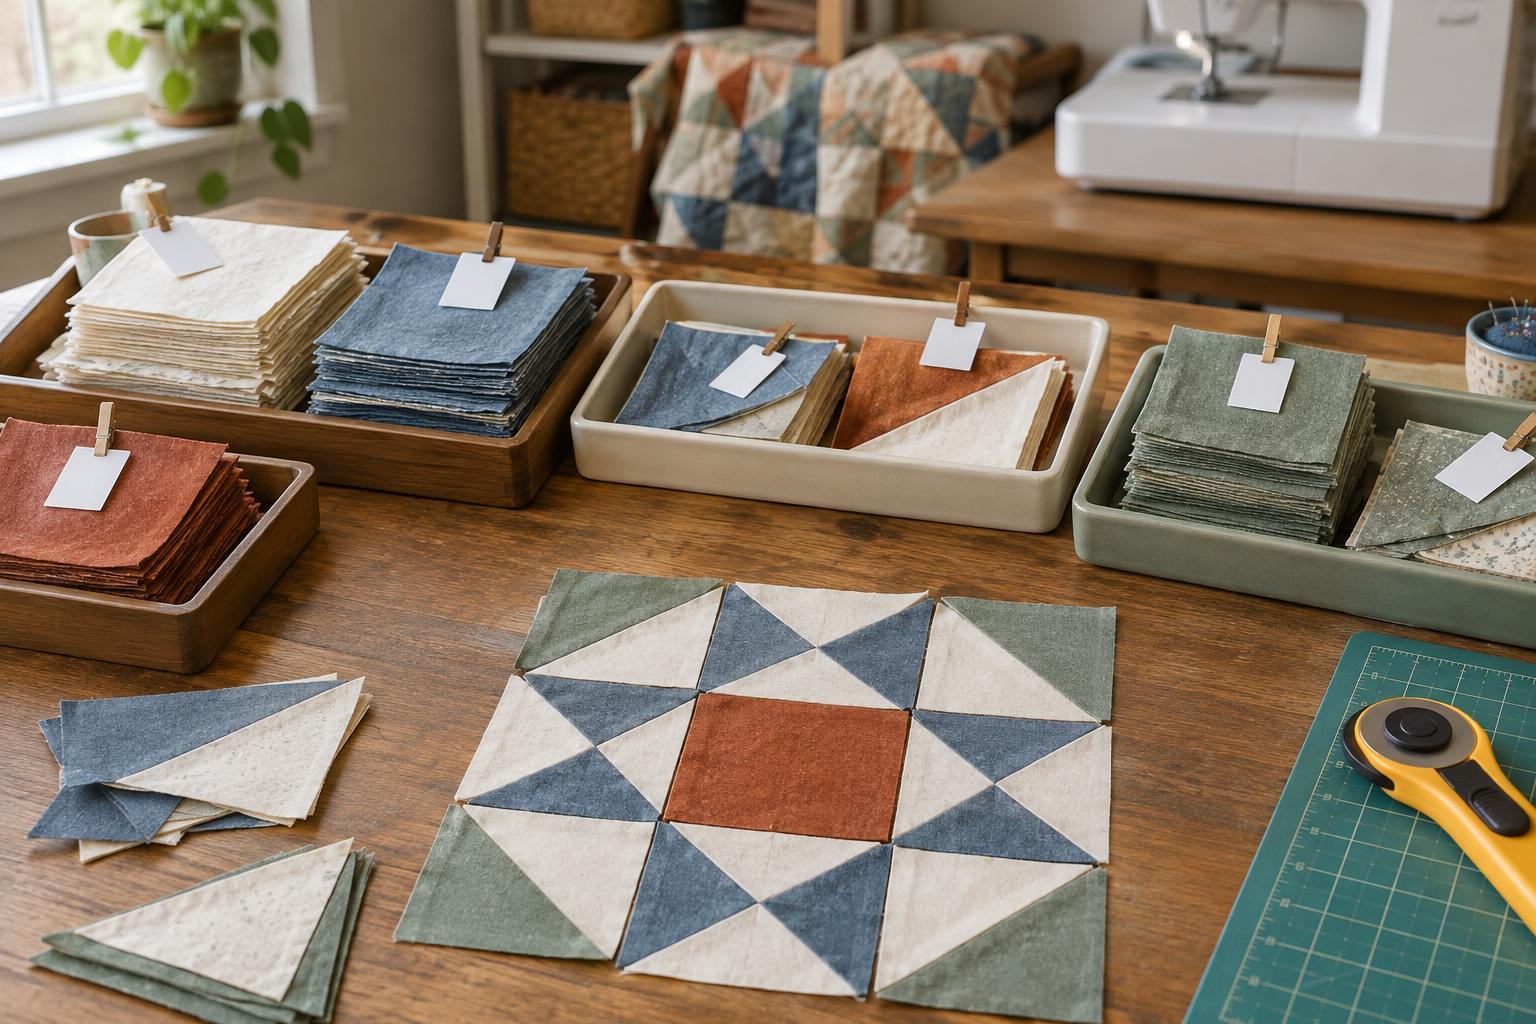
For repeated pieces, a label on each stack is usually enough. A slip of paper can sit on top of a stack, or you can put the pieces in a small bag with the label inside where it is visible. Include the shape code, fabric, quantity, and intended block if that matters. For example, “B1, blue print, 8 rectangles, Block 2” tells you more than “blue pieces.” Recount the stack when you add to it or take pieces away.
If individual pieces need identification, place a small removable label on the wrong side and test it on a scrap first. Adhesives can leave residue or pull at delicate fabric, so a paper label tucked into a separate compartment may be safer. Avoid writing directly on fabric unless you know the marking method is suitable and the mark will be hidden or removable. Pins can hold paper labels to fabric, but keep them out of the path of a rotary cutter and remove them before sewing.
Keep orientation clear
Some pieces look interchangeable until you turn them over. Triangles, angled cuts, fussy-cut motifs, and directional prints may need to face a particular way. On your cutting key, draw an arrow for the top of a directional piece or sketch the angle that should face the block centre. Keep those pieces right side up while sorting, and label separate stacks for left-facing and right-facing versions if the pattern uses both.
For a block with several similar units, lay out one complete block before sewing. Check that points, prints, and light and dark fabrics are where you want them. A photograph of this layout can serve as a reference after you clear the table. If you move pieces to the machine in order, lift each row as a group and mark its row number. Check orientation again before joining the final seams; a neatly stacked unit can still be rotated by accident.
Give each block or row its own place
Once pieces are cut, sort them into groups that match the way you plan to sew. If you will make one block at a time, prepare a tray, folder, or bag for each block. If you will chain-piece the same units across many blocks, group identical units first, then sort the completed units back into their block groups. Neither approach is inherently better; choose one that helps you see what is finished and what still needs sewing.
A flat tray or shallow box helps keep pieces from sliding out of order. For a quilt with many blocks, number the blocks and make a simple checklist. As you finish a block, place it in a separate stack and tick it off. Keep small scraps and extra pieces apart from the cut pieces you have counted. Otherwise, an offcut that resembles a required shape can end up in a seam.
Build a stopping point into your system
An organizing system is most useful when you can leave the project and return without guessing what you were doing. Before stopping, put loose pieces back with their labels and write down the next step, such as “sew the second unit for Blocks 5–8.” If you have paired pieces for chain piecing, keep each pair together in sewing order. Store the cutting key and layout sketch with the fabric rather than in a separate notebook.
When you resume, compare one group with the sketch before sewing a full batch. Check the piece count, right and wrong sides, and any directional prints. This brief check is easier than taking apart a run of mismatched units. Labels do not need to be elaborate: they only need to answer three questions when you pick up a piece—what is it, where does it go, and which way does it face?


