Start with a test, not the quilt
A quilting line only needs to be visible long enough for you to stitch it. The safest marking method is therefore one you can see clearly and remove reliably from your particular quilt. Fabric colour and texture, thread, batting and any finishes on the cloth can all affect the result. A marker that worked well on one project may behave differently on another.
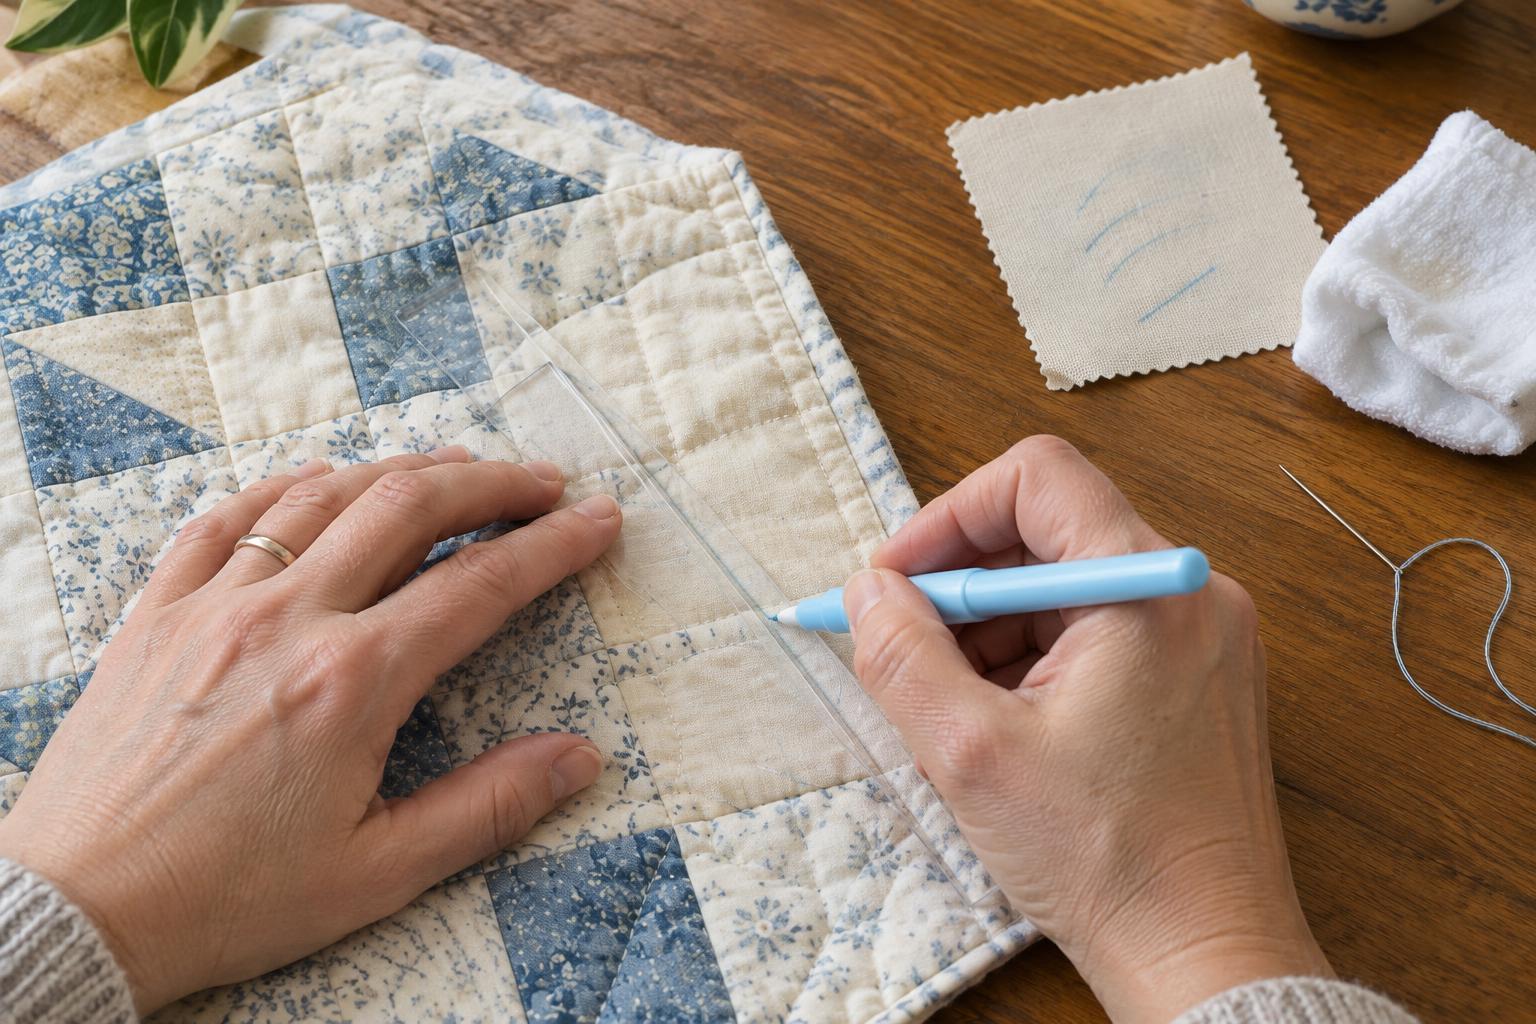
Make a small practice sandwich using scraps of the quilt top, batting and backing. Draw several lines, stitch across one of them, and remove the marks using the method you intend to use on the quilt. Let the sample dry completely before judging it. Check both sides in good light for stains, pale shadows or colour transfer. If the quilt includes fabrics that may bleed when wet, test those with water separately before choosing a water-removable marker.
Choose a marker that suits the job
Water-soluble marking pens can make fine, easy-to-follow lines. Use one only if its removal instructions suit the quilt materials, and do not assume a quick wipe will remove every trace. Air-erasable pens are useful for short tasks, but their lines may vanish before a large area is quilted. Mark only the section you expect to stitch soon.
Chalk, a chalk pencil or a removable fabric pencil may work well for longer sessions. Check how easily each mark brushes or washes away: pressing hard can leave particles or grooves in the fabric. A light marker may show best on dark cloth and a darker one on pale cloth, but contrast alone is not enough reason to choose it. Avoid ordinary pens and untested graphite pencils, which may leave lasting marks.
Heat-disappearing marks need particular caution. A line that becomes invisible under an iron has not necessarily been removed from the fabric, and some marks can reappear in cold conditions or leave a faint trace. If you use one, test it thoroughly and consider whether an invisible residue would matter on the finished quilt.
Mark clear lines with a light hand
Plan the quilting before drawing on the top. Decide which lines must be exact and which can be guided by seams, fabric motifs or a walking-foot guide. After the layers are basted and lying flat, mark a small area at a time so the lines remain useful as the quilt moves through the machine or hoop.
For straight lines, use a clean ruler and make short, light strokes rather than pressing deeply into the layers. For curves, a paper template can help you repeat a shape; mark just enough of each curve to follow it comfortably. Keep marks outside areas where a seam or dense stitching will make removal difficult. If you need intersections, use small reference points instead of repeatedly drawing over the same spot.
Not every quilting path needs ink or chalk. A machine guide can help with evenly spaced parallel lines, while carefully placed low-tack tape may provide a temporary edge to follow. Test any tape on a scrap first, keep it out of the needle path and remove it promptly so adhesive does not remain on the fabric.
Remove marks according to their instructions
Read the marker’s directions before applying heat, steam or water. Some marks can become harder to remove if they are pressed first. When quilting is complete, inspect the top under good light and deal with visible lines before ironing the quilt or putting it away.
For a water-soluble pen, follow its instructions for the amount of water needed. A light dab may spread pigment without fully removing it; a careful rinse may be more effective if the quilt materials can safely get wet. Avoid soaking only one small area if that could leave a visible ring, and let the quilt dry fully before checking for remaining marks. Brush loose chalk away gently with a clean, soft brush, without grinding it into the cloth. If a mark persists, return to the tested method rather than trying an untested cleaner on the finished quilt.
Make the final check part of finishing
Look over the quilt from different angles after it has dried. Pay attention to pale fabrics, stitched intersections and places where a template was repositioned. Check the back as well: moisture and pigment can travel through the layers. If you discover a problem, try any new removal approach on a matching sample first.
Keeping a note of which marker worked, how long its lines stayed visible and how you removed them makes the next project easier. The aim is not to find one perfect tool for every quilt. It is to make lines that are clear enough to stitch, gentle enough for the fabric and removable by a method you have already tested.


