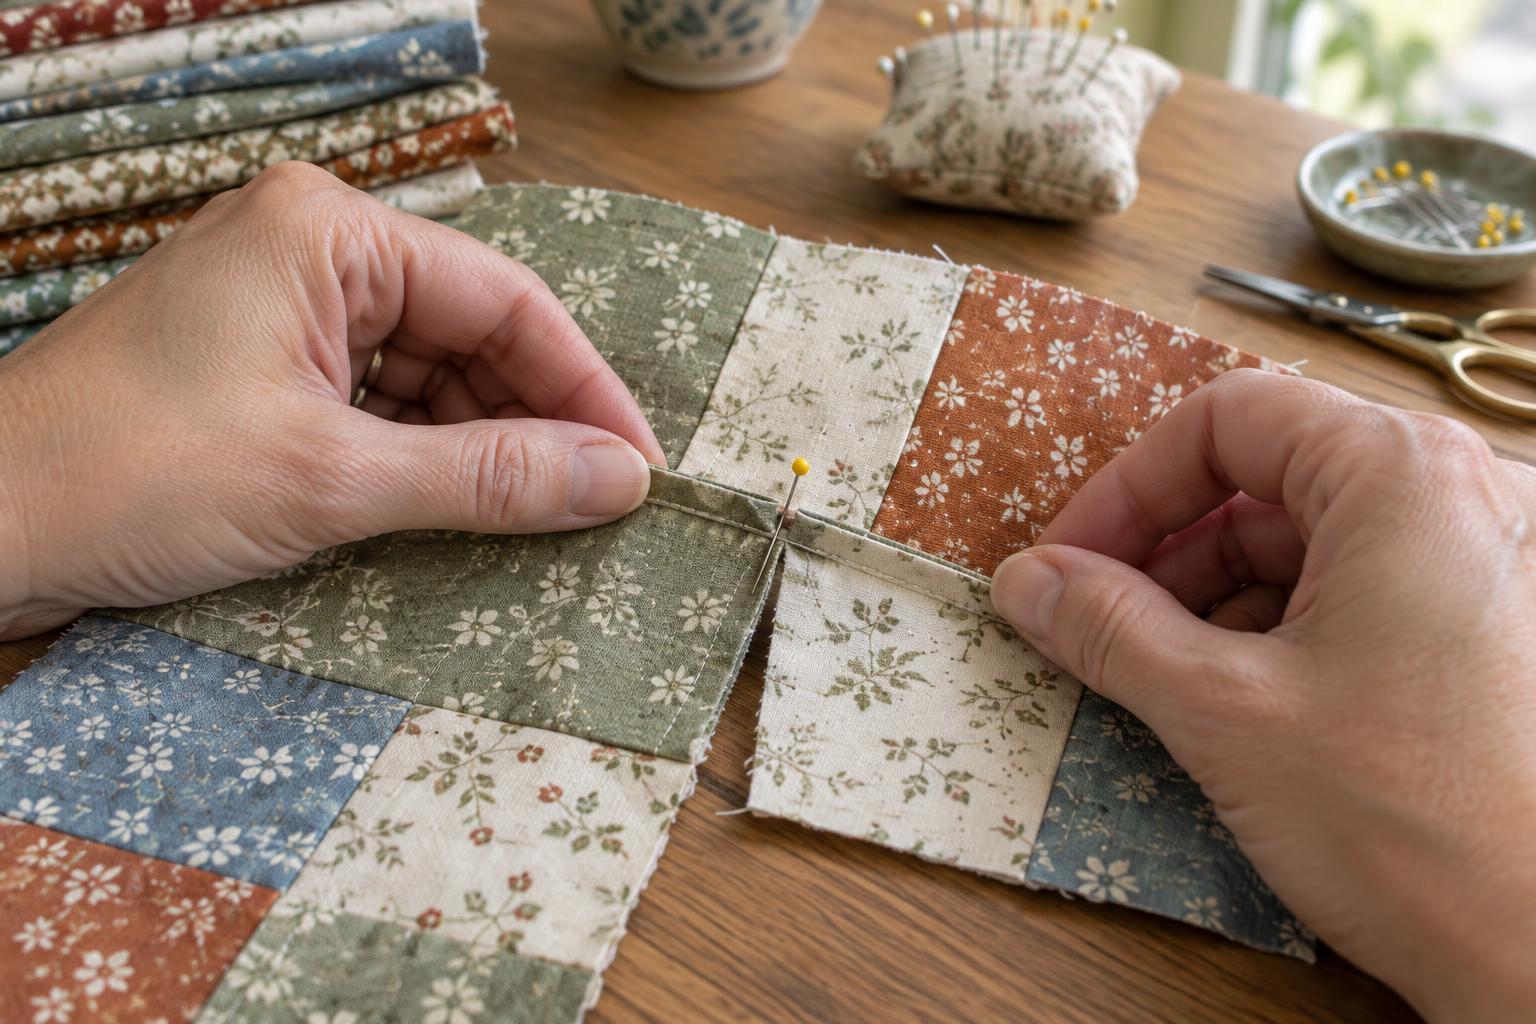
Start with units that are ready to join
A neat intersection begins before you reach for a pin. If two patchwork units are slightly different sizes, their seam lines may be difficult to match even when the fabric edges appear aligned. Check that each unit is the intended size and that earlier seams are sewn with a consistent allowance. Press the units flat, taking care not to drag the iron across the fabric and stretch an edge.
Place the units right sides together as they will be sewn, then identify the seams that should meet. For a simple four-patch, this is the point where the center seam in one pair meets the center seam in the other. Look at those seams rather than relying only on the outer edges: the seam lines determine whether the finished patchwork points will align.
Nest seam allowances for a natural fit
Nested seams are adjoining seams whose allowances have been pressed in opposite directions. If the allowance on the top unit points left and the allowance on the bottom unit points right, their raised edges can settle against each other when the units are placed right sides together. Gently slide the pieces between your fingers until you feel the allowances meet. This gives you a useful stopping point without having to stretch either piece.
Before sewing, lift the top layer to confirm that the seam lines meet where the new stitching line will cross them. If you are making several blocks, plan your pressing directions so adjoining units can nest. Pressing toward a darker fabric or toward a less bulky area can be helpful, but those preferences need not override an intersection that would benefit from opposite-facing allowances.
Pin through the meeting point
For extra control, use a fine straight pin to locate the intersection. With the units right sides together, put the pin through the seam line on the top unit at the point where the new seam will cross it. Check the back and pass the pin through the corresponding point on the bottom unit. Keep the pin upright while you bring the fabric layers together; if it leans sharply, the points may shift.
That first pin is a locator, not necessarily the best way to hold the fabric while sewing. Once the points line up, place a second pin across the seam close to the intersection, or put a pin on each side to prevent movement. Then remove the upright locator pin. Keep all pins clear of the machine needle: stop and take them out before stitching reaches them.
Sew slowly across the intersection
Align the raw edges and sew with the seam allowance required by your pattern, often a quarter inch in patchwork. Guide the fabric lightly and let the feed dogs move it. Pulling from behind or pushing from the front can shift the nested seams or distort a bias edge. As you approach the intersection, slow down and check that the allowances are still lying in their intended directions.
If one unit has extra fullness, avoid stretching the shorter piece until its edges appear to match. Instead, pause and check the cutting, earlier seams, and pin placement. A small discrepancy can sometimes be eased along the length of a seam, but forcing it into the last inch is likely to create a tuck. After sewing, open the units to inspect the match before pressing the new seam.
Adjust the method to the fabric and seam bulk
Nesting works best when the seam allowances can lie comfortably in opposite directions. Some blocks require seams pressed open, and several seams meeting at one point can become bulky. In those cases, use the pin-through method to align the seam lines directly rather than trying to force a nest. A finer pin may pass through a thick meeting point more easily, but it should still be removed before the needle reaches it.
If the intersection is off, check whether the seam lines were aligned at the stitching line, not just at the raw edges. If they were aligned before sewing, try pinning on both sides of the point to reduce shifting. For practice, join two pairs of contrasting fabric squares, press their center seams in opposite directions, and sew the pairs together. The contrast makes it easy to see what changed when you adjust your pressing or pinning.


