Why quilt borders ripple
A border can look straight while you sew it and turn wavy when you spread the quilt top out. Often, the border strip has ended up longer than the section it surrounds. That can happen when you measure along a slightly stretched outer edge, pull on the strip as you sew, or let the sewing machine feed one layer faster than the other.
Small differences between a quilt top’s centre and its outer edges are common, especially after piecing many blocks. A border can help bring those edges into line, but it cannot comfortably hide a large size difference. Before cutting strips, lay the top flat without tugging it. Check that seam allowances are pressed and that no block or seam is folded underneath. If an edge is noticeably longer than the centre, look for a piecing or pressing issue before trying to fit a border to it.
Measure through the quilt top
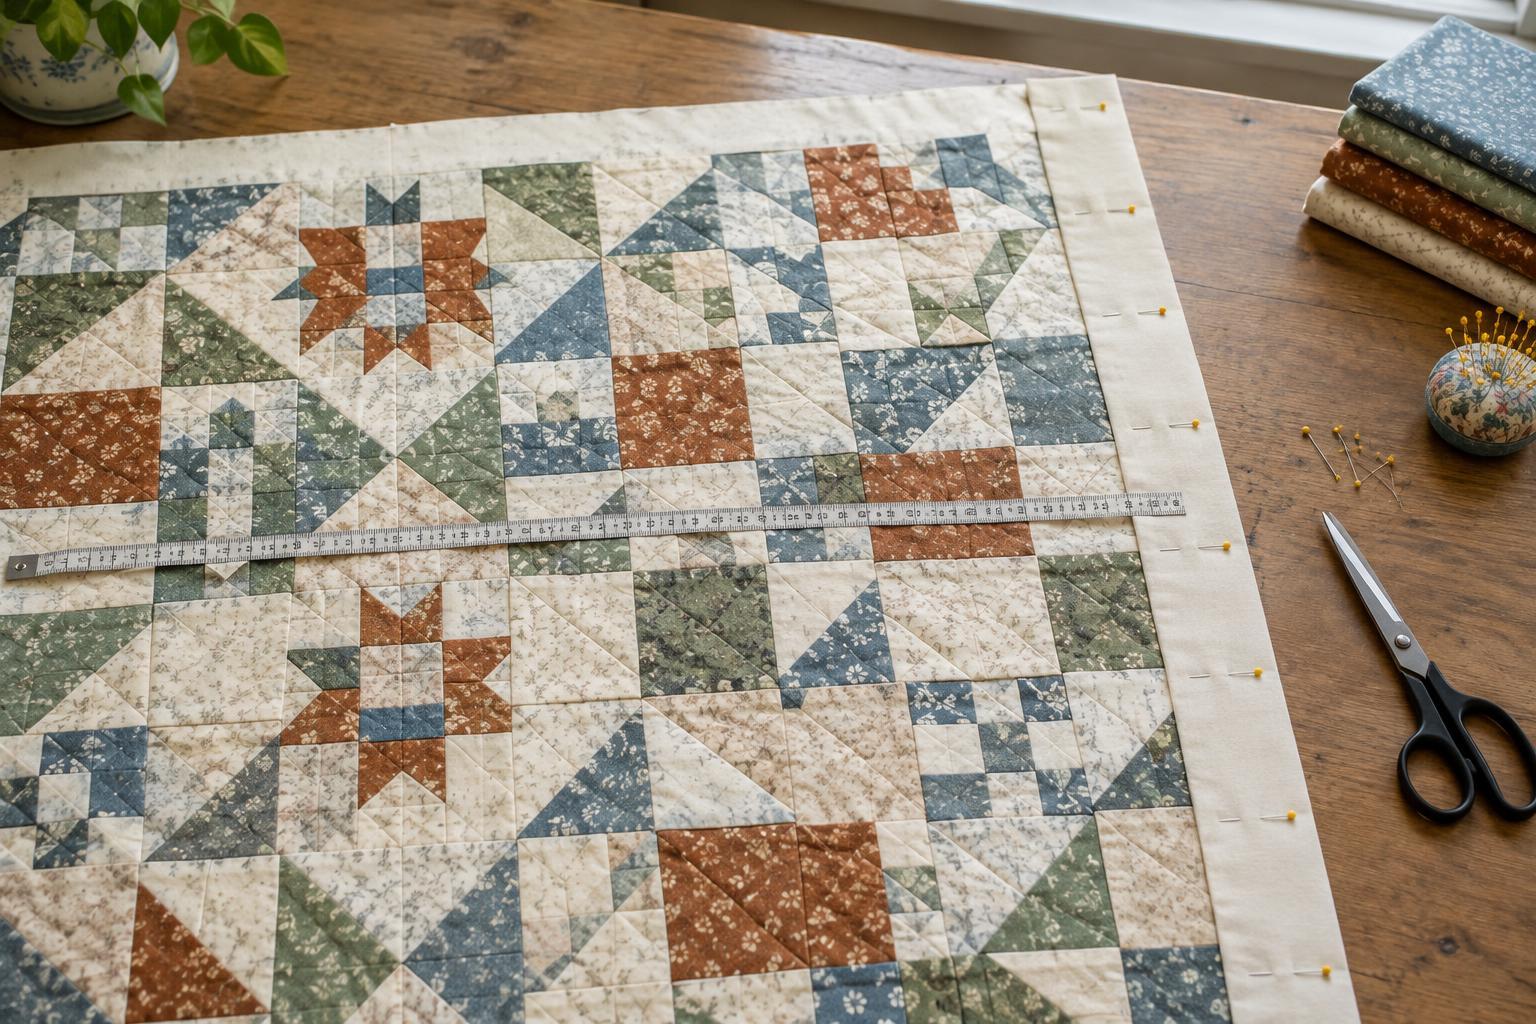
For a quilt with four straight borders, sew the two side borders first. Measure the quilt’s height through its centre, from the top edge to the bottom edge. For a large top, support it on a table or floor so it does not hang and stretch. Take additional parallel measurements near each side if you want to check how square the top is. If the figures differ only a little, use the centre measurement, or an average of the three measurements, as the cut length for both side strips. Do not cut each strip to match a wavy outer edge.
Once the side borders are attached and pressed, measure the quilt’s width through the centre, from the outside edge of one new border to the outside edge of the other. Use that measurement to cut both the top and bottom border strips. Measuring again at this stage matters: the side borders have changed the quilt’s overall width.
Cut strips that are consistent
Choose the finished border width you want, then add seam allowances for both long edges. With a quarter-inch seam allowance, a border intended to finish at 3 inches wide needs to be cut 3½ inches wide. Cut with a ruler and rotary cutter on a stable surface, or mark carefully before using scissors. Keep each strip the same width from end to end.
If one strip is not long enough, join pieces before trimming the assembled strip to its measured length. A straight join is simple; a diagonal join spreads the seam allowance over a wider area. Press the joining seam so it lies flat, then measure the strip without stretching it. Pay attention to any bias-cut edges, which can lengthen easily if handled or pressed with a pulling motion.
Pin and sew without stretching
Fold a side border strip in half to find its midpoint and mark it with a pin or removable marker. Mark the midpoint of the matching quilt edge. With right sides together, match the ends and midpoints, then add pins between those points. For a long border, mark and match quarter points as well. This distributes any slight difference along the full length instead of leaving it all at one end.
Sew with a consistent quarter-inch seam allowance if that is the allowance used in the quilt top. Guide the layers gently; do not pull the border taut behind the presser foot or push the quilt top into it. Keep the weight of a large top supported beside the machine. After sewing both side borders, press the seams carefully. Lift and lower the iron rather than sliding it along the border. Then measure, pin and sew the top and bottom borders in the same way.
Check the result before adding another border
Lay the top flat after each pair of borders. A little fullness may settle with careful pressing, but visible waves are easier to address now than after quilting. Check whether the strip was cut to the planned length, whether its seam allowance stayed even, and whether one layer crept ahead during sewing. If necessary, remove the affected seam and pin it again at more frequent intervals rather than trying to press a long border into place.
If the quilt top and border differ substantially in length, do not force them together with gathers or heavy stretching. Recheck the top’s measurements and squareness, and correct the underlying issue where possible. Taking time to measure through the centre and match points along each edge gives every border—simple or pieced—a better chance of lying flat.


