Look closely before you sew
Lay the quilt flat in good light and examine both sides of the damaged area. An open seam has separated along the line where two patches meet; the fabric on either side may still be sound. A torn patch has a split or hole within the fabric itself. If the cloth is thin, fraying, or breaking in several places, a simple stitch across the tear may not hold. It may need support from a new patch instead.
Check whether quilting stitches cross the damaged area and whether the batting or backing is exposed. Photographing the spot before you begin can help you remember how the patchwork was arranged. Gently remove loose threads that might catch on a needle, but do not pull on threads that are still attached. If the quilt is fragile or especially important to you, consider leaving it unused until you can decide on a careful repair.
Gather supplies and protect the layers
For most small mends, gather a fine hand-sewing needle, thread that blends with the fabric, small scissors, and pins or clips. Choose thread that feels suitable for the weight of the quilt fabric; a thick thread can make small stitches bulky. If you need a replacement patch, prewash it if you would normally wash the quilt, then press it so its edges are easy to turn under. A closely matched fabric can make a quiet repair, while a contrasting one can make the mend part of the quilt’s story.
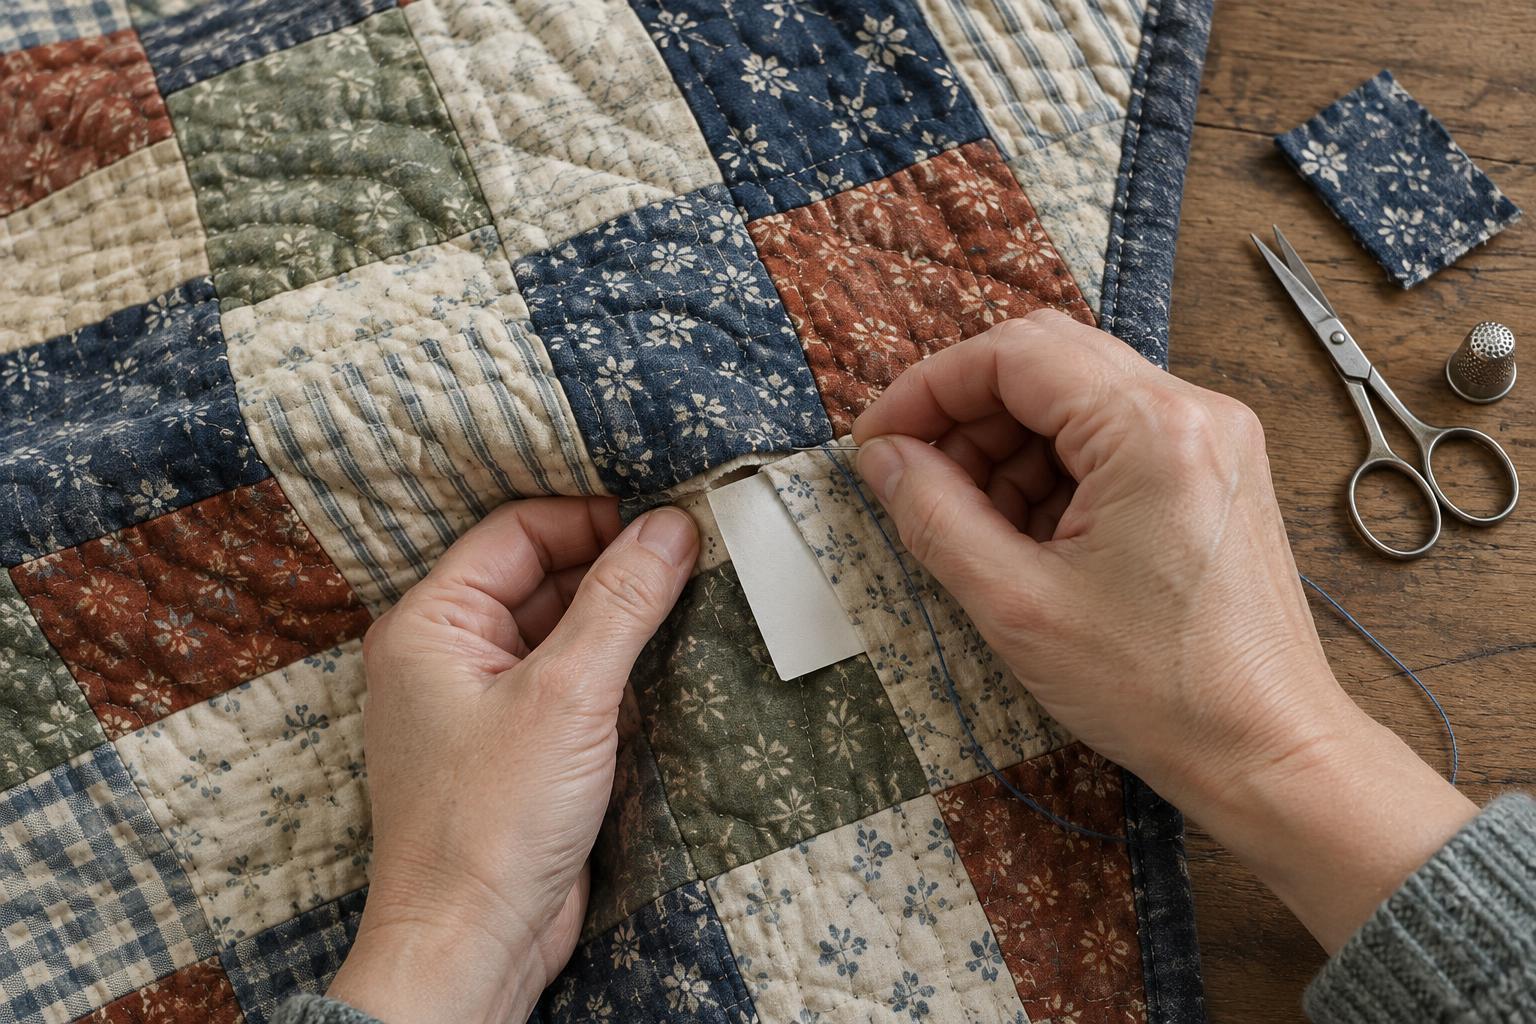
Work on a table so the quilt’s weight is supported rather than pulling against the damaged spot. Slip a smooth piece of card beneath the top layer when possible to remind yourself not to catch the backing. Remove it as you work so you can check your stitches. If the layers are tightly quilted and cannot be separated easily, take shallow stitches and inspect the back frequently rather than forcing the needle through.
Close an open patchwork seam
First, check whether the original seam allowances still extend beneath the opening. If both edges are intact, ease them back into place without stretching the surrounding patches. Secure a length of thread within an existing seam allowance, then use small ladder stitches to join the folded patch edges. Take each stitch just inside a fold, alternating from one side to the other, and draw the thread snug enough to close the gap without puckering the quilt.
Finish by securing the thread within the seam allowance and trimming its end. If one edge has frayed so far that the seam allowance is missing, do not pull the pieces together under tension. A narrow fabric patch placed over the weak area, with its edges turned under and stitched down, may give the seam more support. Where quilting stitches were broken, replace them after the top is secure, following the nearby stitch spacing as closely as is practical.
Cover or replace a torn patch
For a small tear in otherwise sturdy fabric, a fabric patch can cover the damage and extend beyond it onto sound cloth. Turn under the patch edges, position it over the tear, and sew around it with small appliqué stitches. Keep the underlying torn edges flat rather than trimming away more fabric than necessary. If batting is visible, tuck it gently into place before covering the opening.
If a whole patch is badly worn, you can make a new piece that follows its shape and covers the original patch. Allow enough fabric to turn under every edge, then pin or baste the new piece in place. Stitch it to the sound fabric or seam allowances around it, checking the quilt back as you go. This approach preserves the surrounding patchwork without requiring you to take apart a large section of the finished quilt. Add replacement quilting stitches through all layers if the new patch sits in an area where the original quilting has been lost; these stitches help keep the layers together.
Check the mend and care for the quilt
When you finish, spread the quilt flat and look for puckers, loose corners, or places where the mend puts strain on older fabric. Turn it over to check for unintended stitches or a trapped fold in the backing. If the repair feels tight, it is usually better to redo a few stitches than to leave tension that may encourage another tear.
Handle the quilt gently around the repaired area. If it needs cleaning, follow the care appropriate to its fabrics and condition rather than assuming every quilt can tolerate a machine wash. After cleaning, inspect the mend again and let the quilt dry thoroughly before storing it. A periodic check for loose seams and thinning cloth can help you make small repairs before the damage spreads.


