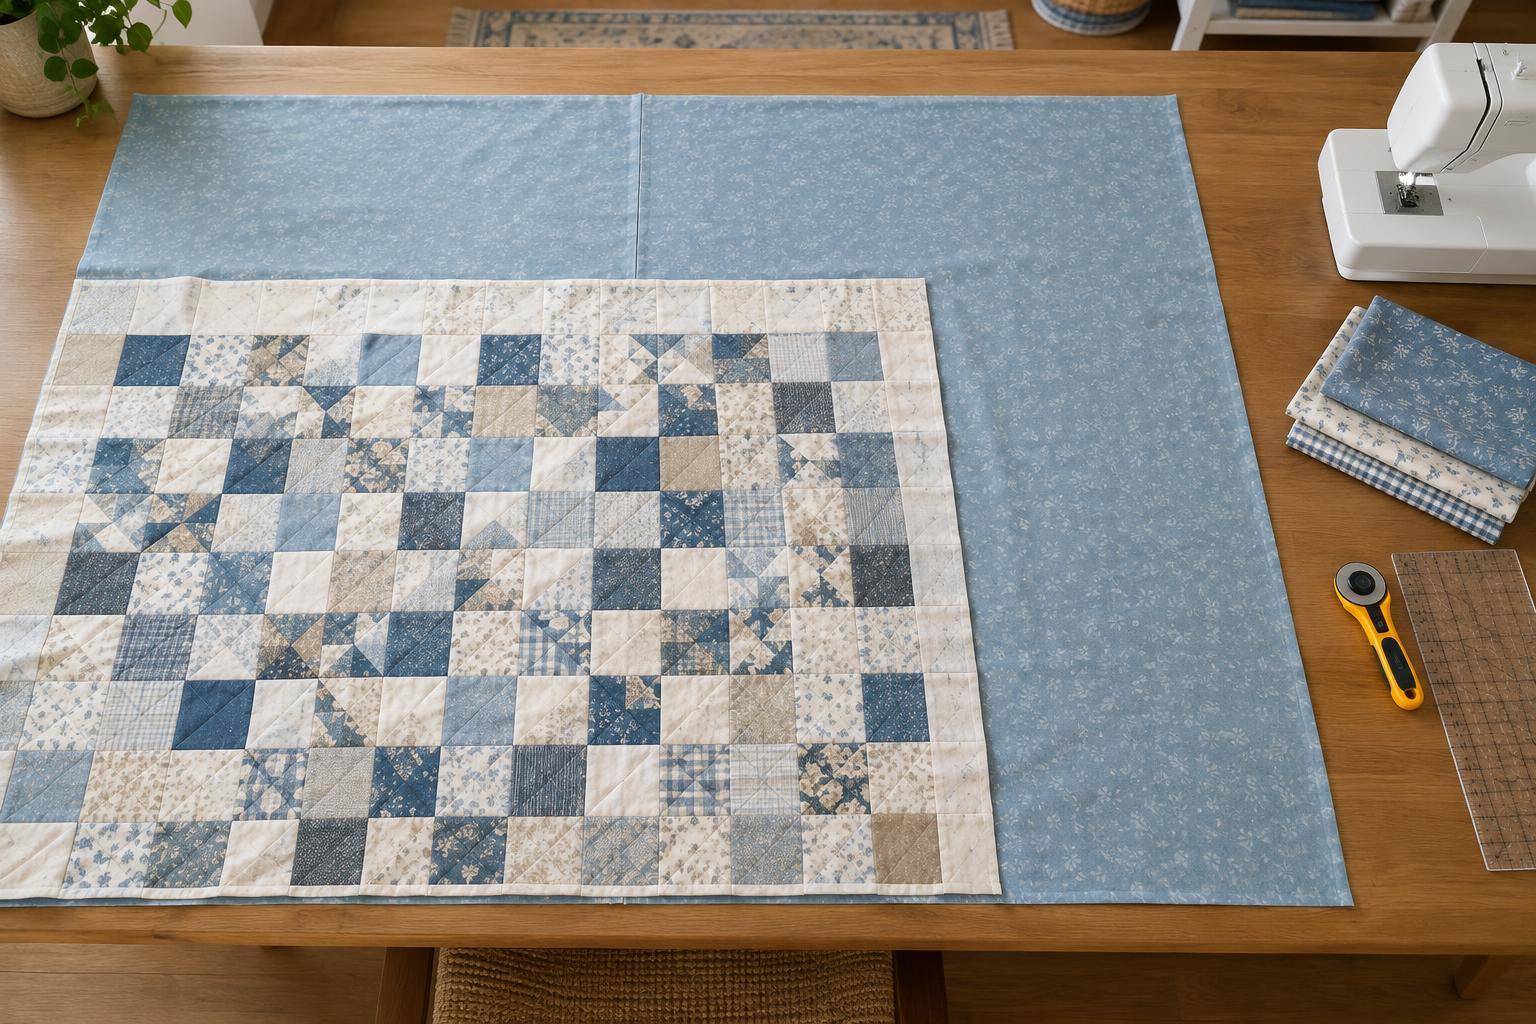
Start with the quilt top, then add a working margin
Measure the quilt top after it has been assembled and pressed. Take its width and length at several points rather than relying only on the pattern’s finished size. If the measurements vary slightly, use the largest in each direction. Check that the top lies reasonably flat; a backing cannot correct a wavy border or a distorted top.
The backing must extend beyond every edge of the top so the quilt layers can be secured and handled during quilting. A practical starting point is at least 4 inches of extra backing on each side. For a top measuring 60 by 72 inches, that gives a minimum backing size of 68 by 80 inches. If someone else will quilt it, ask about their required margin before cutting: a longarm setup may call for more space. Allow a little extra for squaring the backing after piecing, too.
Choose the backing fabric before calculating how much to buy. Its usable width may be less than its labeled width once the selvages are removed. If the print has a clear direction, decide which way it should face on the finished quilt. That choice affects how you orient and cut the panels.
Plan the panels before cutting
For a backing wider than one length of fabric, two panels are often the simplest solution. First determine the length each panel must cover, including the working margin and a little room to straighten the cut ends. Then check whether the joined widths will cover the required backing width. Joining two 40-inch-wide usable panels with a half-inch seam allowance, for example, produces a backing about 79 inches wide: 40 plus 40, minus the inch taken up by the seam.
For the 60-by-72-inch quilt top above, two panels cut a little longer than the 80-inch minimum would provide ample width and enough length to square the backing. If your fabric has a large motif that you want to match across the seam, you will need additional length to shift one panel into position. Without that extra fabric, it is perfectly reasonable to let the motifs fall where they may.
A centre seam is easy to plan, but it is not the only option. You can cut one panel narrower to move the seam away from the centre. This may make a bold, unmatched print less noticeable or place the seam where you prefer. Whatever the layout, check the final dimensions on paper before cutting, remembering that every seam uses some width.
Sew a backing seam that lies flat
Cut the panels with straight ends and remove the selvages from the edges you will join. Selvages can behave differently from the rest of the fabric, making a long seam pucker. Place the panels right sides together, align the long edges and pin or clip at intervals. If the ends do not align perfectly, keep the long edges even rather than stretching one panel to make it fit.
Sew with a consistent half-inch seam allowance, supporting the fabric so its weight does not pull against the machine. Take your time over a long seam: stopping occasionally to reposition the fabric is better than letting it twist. Press the seam open so the allowances lie to either side of the stitching. This spreads the seam bulk and helps the backing sit smoothly beneath the batting.
If the fabric was folded tightly or has stubborn creases, press the whole backing after joining it. Inspect the seam from both sides for skipped stitches, tucks or areas that have not been caught securely. Correcting them now is much easier than finding them after the quilt layers have been assembled.
Check the finished size and prepare for layering
Lay the backing flat and measure its width and length again. Straighten uneven outer edges if needed, but keep the full required margin on all four sides. If you chose to wash the backing fabric, do so before making this final check; washing can change its dimensions. Keep your fabric preparation consistent with the rest of the project, especially when combining fabrics with different care requirements.
Before making the quilt sandwich, remove loose threads and press out any remaining folds. Place the backing wrong side up, then add the batting and quilt top. Centre the top by measuring the exposed backing at each edge rather than judging only by eye. Smooth the layers without stretching them and secure them using the method suited to your quilting setup.
Do not trim the backing flush with the quilt top before quilting. Its generous edges are there to help hold the layers in place and accommodate small shifts as you stitch. Once quilting is complete, you can square the quilt and trim the extra backing and batting in preparation for binding.


