Start with the quilt you want to use
Before choosing a pattern, decide what the finished quilt is for. A small lap quilt, a child-sized quilt or a wall hanging gives you room to practise without committing to a large bed quilt. Think about where you will lay out the pieces, how you will quilt the layers and how much fabric you feel comfortable handling. A smaller project is not a lesser quilt; it lets you learn every stage, including the finish.
Set one clear goal for your first project. You might want to practise accurate seams, explore colour placement or make something useful for your home. Keep the other choices straightforward. If learning to piece is the priority, use a simple layout and an easy quilting plan rather than adding complicated borders or unusual shapes. A written plan with the intended size, block type and next few steps can help you make decisions without trying to settle every detail at once.
Choose a design with repeatable pieces
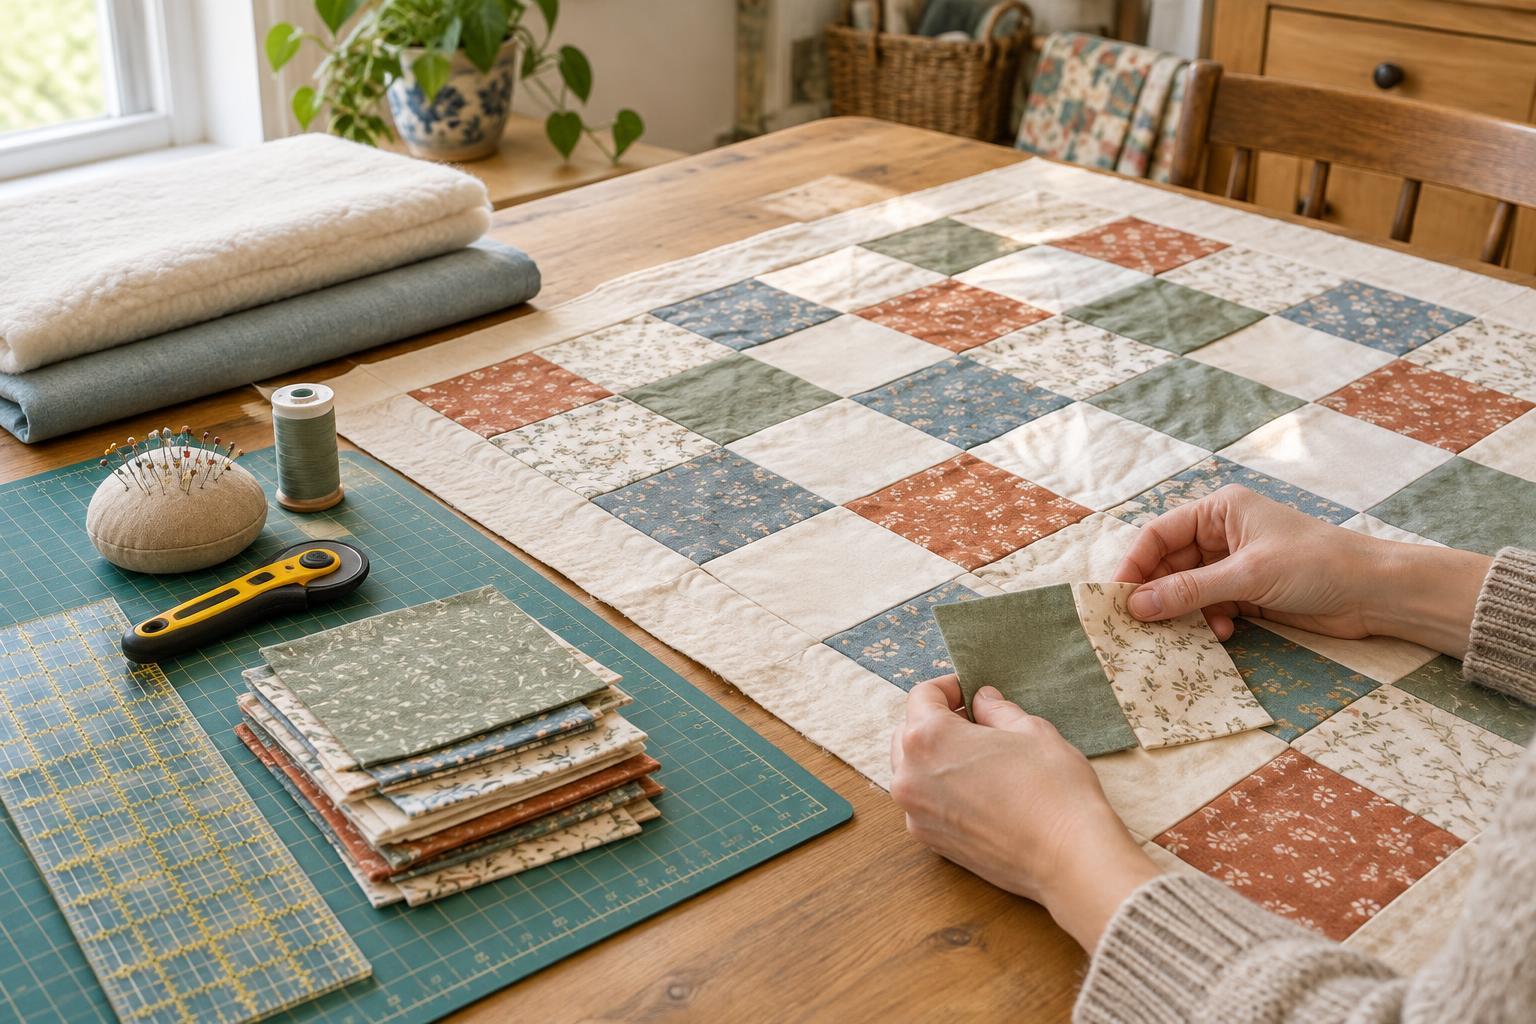
A quilt made from equal-sized squares is a practical starting point because there are no points to match and each seam is straight. For example, six columns and eight rows of squares that finish at 6 inches would make a patchwork top about 36 by 48 inches before any borders. To allow for quarter-inch seams, you would cut 48 squares at 6½ inches each. This is only one possible size: change the number of rows or columns to suit your space and intended use.
Choose fabrics you enjoy seeing together, then check that the design will remain easy to read. A mix of light, medium and dark fabrics can create variety even when the pieces are all the same shape. If several prints look similar in value, place them side by side to see whether they blend more than you want. Taking a quick photo can also help you judge the overall balance. You do not need a large collection of fabrics; a limited selection is easier to arrange and keep track of.
Before cutting the whole quilt, make one small test section. Sew a few squares with a consistent quarter-inch seam, press them and measure the result. If the pieces do not line up as expected, adjust your seam guide or cutting method now. Testing takes less time than discovering a repeated problem after the full top is assembled.
Plan the layers and the work area
A quilt needs more than a patchwork top. Add backing fabric, batting and binding to your materials list, along with thread and any needles or tools your method requires. The backing and batting generally need to extend beyond the quilt top while you assemble and quilt the layers. Check the requirements of your chosen quilting method or batting before cutting them. If your backing fabric is not wide enough, plan where to join it rather than assuming one length will cover the quilt.
Consider how you will quilt the layers before you begin piecing. Straight lines across a small quilt may be more approachable than a dense, intricate design. Leave enough room to support the quilt as it moves through your machine, or consider hand quilting if that better suits your tools and pace. Whichever method you choose, try it on a small layered sample first. The sample can reveal whether you like the spacing and whether the layers feed comfortably.
Give yourself a place to sort the pieces, even if it is only a tabletop you clear for each session. Label stacks by row or keep them in order after settling on a layout. That simple habit makes it easier to stop and restart without having to reconstruct your plan.
Break the project into finishable stages
Treat the quilt as a series of small tasks: prepare and cut fabric, arrange the squares, sew rows, join the rows, prepare the layers, quilt and bind. You can check each stage before moving on. After sewing a row, press it and compare its length with the other rows. Before joining the layers, look over the top for loose threads or seams that need attention. These pauses are part of the process, not delays.
Allow some flexibility in your schedule. Cutting may take longer than expected, and quilting can feel different from piecing. If your original plan becomes awkward, simplify the quilting design or skip an optional border rather than rushing through the finish. Aim for a quilt you can use and learn from, not a perfect sample of every technique. Once it is bound, you will have a clearer sense of which steps you enjoyed and what you would like to try on the next project.


