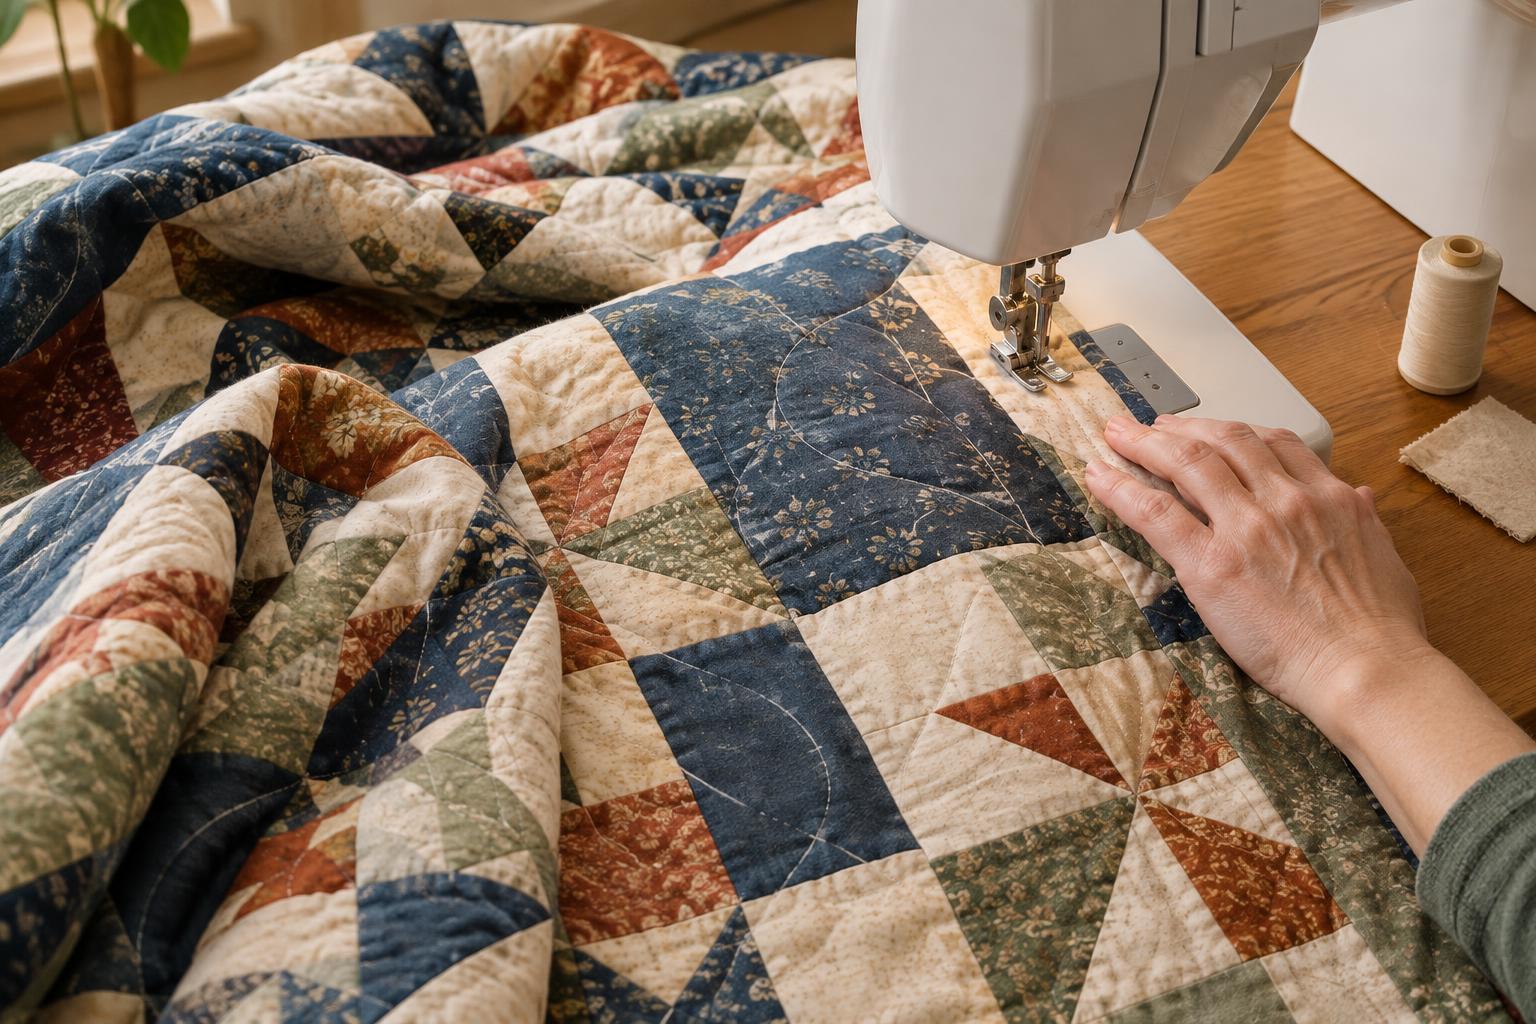
Start with the quilt, not the needle
A quilting design may look simple on paper but become awkward if its lines require constant cutting, turning, or repositioning. A quilting route is the order in which you stitch those lines. Planning it means asking where each line begins, where it ends, and whether the next line can be reached without cutting the thread.
Begin with a small drawing of your quilt top. Mark the blocks, borders, and seams you might use as guides. Then decide which areas need quilting and which can be covered by one continuous pass. If you are using batting, check its guidance on quilting distance; your route still needs to keep the layers adequately secured. Think about the quilt’s bulk, too. A path that looks efficient on paper may be tiring if it repeatedly asks you to rotate a large quilt under a domestic machine.
Draw the route before you stitch
Sketch your proposed stitching lines on a copy of the block layout or a separate sheet. Without lifting your pencil, trace the route you expect the needle to follow. When you reach a dead end, look for another order that connects the same lines. Numbering repeated motifs can help you see whether to work across a row, around a block, or through several blocks in sequence.
Separate the design into manageable routes rather than trying to make the entire quilt one unbroken line. For example, parallel straight lines might run from one edge to the other, while a chain of loops could travel across a row of blocks. Mark the start and finish of each route. The goal is not the fewest possible thread cuts at any cost; it is a path that is easy to follow and gives the quilt the texture you want.
Use connections and travel paths deliberately
Some designs connect naturally. A gentle meander, a line of waves, or a repeated motif with shared entry and exit points lets you move from one area to the next without stopping. If you are drawing your own motif, try placing its exit near the next motif’s entrance. Small changes to the drawing can make a substantial difference to how smoothly it stitches.
A travel path is stitching used to reach the next part of the design. It might follow a seam, run along an existing quilted line, or become a planned part of a border. Stitching in the ditch can make a connection less noticeable, but a seam is not automatically hidden: its visibility depends on the fabric, thread, and accuracy of the stitching. Retracing a quilted line can also look heavier than the surrounding work. Use these options where they suit the design rather than forcing every section to connect.
For walking-foot quilting, plan how each straight or gently curved pass will enter and leave the quilt. An edge-to-edge line can often begin and end beyond the quilt top, where its ends will later be enclosed by binding. For free-motion quilting, connected motifs offer more freedom to change direction, but the path still needs room for the quilt to move under the needle.
Plan around handling and consistency
Before stitching, consider where most of the quilt will sit as you follow each route. If a planned path requires frequent large rotations, dividing it into two routes may be easier. Support the quilt’s weight beside and behind the machine where possible so it does not pull against your stitching. For repeated designs, work in an order that helps you keep the spacing consistent, and use markings if you need them.
Test the route on a practice sandwich made with similar fabric and batting. Draw a few blocks or borders on it, then stitch the planned path at a comfortable pace. This reveals tight turns, difficult transitions, or travel stitching that stands out more than expected. Adjust the route on paper before committing to the quilt. If you are following marked lines, check that the marking method is suitable for your fabric and can be removed as intended.
Make clean stops part of the plan
A stop and restart is sometimes better than an obvious connecting line or an uncomfortable maneuver. Mark those points on your drawing so they happen in sensible places, such as at a seam intersection or the end of a motif, rather than wherever you happen to run out of room. This also lets you decide in advance how you will secure the thread ends.
Depending on your design and preference, you might use small securing stitches or leave thread tails to tie and bury between the quilt layers. Practice your chosen method on a sample so the ends feel secure without drawing attention. Once you have stitched a route, pause and compare it with your sketch before starting the next one. A useful plan gives you direction, but it can change if the quilt shows you a simpler way forward.


