What stippling asks you to do
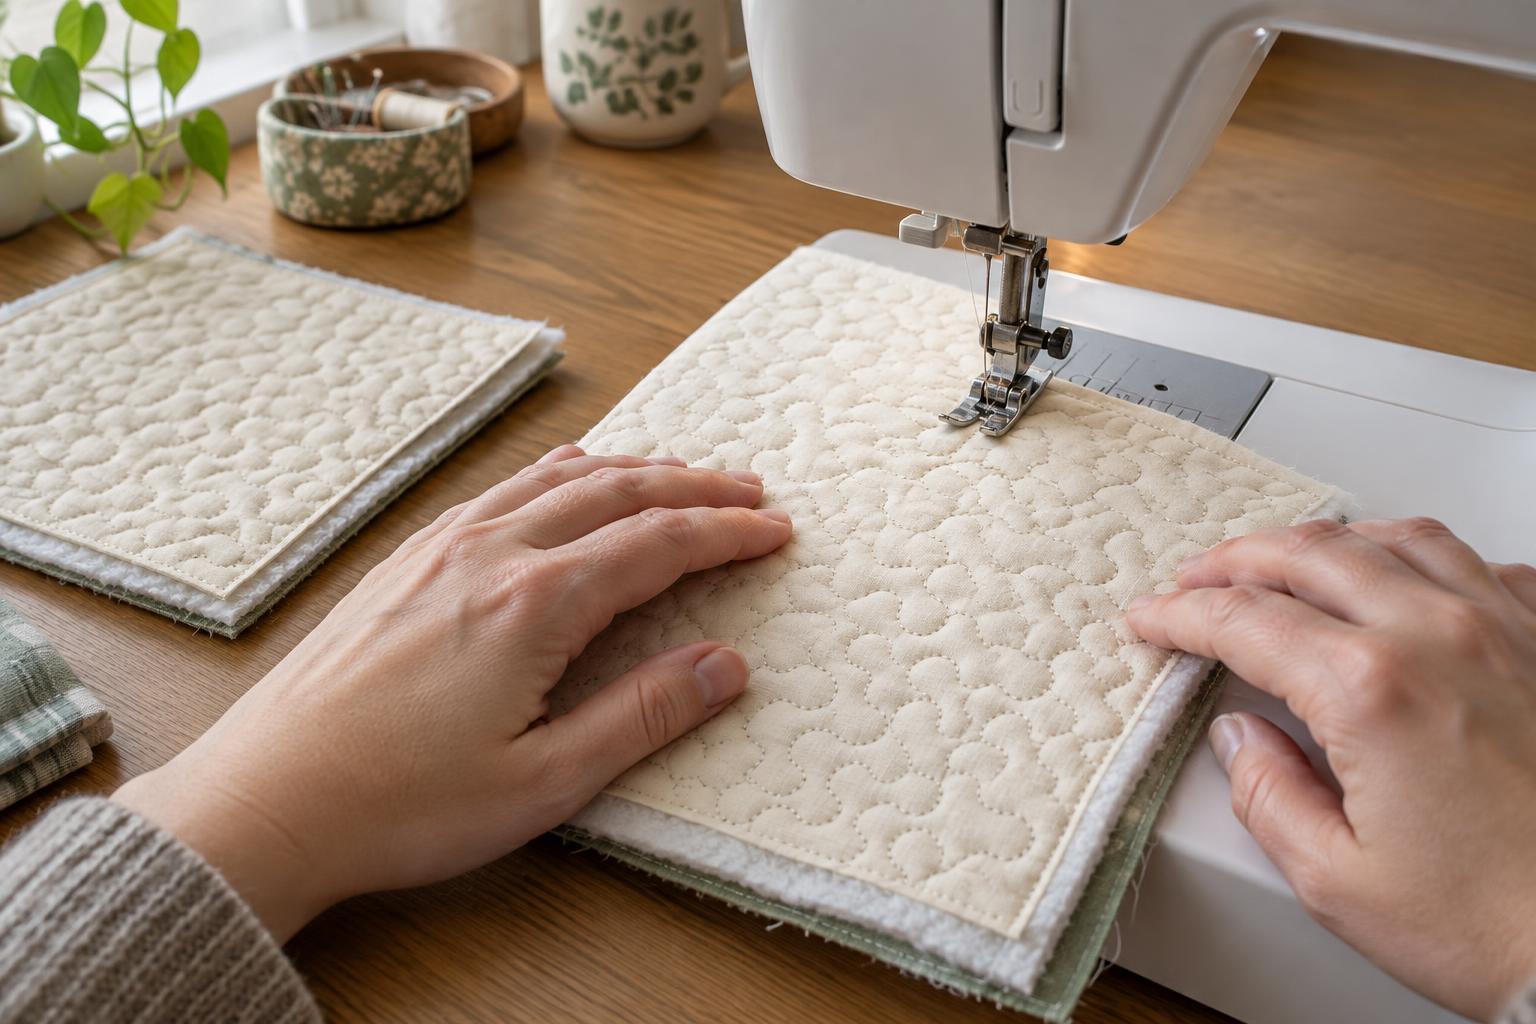
Stippling is a continuous quilting line that wanders through gentle curves, usually without crossing itself. The line fills space rather than following a marked patchwork seam. It can feel unfamiliar at first because, in free-motion quilting, you guide the fabric in any direction while the needle stitches in place. Your hands control the path, and the balance between hand movement and machine speed affects stitch length.
A practice quilt sandwich lets you concentrate on that movement without worrying about a finished project. Aim for a comfortable, consistent path rather than a flawless design. Uneven stitches and awkward turns are useful information: they show you where to slow down, leave more room for a curve or adjust how quickly you move the fabric.
Make a small sandwich for testing
Cut a piece of plain or lightly patterned cotton for the top, a similarly sized piece for the backing and a piece of batting to fit between them. A sandwich around the size of a sheet of printer paper gives you room to move while remaining easy to handle. If you have spare materials from a planned quilt, use those: different fabrics and batting can change how the layers feel under your hands.
Smooth the backing, batting and top into place, then baste them so they do not shift. Safety pins placed away from your intended stitching path or a suitable basting method can work. Keep loose edges and excess fabric clear of the needle area. If you are testing materials for a larger quilt, make the sample large enough to reveal whether the backing puckers and whether the stitching looks the way you want on both sides.
Set up the machine and your workspace
Fit a free-motion quilting or darning foot that is compatible with your machine, following its instructions. Lower or cover the feed dogs if your machine allows it; the feed dogs normally advance fabric for straight sewing, but free-motion quilting depends on you moving the sandwich. Set the stitch length according to your machine’s free-motion guidance, and test your usual quilting thread and a suitable needle on the sample. Machine controls vary, so treat the first lines of stitching as a setup test rather than assuming one setting will suit every machine.
Give the sandwich support on the table so its weight does not pull against the needle. Sit where you can see the area just ahead of the foot, with your shoulders relaxed and your hands on either side of the stitching area. Keep your fingers well clear of the needle. Quilting gloves or a grippy aid may help if the fabric slips, but they are optional. Before starting a stipple, sew a few lines and curves, then check the top and backing for loose loops, puckers or thread breaks. Adjust one thing at a time if needed.
Build the stipple in stages
First, draw a few wandering paths on paper without lifting the pen. Make rounded bends and leave space between nearby lines. Avoid steering into a narrow gap you cannot comfortably leave; turn into open space instead. The paper exercise is not a pattern you must copy. It helps you recognise the next place your line can travel.
On the quilt sandwich, begin with broad curves. Run the machine at a speed you can maintain while you move the fabric steadily with both hands. If you move the sandwich quickly while the needle stitches slowly, stitches tend to lengthen; moving it slowly under a fast needle tends to shorten them. Work in a small area, pause with the needle down if you need to reposition your hands, then continue. Gradually make the curves smaller only when the larger shapes feel manageable.
Practise filling a simple area rather than trying to cover the whole sandwich at once. You might imagine a square and travel across it in loose rows, turning back into open spaces without making the path look too regular. Stippling lines generally do not cross, but one accidental crossing does not spoil a practice piece. Keep going and use the finished area to assess spacing and rhythm.
Review the sample and plan the next one
Stop periodically and look at both sides of the sandwich. Notice where stitches become much longer or shorter, where the backing gathers and whether the curves look cramped. For your next sample, choose one goal: steadier movement, more even spacing or smoother changes of direction. Changing only one goal makes it easier to tell what helped.
When you finish a practice path, secure the thread ends using a method appropriate for your project, such as bringing the tails to one side, knotting them and burying them in the layers. Keep the samples, even the untidy ones. Comparing them can make your progress easier to see and help you choose a stipple size that suits a future quilt. The aim is a quilting texture you enjoy making, not identical stitches at every turn.


