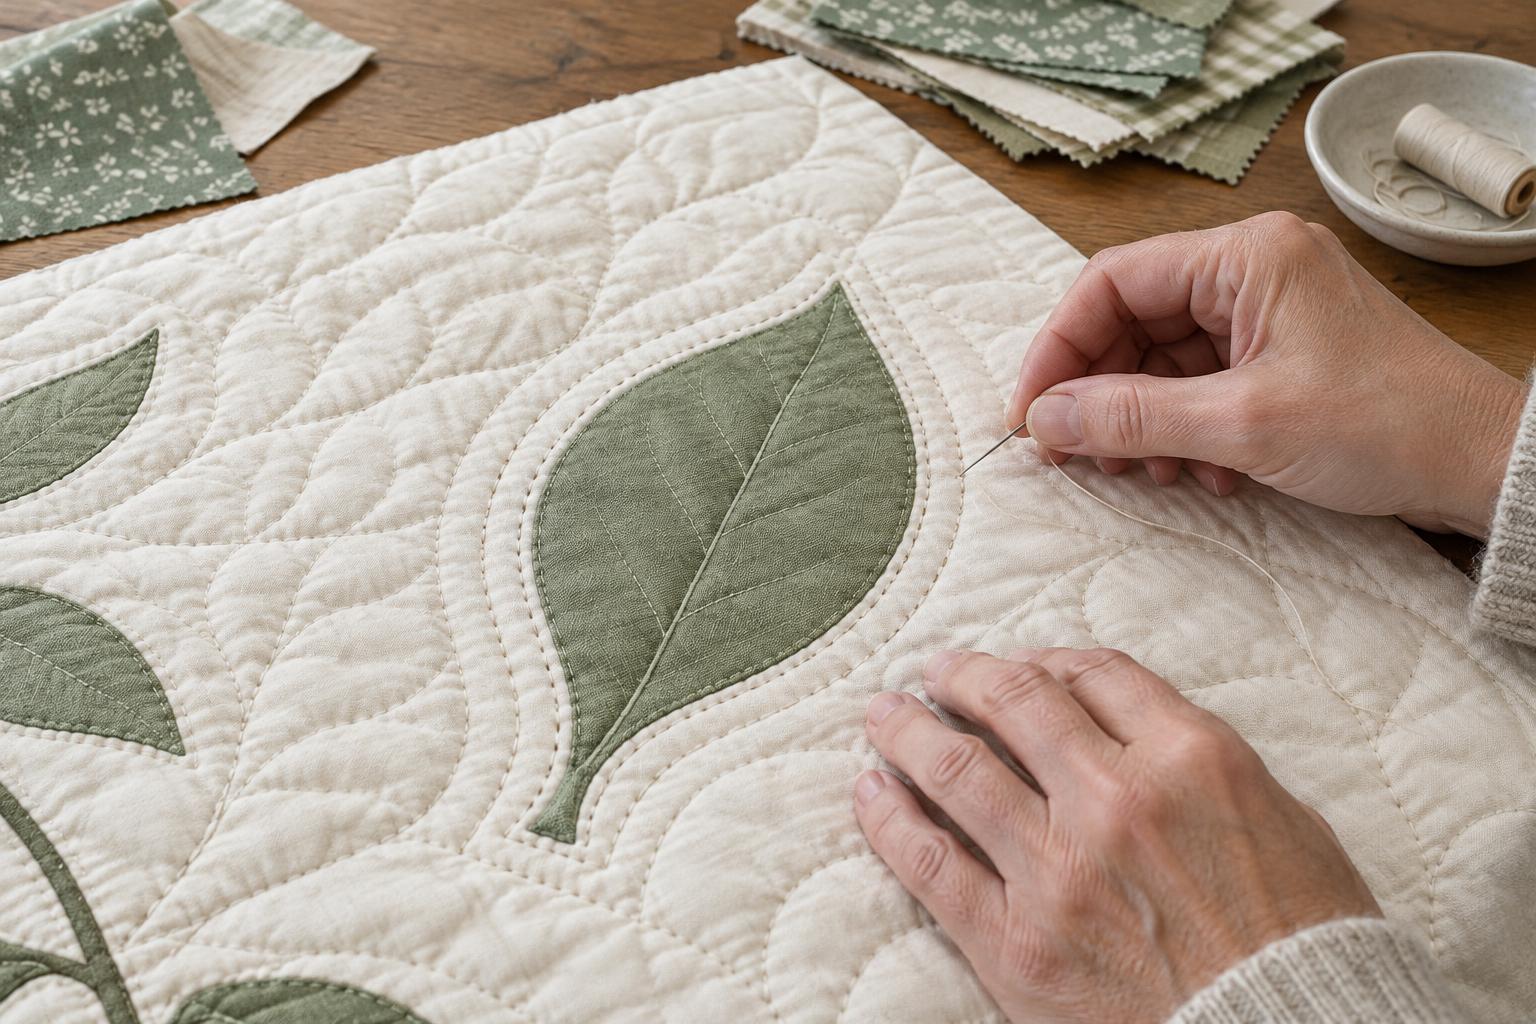
Decide what the appliqué edge needs
Before quilting, look closely at how each shape is attached. A turned appliqué edge is folded under and secured to the background. A raw edge may be held by a narrow stitch, a decorative stitch, or fusible web with stitching. Those existing stitches are part of the design, and the quilting does not need to cover them. If an edge is loose, secure it before quilting rather than relying on the quilting stitches to hold it down.
Consider the effect you want as well as the construction. Quilting close to the outline can emphasize a shape and leave its interior relatively raised. Quilting across the shape will flatten it more. Dense stitching in the background can make an unquilted appliqué stand out, but a large unquilted area may need some quilting of its own, depending on the batting and the look you want. Check the batting’s quilting-spacing guidance when deciding how much open space to leave.
Plan a path before you stitch
Make the quilt sandwich and baste it thoroughly, paying attention to the background around small points, narrow stems, and curves. Smooth the layers without stretching them. If the appliqué was attached only to the quilt top, check that its edges are secure after basting; quilting can pull at a weakly attached section.
Sketch a few possible quilting lines on a photograph or simple drawing of the block. Decide whether the stitching will follow the outline closely, form a second line farther out, or fill the surrounding background. Look for places where a line can travel naturally from one shape to another. This planning helps you avoid repeated stops and awkward detours around tiny details.
Try the plan on a practice sandwich made with similar fabric, batting, and an appliqué edge. A test will show whether your chosen distance keeps the outline visible and whether the background begins to pucker. If you mark the quilt, use a marking method suitable for the fabric and test its removal on a scrap first.
Follow the outline without crowding it
For close outline quilting, place the stitching on the background just outside the appliqué, leaving a small, consistent-looking gap. You do not have to maintain a mathematically exact distance around every curve. It is more important that the line looks smooth and does not wander onto the shape or catch its edge. Follow the visible outline rather than forcing the stitch path to match the fabric weave.
A walking foot can help with gentle outlines and gradual turns. Slow down before a sharper curve, stop with the needle down, then lift the presser foot and pivot a little at a time. For intricate shapes, free-motion quilting may make direction changes easier, provided you are comfortable controlling the fabric. Whichever method you choose, keep the quilt’s weight supported so it does not tug the work away from the needle.
At an inside corner or a tight notch, resist the urge to push the stitching into the smallest space. Round the path slightly if that creates a cleaner line. Around a sharp point, pause and change direction deliberately rather than making a sudden, uneven turn. If a section becomes too crowded to quilt neatly, it is reasonable to leave a little more room there.
Use echo quilting and background texture thoughtfully
Echo quilting follows the appliqué outline at a greater distance, repeating its general shape. It can frame the motif without putting a line of stitches next to a delicate edge. Start with one echo line and assess the result before adding more. On irregular motifs, let the line flow around the overall silhouette instead of reproducing every small bump.
Background quilting provides another way to define appliqué. Gentle curves, spaced lines, or a simple meander can fill open areas while leaving a clear margin around each shape. Keep changes in quilting density gradual: a tightly quilted patch beside an otherwise open background may draw attention away from the appliqué. Narrow gaps between shapes may be better left open than filled with cramped stitches.
If a shape is large, consider a few quiet quilting lines within it. They can control the layers without obscuring the appliqué design. Follow a natural division, such as a leaf vein or a petal’s length, rather than stitching repeatedly across the outer edge.
Finish cleanly and check the result
Choose a thread that supports the effect you want. A thread close to the background colour lets the appliqué outline lead; a contrasting thread makes the quilting line more prominent and reveals changes in spacing. Start and end stitches securely using a method suited to your machine and project, keeping loose thread tails away from appliqué edges.
After quilting a small area, lay the quilt flat and view it from a short distance. Check that points still look sharp, curves remain recognizable, and no edge has been caught unintentionally. If a line seems too close or a shape looks flattened, adjust the path or density before quilting the rest of the piece. The aim is not to trace every edge perfectly, but to let the quilting support the appliqué without competing with its outline.


