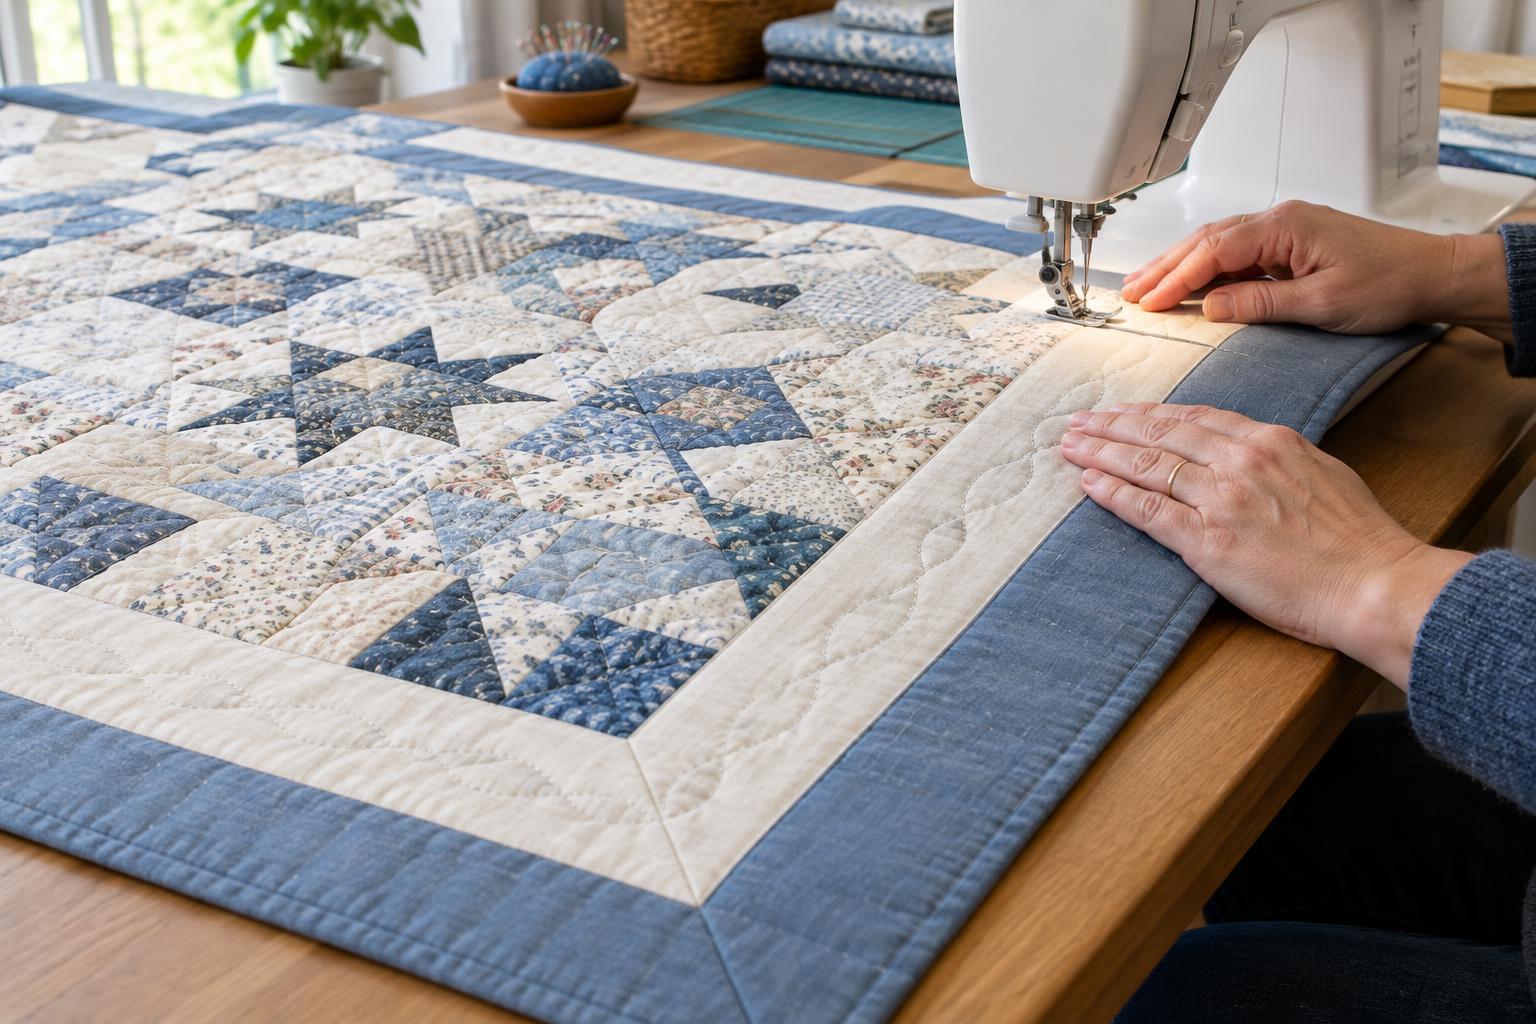
Start with a border that lies flat
Quilting can hold a border in place, but it cannot reliably correct a border that was stretched during piecing. Before layering the quilt, lay the top on a flat surface and check whether the borders sit smoothly. If one edge looks wavy, check the seams and compare the border length with the quilt centre. Correcting the piecing now is usually easier than trying to quilt away the excess fabric.
Once the top is ready, smooth the backing, batting and top without pulling any layer taut. Baste carefully along the borders as well as through the centre; an unsecured outer edge is easy to shift while turning the quilt. Keep the batting and backing extending beyond the top so you have room to handle the quilt without tugging directly on its edges.
Choose a design that suits the border
A narrow border often needs only a simple line of quilting. A wider border gives you room for parallel lines, gentle curves or a repeating motif. Consider the scale of the patchwork beside it: a bold design may draw attention to the frame, while a quieter one can let the quilt centre remain the focus. You do not have to fill every border with the same amount of stitching, but check that your plan is compatible with the batting’s quilting-spacing guidance.
Before marking or stitching, sketch one full side and a corner on paper. This helps you see where a repeat will end and whether the design can turn naturally. For a repeating motif, divide the usable length of each side into manageable units rather than assuming every repeat will be identical. Small adjustments spread across a border are less noticeable than one cramped motif at the end.
Stabilise the quilt before filling the border
If the quilt centre is still loose, avoid quilting a detailed border first. Work outward in a balanced way so the layers are secured before you spend time close to the edges. The exact order depends on your overall quilting plan, but quilting or stabilising the centre before filling an outer border generally gives the border less opportunity to drift.
A line of quilting near the seam where the border meets the quilt centre can help define that boundary. It need not sit precisely in the seam: a line just inside the border may be easier to follow and more visible by design. Keep your hands ahead of the needle to smooth the next short area, but do not pull the fabric to make it appear flat. If a fold begins to form, stop and inspect the layers rather than stitching over it.
Support long sides and turn corners deliberately
A border can stretch if the quilt hangs heavily off the table. Support its weight on the work surface or a nearby surface, and reposition the quilt often. When using a walking foot for straight or gently curved lines, let the feed mechanism move the layers; steering by tugging on the outer edge can distort it. Work at a pace that lets you check the fabric immediately in front of the foot.
Decide how each line will meet the corners before you begin. You might stop a straight line at a marked turning point, pivot with the needle down if your machine and design allow it, or end the line and start a separate one on the next side. For a curved or free-motion design, practise the corner on a small layered sample. Leaving a little breathing room at the corner can look more intentional than forcing a large motif into a tight space.
Check the result before trimming
After quilting one side, pause and lay that section flat. Look for ripples, tucks or a border seam that has shifted. Minor fullness may settle as the rest of the quilt is quilted, but a developing pleat is worth addressing immediately. If you need to remove stitches, work patiently and re-smooth the layers before trying again.
When all the quilting is complete, check the full perimeter before trimming the backing and batting. Make sure the outer edge is supported by stitching where your design requires it, and avoid cutting into points or motifs that reach the edge. Border quilting does not have to be elaborate to succeed: an even, well-supported design that respects the shape of the quilt provides a satisfying frame for the work inside.


