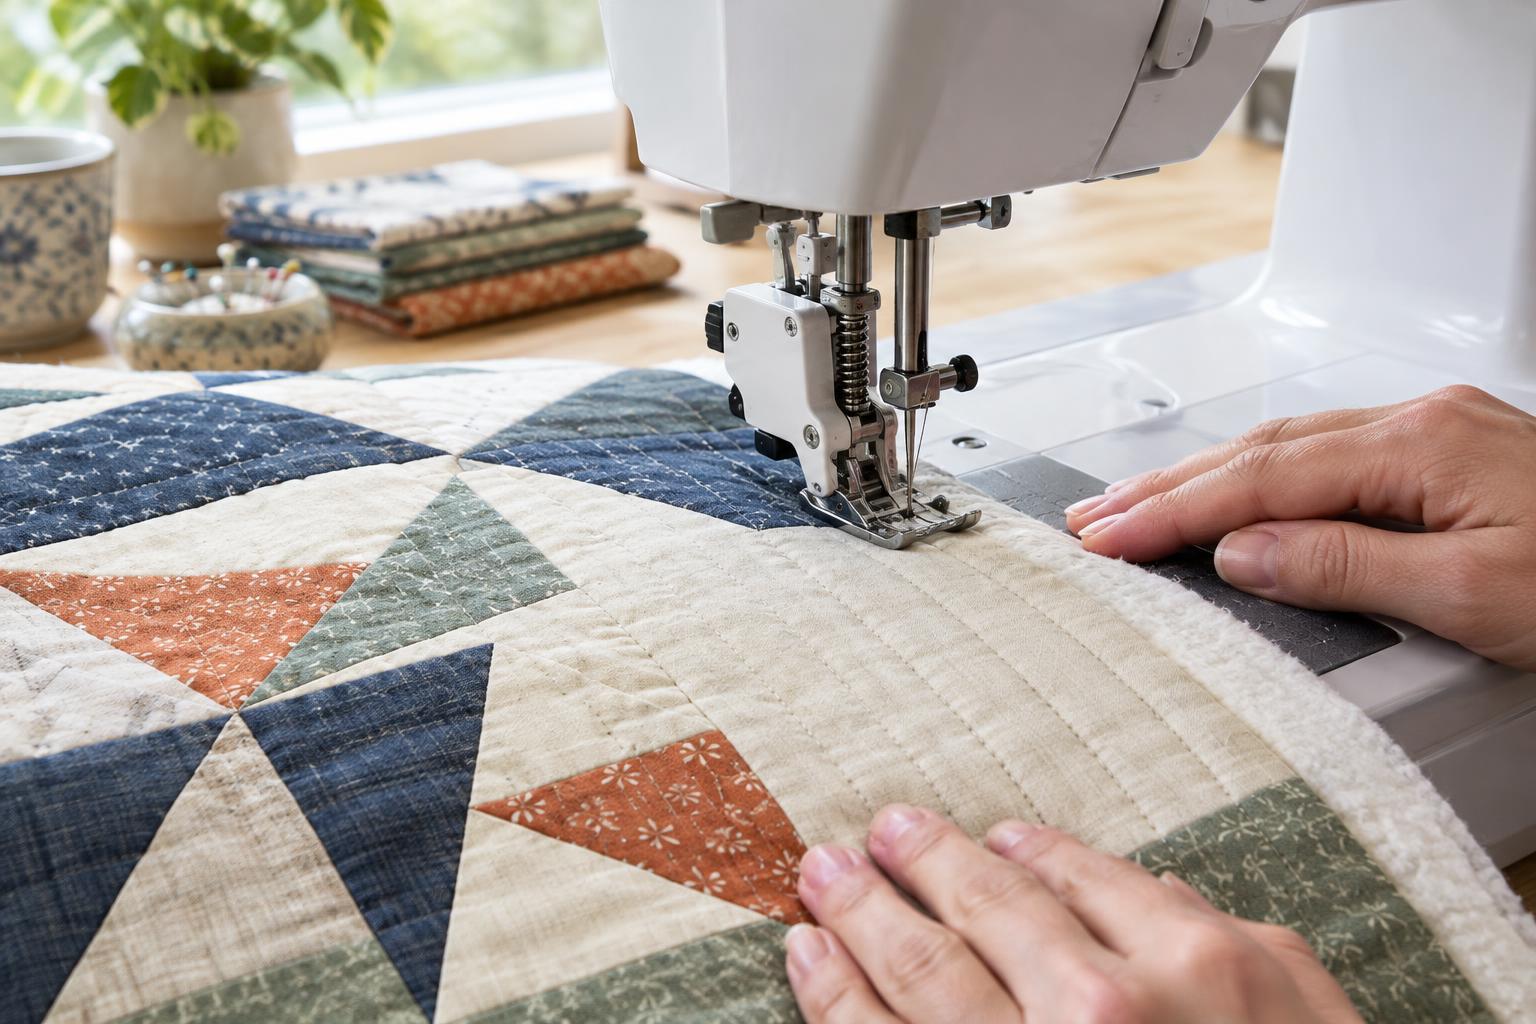
What a walking foot does
A walking foot helps move the quilt’s top layer while the machine’s feed dogs move the layers underneath. This makes it useful for quilting a top, batting and backing together: the layers are less likely to creep out of alignment than they might be with a standard presser foot. It does not eliminate shifting, though. Careful basting and gentle handling still matter.
Straight lines need not mean a plain grid. They can run across the quilt, follow the edges of blocks or form a series of parallel lines. For a first project, choose a layout with relatively few turns and enough space between lines to let the quilt drape comfortably. Check the batting package for any guidance on maximum quilting distance before settling on the spacing.
Prepare the quilt and machine
Press the quilt top and backing, then make a quilt sandwich with the backing, batting and top lying smooth and flat. Baste from the centre outward using pins, temporary adhesive or long hand stitches. If you use pins, position them where you can remove them before the needle reaches them. A well-basted quilt is easier to guide than one you must keep stopping to flatten.
Fit a walking foot that is compatible with your machine, following its instructions for positioning the attachment arm or other moving parts. Keep the feed dogs engaged. Choose a needle suited to the fabric and batting, and start with a stitch length slightly longer than you would use for piecing. Test your thread, needle and stitch length on a small sandwich made from similar materials. Look at both sides: balanced stitches should form cleanly without obvious loops or puckers.
Plan and mark straight paths
Decide where the lines will go before stitching. A line through the centre of each block can emphasise the patchwork; lines that cross several blocks create a more continuous texture. You can also quilt alongside a seam rather than directly in it. This gives you a visible line to follow without asking the needle to pass through every bulky seam intersection.
For evenly spaced parallel lines, mark the first path accurately and use a quilting guide attached to the walking foot, if you have one, to position subsequent lines. Alternatively, mark each path with a removable fabric marker or low-tack tape suitable for your fabric. Test any marking method on a scrap first, and remove marks according to the product instructions. A seam or straight edge can also serve as a guide, but check your spacing as you go; small errors can accumulate across a quilt.
Stitch without pulling the layers
Begin near the centre of the quilt and work toward an outer edge, where excess fabric can move away more easily. Bring the bobbin thread to the top if you want to avoid a tangle underneath, then secure the beginning of the line using your preferred method. Lower the presser foot and stitch at a steady, moderate pace. Let the machine feed the fabric; your hands should support and steer the quilt, not push or tug it.
Support the weight of the quilt on the table and, if possible, in your lap so it does not drag against the needle. Roll or loosely fold the portion that must pass through the machine’s throat, leaving the area around the needle free to move. Pause with the needle down when adjusting the quilt, and smooth the next section before continuing. Remove pins before you stitch over them. At the end of a line, secure the thread, then check the backing for folds before starting the next one.
Troubleshoot and finish
If the top begins to creep or the backing forms a tuck, stop rather than stitching over the problem. Check that the foot is fitted correctly, the quilt is supported and the basting is holding the layers. You may need to add basting or slow down. Puckering can also come from stitches that are too short for the layers or from forcing the quilt through the machine. Adjust one thing at a time and test again on your sample sandwich.
Straight lines become easier to control with practice, but slight variations are often less noticeable once the whole quilt is finished. Step back occasionally to judge the overall texture instead of inspecting every stitch at close range. When the quilting is complete, remove any remaining marks and basting materials as directed, then check both sides for missed areas or loose thread ends before trimming the edges and adding binding.


