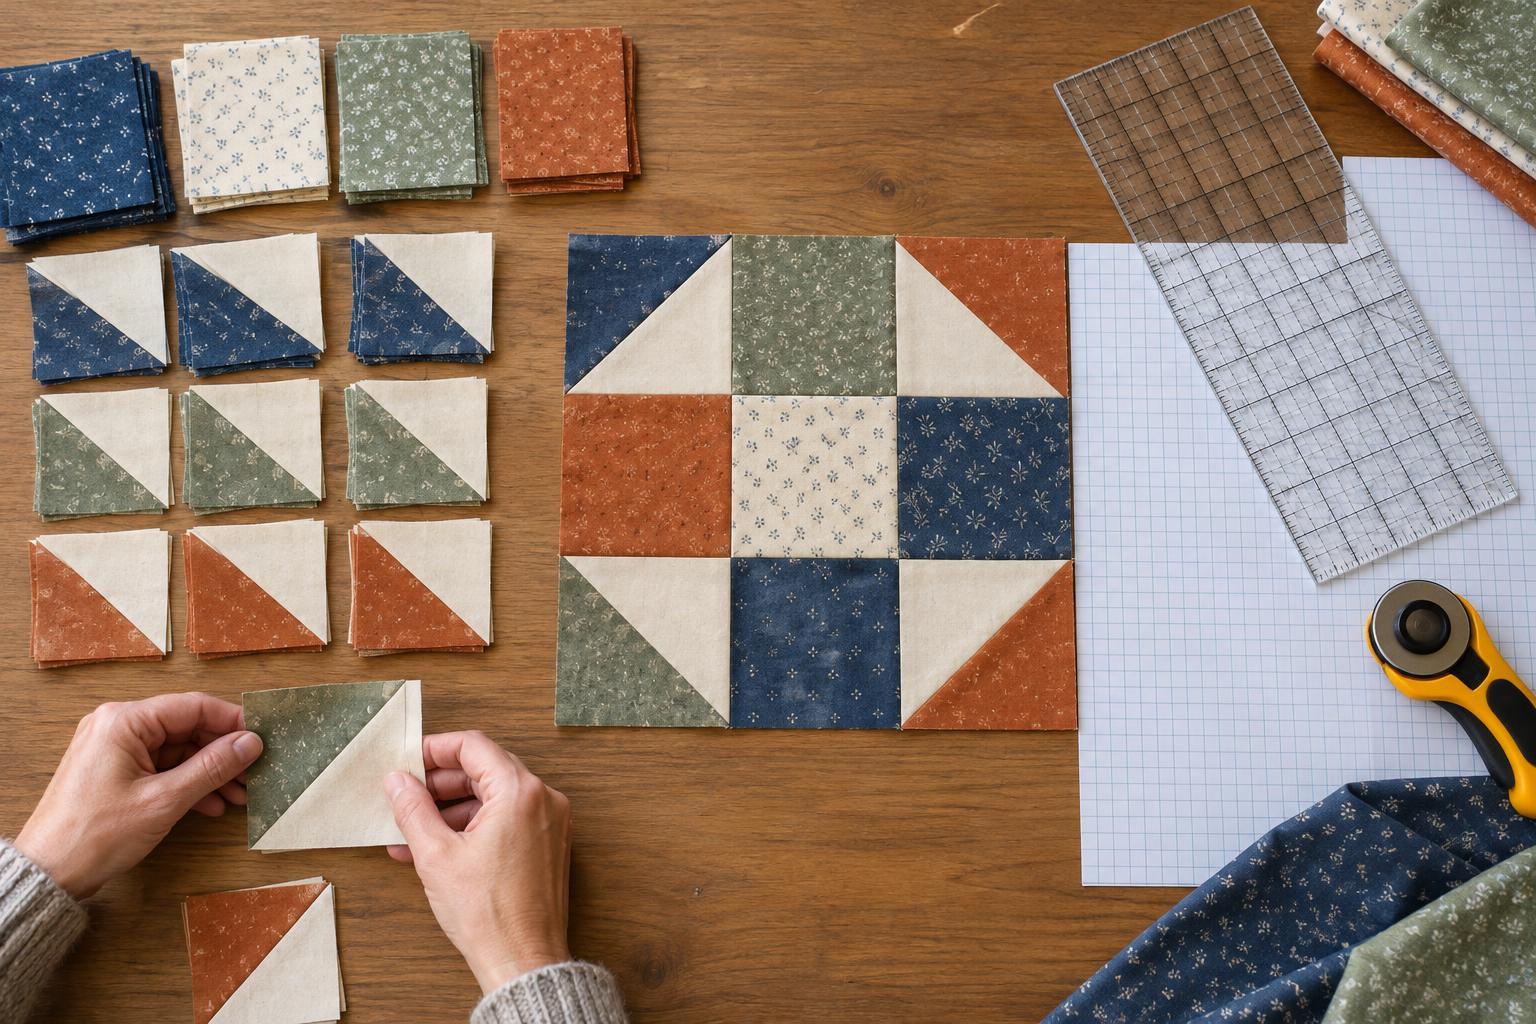
Start with the block’s outline and grid
A patchwork block diagram shows where the pieces appear in a finished block. Begin by finding the outer edge and any lines that divide the block into equal rows or columns. A nine-patch layout, for example, has three sections across and three down, even when some sections contain several smaller pieces. Looking for this underlying grid makes a busy design easier to understand.
Check whether the pattern gives a finished or unfinished block size. Finished size is the space the block occupies after it is sewn into a quilt. Unfinished size includes the seam allowance around its outside edges. A diagram alone may not tell you which measurement is intended, so read its accompanying notes before calculating cutting sizes. Likewise, a line in a drawing might mark a seam between pieces or simply show how a larger unit fits into the grid. Trace the major divisions first, then inspect the smaller ones.
Identify the units before counting every piece
A unit is a small group of pieces sewn together before it joins the rest of the block. Common examples include a pair of squares, a row of narrow strips, a four-patch and a square made from two triangles. In a diagram, look for shapes that repeat at the same size, perhaps turned to face different directions. These repetitions often suggest a simpler construction plan than sewing every individual piece in diagram order.
Make a short inventory on paper: centre square, four corner units and four side units, for instance. Note both the number of units and their orientation. Two units can contain identical fabrics yet look different when one is rotated. If the diagram uses letters or shading to distinguish fabrics, create a key before cutting. For an unlabelled diagram, assign your own names, such as light background, medium print and dark accent. The names are a planning aid; they do not require you to match the pictured colours.
Use the grid to check sizes and seam allowances
Once you know the grid, divide the finished block width by the number of equal grid sections to find each section’s finished width. If a block finishes at 12 inches and its main grid is three sections across, each section finishes at 4 inches wide. That does not mean every fabric piece should be cut 4 inches wide: pieces need seam allowances wherever they will be joined.
For a simple square that finishes at 4 inches on each side, a pattern using quarter-inch seams would generally call for a 4½-inch cut square. Composite units need their own cutting instructions because construction methods vary. A half-square triangle unit, for example, may be made oversized and trimmed down, or cut to a method-specific starting size. Do not infer its starting pieces from the diagram alone. If you are drafting a block yourself, draw a small sample unit and confirm its unfinished dimensions before cutting fabric for the whole block.
Turn the diagram into an assembly order
A finished-block diagram usually shows placement, not the sequence of sewing. One practical approach is to work from small units to larger groups: sew individual units, join them into rows or columns, then join those groups to complete the block. If the layout has a clear centre surrounded by borders or corner units, assembling it in stages may be easier than forcing it into straight rows. Choose the order that keeps seams manageable and gives you clear points to align.
Before stitching a row, lay its units out exactly as pictured and check directional prints and diagonal seams. Take a quick note of each unit’s position so a rotated piece does not slip into the wrong place. Pressing directions can affect how neatly intersections meet. When possible, press adjacent rows in opposite directions so their seam allowances can nest; bulky intersections may need a different approach. After each stage, compare the work with the diagram and check the dimensions specified by the pattern.
Test your reading with a simple block
Choose a diagram built on a three-by-three grid. Mark its nine main positions, then list what belongs in each: perhaps plain squares in the corners, triangle units at the sides and a four-patch in the centre. Count how many of each unit you need, and sketch arrows showing which way the diagonal seams should face. This exercise separates the block’s appearance from the steps required to make it.
Lay out the completed units before joining them. If the design does not match the drawing, check placement and rotation before assuming a piece was cut incorrectly. Sew one row at a time, compare it with your sketch, and then join the rows. With practice, this same routine—find the grid, name the units, confirm the sizes and plan the joins—can help you approach more intricate patchwork diagrams without trying to decode every line at once.


