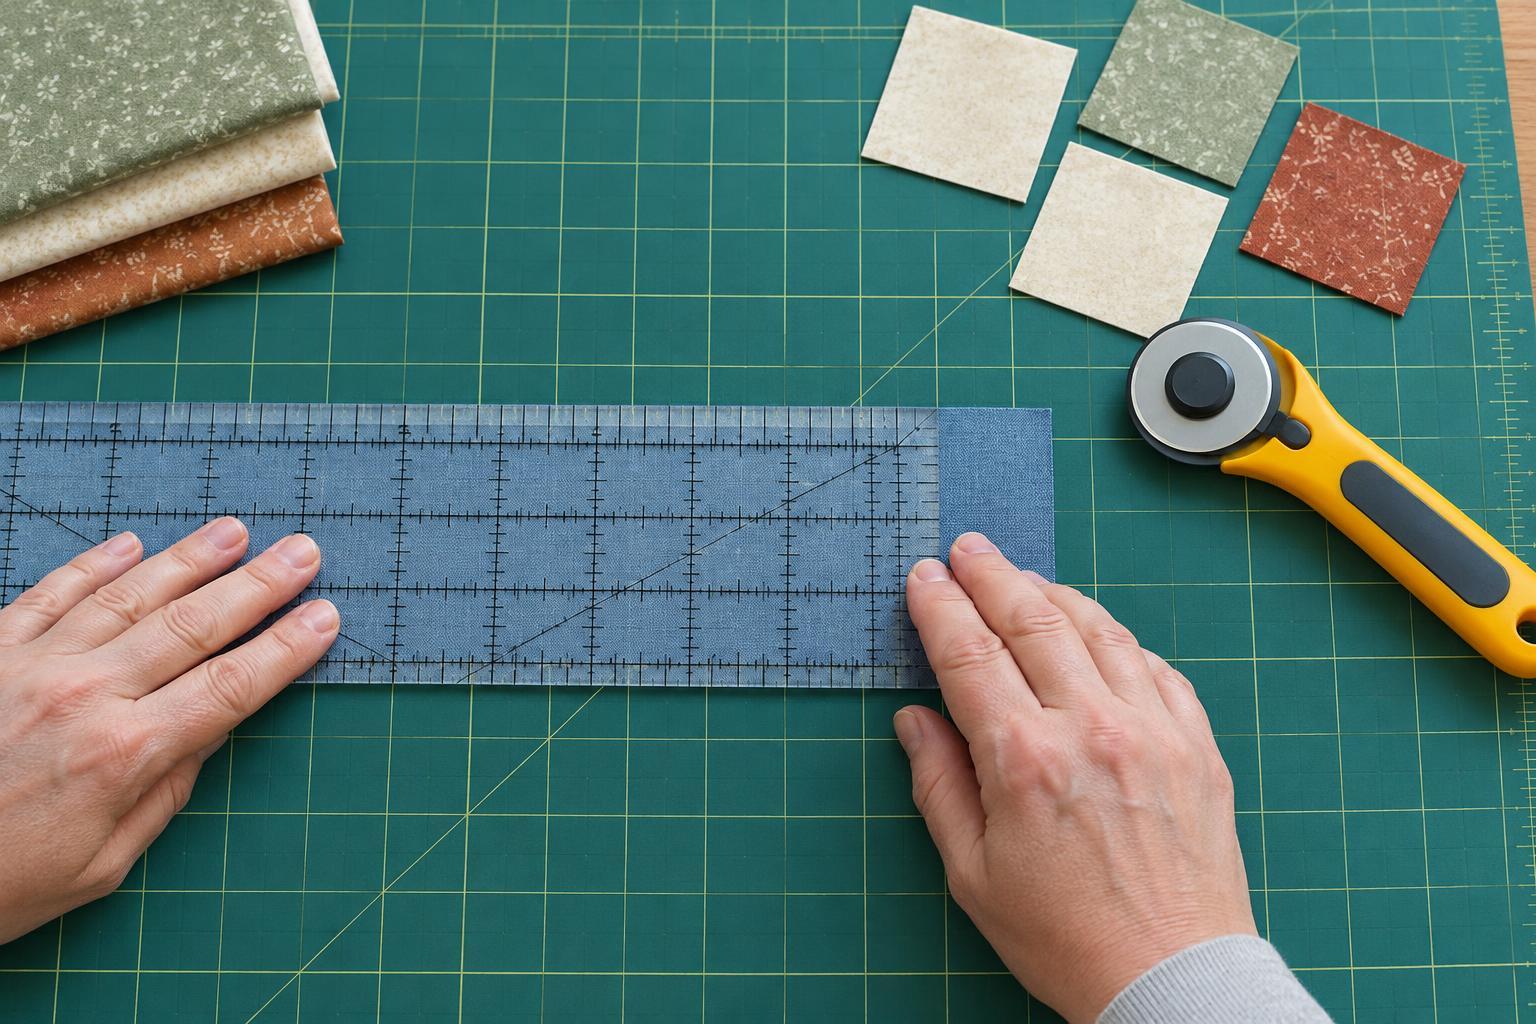
Get to know the ruler before you cut
A quilting ruler is both a measuring tool and a firm edge for a rotary cutter. Most have a grid of numbered lines, smaller marks between them, and a clearly marked unit of measurement. Start by checking whether your ruler uses inches, centimetres, or both. Use the same unit as your pattern throughout a project rather than switching back and forth.
Find the ruler’s zero point. On many quilting rulers, measurements begin at an outside edge, but layouts differ. Place the ruler on a flat surface and trace the numbers from that edge inward. The numbered grid lines usually mark whole units; shorter marks divide those units into halves, quarters, eighths, or other increments. Read one interval slowly before cutting so you know which line represents the measurement you need.
Some rulers also have diagonal lines for aligning or checking shapes. Those lines serve a different purpose from the straight measurement grid. For basic strips and squares, concentrate on the numbered lines that run parallel to the ruler’s edges.
Understand what size the pattern is asking for
A pattern may give a cut size, an unfinished size, or a finished size. A cut size is the dimension to measure before sewing. An unfinished block is measured after its pieces are sewn together but before that block is joined to its neighbours. A finished size describes the space a piece or block occupies in the completed quilt, after seam allowances are taken up.
With a quarter-inch seam allowance on every side, a plain square that will finish at 4 inches is cut at 4½ inches. That extra half inch allows a quarter inch along each of two opposite edges. If a pattern says “cut a 4½-inch square,” measure 4½ inches directly; do not add another allowance. For pieced blocks, follow the pattern’s cutting instructions, since their individual pieces may require different measurements.
Write down the size you need before reaching for the cutter. It is easy to see a nearby line on a busy ruler and use that instead. Keeping the target dimension in view helps you choose the correct grid line each time.
Position fabric and ruler for a straight cut
Work on a rotary-cutting mat large enough to support the area you are cutting. Smooth the fabric without stretching it. For a first cut, establish a straight reference edge: align a ruler grid line with the fabric’s fold or another reliable straight edge, then trim the uneven edge. If the fabric is folded, check that its layers lie flat and that the fold is not twisted; otherwise, a cut may open into a bent strip.
To cut a strip, place the ruler’s line for the desired width on the straight fabric edge. The ruler should cover the fabric you want to keep, with the portion to be trimmed extending beyond the ruler’s cutting edge. Check the width at both ends of the ruler before cutting. Keep your fingers well away from the cutting edge, press the ruler firmly, and guide the rotary cutter along its side. Close or retract the blade as soon as you finish.
A mat grid can help you position fabric, but use the ruler’s lines for the final measurement. Measuring a strip between a mat line and a ruler line makes it easier to introduce a small mismatch.
Subcut strips and check the resulting pieces
Subcutting means cutting a long strip into shorter pieces. Start by checking that one short end of the strip is square. Align a ruler grid line with a long edge of the strip and trim the short end if necessary. Then measure the required length from that newly cut end, using the appropriate ruler line. Keep the strip flat and check that its long edge still follows a grid line before each cut.
For example, to make 4½-inch squares from a 4½-inch-wide strip, measure 4½ inches along the strip for every subcut. A square depends on both dimensions: correct strip width alone will not help if the crosscut leans. Check an early square by placing it under the ruler and comparing its edges with the 4½-inch grid lines. If its sides are parallel but it is too small, revisit the measurement; if one side tapers, check how the ruler was aligned or held during cutting.
Small cutting differences can become more noticeable across a row of patchwork. Checking the first few pieces is quicker than discovering a problem after cutting a whole stack.
Build a repeatable measuring habit
Accuracy comes from using the same reference points consistently. Read the measurement from the freshly cut edge, keep the target ruler line on that edge, and confirm that another grid line runs along a perpendicular fabric edge. When making repeated cuts, pause occasionally to check that your reference edge remains straight and your pieces are still the intended size.
If a test block does not match its expected unfinished size, do not assume cutting is the only cause. Seam allowance and pressing also affect the result. Measure the pieces first, then sew a small test and check the block before preparing the rest of the project. A clear sequence—read the ruler, align the fabric, cut, and verify—makes each new pattern easier to approach.


