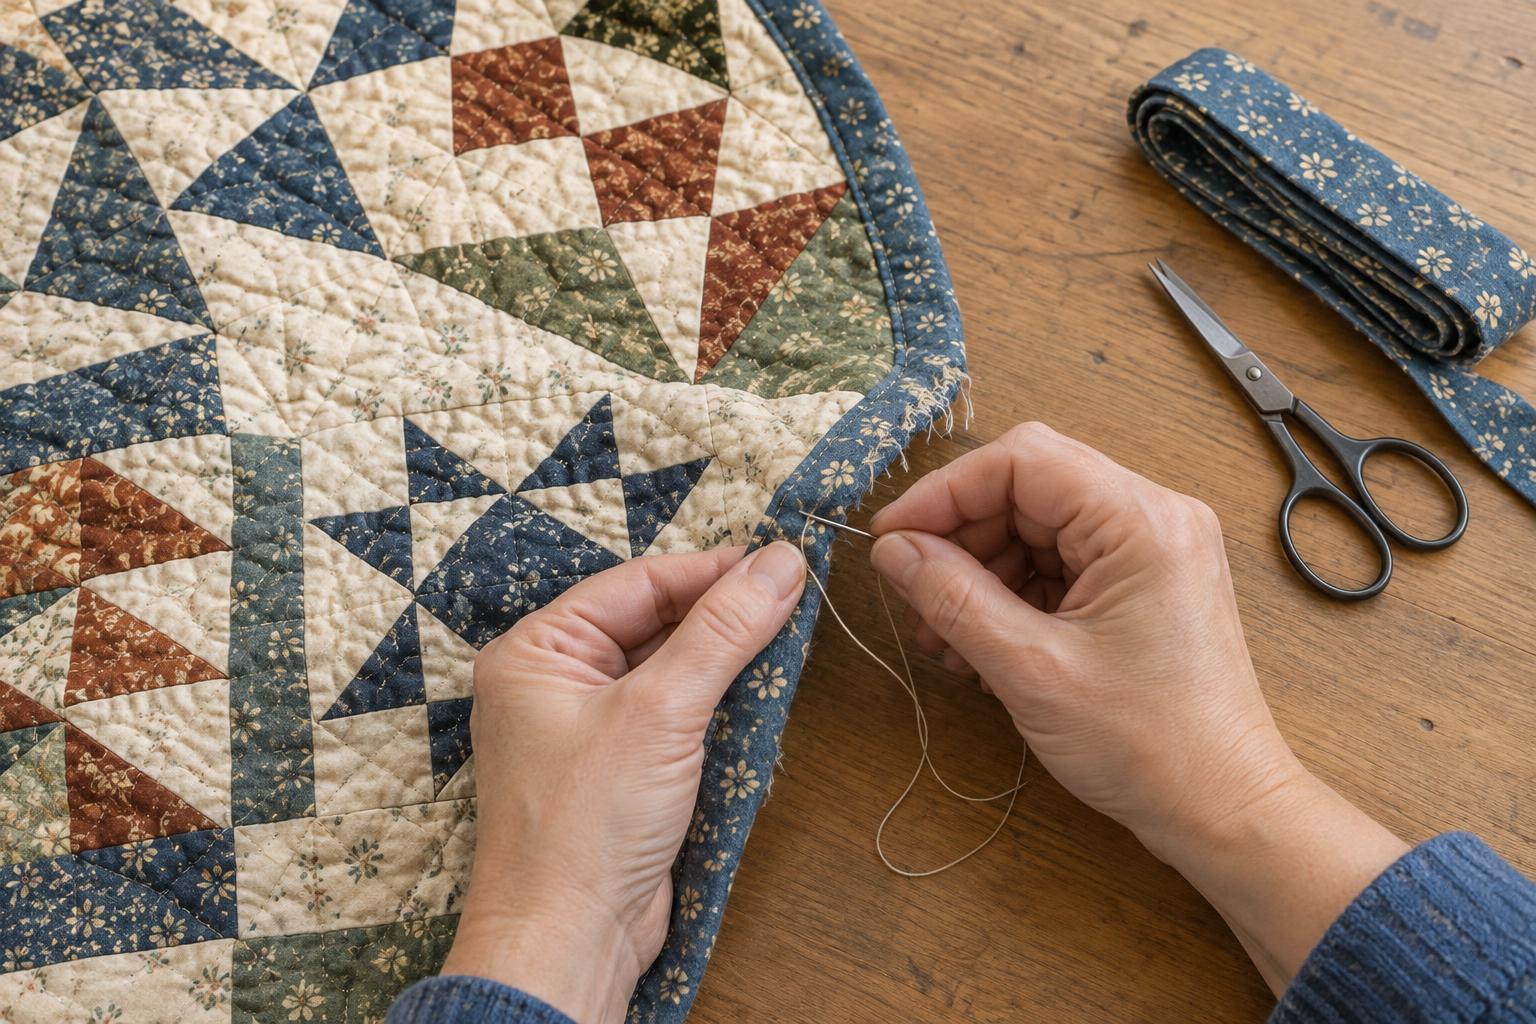
Check the edge before you sew
Binding covers a quilt’s raw edges, so a loose stitch is worth fixing before the layers underneath begin to fray. Spread the quilt on a clean, flat surface and examine the entire perimeter. Note where stitches have opened, where the binding fabric is thin or split, and whether the quilt top, batting, or backing is damaged too. Check corners carefully; they often show wear before the straight edges.
Choose a repair based on what remains sound. If the binding fabric is strong and only its seam has opened, restitching may be enough. A short worn area can often be covered with a new piece of binding. If the fabric is fragile along much of the edge, replacing the whole binding will give more consistent protection. Handle a delicate or historically significant quilt as little as possible; an extensive repair may not be a good first sewing project.
Gather materials and prepare the damaged area
For a small repair, gather a hand-sewing needle, thread close in colour to the binding, small scissors, pins or clips, and a piece of compatible cotton fabric if a patch is needed. Choose a fabric with a similar weight and feel to the original binding. A close colour match can make the repair less noticeable, while a deliberately contrasting strip can look intentional if several areas need attention.
Trim only loose threads that might catch while you work; avoid cutting into intact quilting or the quilt edge. If the quilt is washable and needs cleaning, follow its usual care requirements rather than washing it simply to prepare for repair. Press new binding fabric before cutting it, but be cautious with heat on an older quilt whose fibres and contents you do not know. Keep the quilt supported on a table so its weight does not pull at the damaged edge.
Restitch binding that has come loose
When the fabric is intact, first identify which seam has opened. If only the folded edge on the back has lifted, tuck it into its original position so it covers the line where the binding was attached to the front. Pin or clip it in place without stretching the edge. Starting a little before the gap, hand-sew the fold down with small slip stitches, catching the backing fabric while avoiding stitches that show prominently on the front. Continue a little beyond the gap and secure the thread.
If the seam on the front has also opened, check that the quilt’s raw edge is still enclosed. You may need to undo a few more stitches to lay the binding flat, then resew its front attachment before folding it over and stitching the back. Use the original seam line as a guide, but do not pull the thread so tightly that the edge puckers. At a corner, fold the binding into a neat mitre and secure any loose folds with a few small stitches.
Cover a short worn section
If the binding has a hole or has worn through, stitching the opening closed will not restore the protective fabric. Instead, make a short replacement strip long enough to extend beyond the weak area at both ends. For a straight quilt edge, a straight-grain strip can work well; a curved edge usually needs bias-cut binding so it can follow the curve without wrinkling. Cut the strip wide enough to fold around the quilt edge and cover both sides.
Fold under the strip’s short ends to hide their raw edges. Position it over the worn binding, checking that it covers the damaged area and encloses the quilt edge without pulling. Sew the new strip along the front, fold it over the edge, and secure it on the back with small stitches. Stitch down the folded short ends as well. This creates a visible overlap, so place the ends where the original binding is still sturdy rather than at the edge of a tear.
Know when to replace the whole binding
When wear runs along several sides, a series of patches can become bulky and leave weak areas between them. A complete replacement may be simpler. Remove the old binding carefully, working in short sections so you can see whether any stitches also hold the quilt layers together. If the edge is damaged, stabilize the affected layers before attaching new binding; sewing over loose batting or frayed backing will not make them secure.
Attach the new binding evenly around the quilt, keeping the edge flat and the raw layers enclosed. Check the finished quilt from both sides for gaps, puckers, and corners that could catch during use. After any repair, fold the quilt loosely for storage and avoid repeatedly creasing the same edge. A quick check of the binding whenever the quilt is handled can help you catch another loose seam while it is still a small fix.


