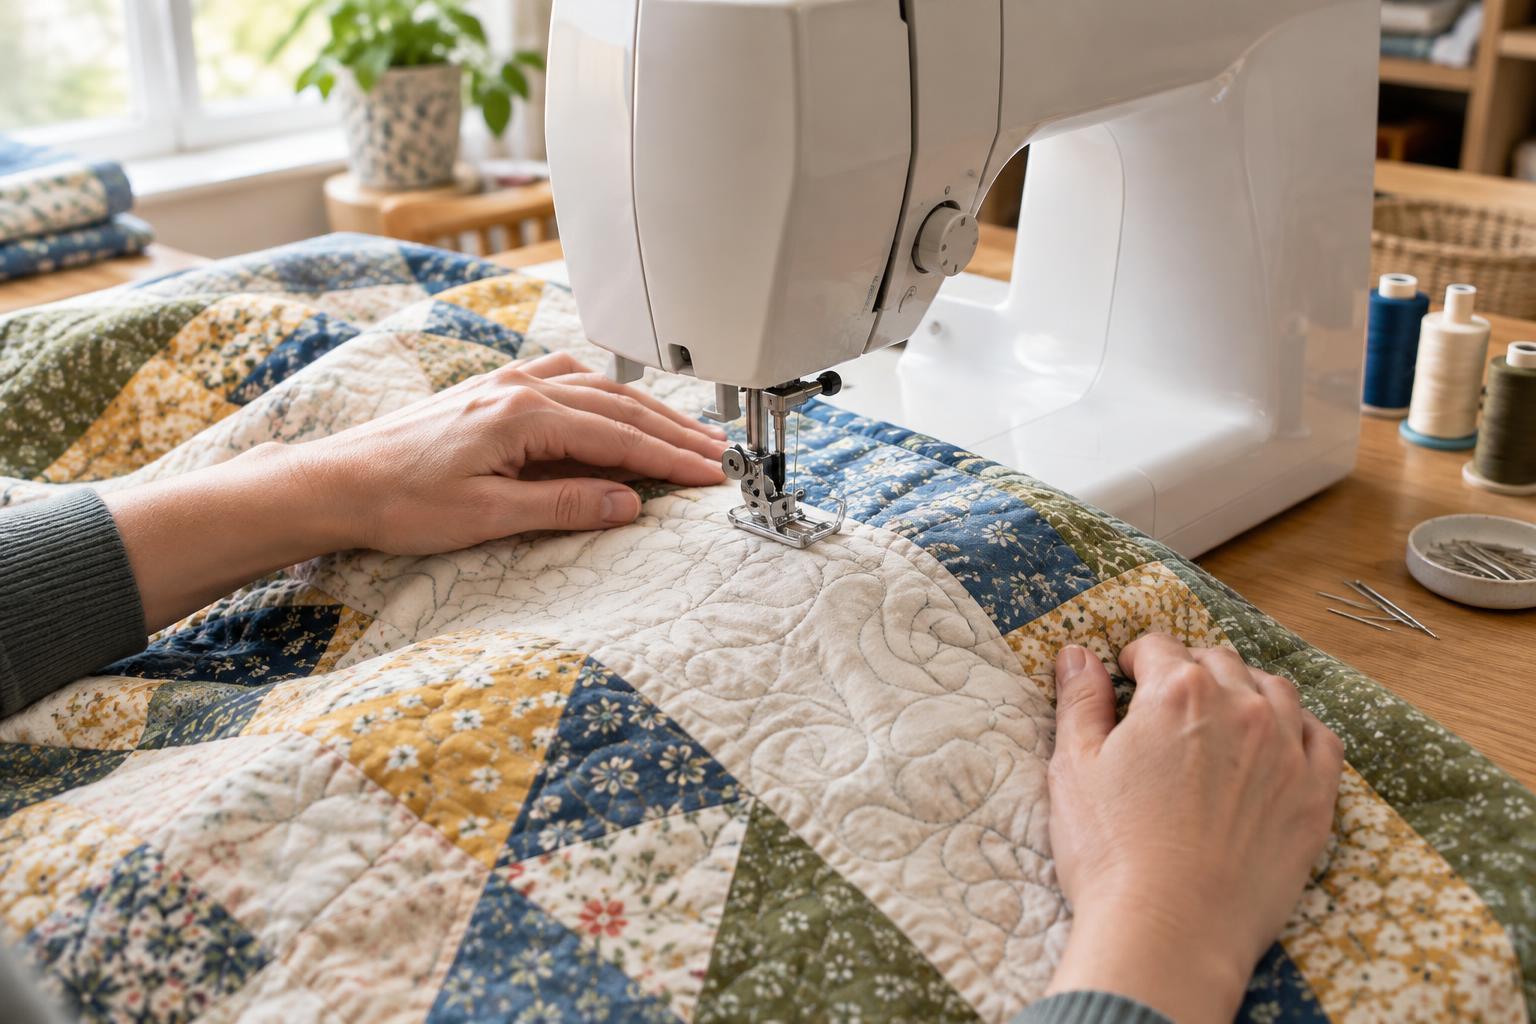
Understand what changes for free-motion quilting
In ordinary machine stitching, the feed dogs move the fabric beneath the presser foot. For free-motion quilting, you guide the quilt yourself, moving it forward, backward or sideways to draw stitched lines. The machine forms each stitch, but your hands control its direction and spacing. A domestic machine can do this without a special quilting system, provided you can arrange the foot and fabric so the quilt moves freely.
Check your machine manual before changing its setup. Most machines allow you to lower the feed dogs; some use a cover plate instead. If yours has neither option, consult its instructions for an appropriate method rather than forcing a control. Start with a straight stitch and position the needle in the centre unless your machine or foot instructions specify otherwise.
Fit the foot, needle and thread
Attach a free-motion or darning foot that is compatible with your machine. An open-toe version gives a clear view of the stitching path, while a closed-toe version may glide more smoothly over raised seams. Some feet hop with each stitch and others skim close to the quilt surface. Follow the fitting instructions for your model, especially if the foot has an arm that must sit above the needle clamp.
Install a fresh needle suitable for your quilt layers and thread. A quilting or topstitch needle is a useful starting point; choose a size that lets the thread pass through the eye without excessive friction. Thread the machine with the presser foot raised so the upper thread seats correctly, and wind a smooth, evenly filled bobbin. Lower the presser foot before stitching, even if a free-motion foot appears to leave space above the fabric.
You can use the same thread in the top and bobbin for a simple first test. If you choose contrasting threads, tension imbalances will be easier to see, but they may also show on the finished quilt. Keep the machine’s usual tension setting as your starting point rather than making several adjustments at once.
Give the quilt room to move
A well-basted quilt sandwich is easier to control than loose layers. Smooth the backing, batting and top, then baste them securely with your preferred method. Make a small practice sandwich from similar materials before working on the quilt itself. It will show how this particular combination behaves without putting your project at risk.
Place the machine on a sturdy surface and clear space to its left and behind it. An extension table or a level work surface can help carry the quilt’s weight. Keep the section you are stitching relatively flat, with the rest of the quilt resting on the table rather than hanging over an edge. A rolled or loosely gathered quilt can be easier to manage than one pulled tight across the bed of the machine.
Set the needle down before positioning your hands near the work, and keep your fingers well clear of its path while stitching. Quilting gloves or a light grip aid may help you steer without pressing hard. Move the quilt with both hands, pausing to reposition them whenever the working area becomes uncomfortable.
Test speed, movement and stitch quality
On your practice sandwich, bring the bobbin thread to the top by holding the upper thread and turning the handwheel through one stitch. Hold both thread tails for the first few stitches to reduce tangles underneath. Stitch a few slow curves, then try loops and gentle changes of direction. There is no need to draw an elaborate design: aim first for comfortable, steady movement.
Stitch length in free-motion quilting depends largely on how quickly you move the quilt relative to the needle. If stitches are very long, slow your hands or increase the machine speed slightly. If they are tiny, move the quilt a little faster or slow the machine. Seek a rhythm you can sustain rather than trying to make every stitch identical. If your machine has a needle-down setting, it can make pauses and repositioning easier.
Examine both sides of the practice sandwich. You want the layers to lie reasonably flat and the stitches to hold without loose loops. A small amount of tension adjustment may be needed, but change one setting at a time and test again. Note what worked so you can return to that setup for the project.
Fix problems before quilting the whole project
If the thread breaks or stitches skip, stop and rethread the machine with the foot raised. Check that the needle is fully inserted, correctly oriented and not bent or dull. Confirm that the foot is fitted properly and that your needle suits the thread and layers. A fresh needle often makes a clearer test than repeated tension changes.
Loops on the underside can indicate that the upper thread has not entered the tension path correctly. If the quilt puckers, check the basting and make sure its weight is supported; avoid pushing or pulling so forcefully that the layers distort. Uneven stitches usually call for a calmer balance between hand movement and machine speed.
Begin the finished quilt with a modest design, such as gentle waves or loose meanders, and work in manageable areas. Stop with the needle down when you need to shift your hands or rearrange the quilt on the table. The goal of a good setup is not perfect stitching on the first attempt: it is a machine, quilt and workspace that let you practise with control.


