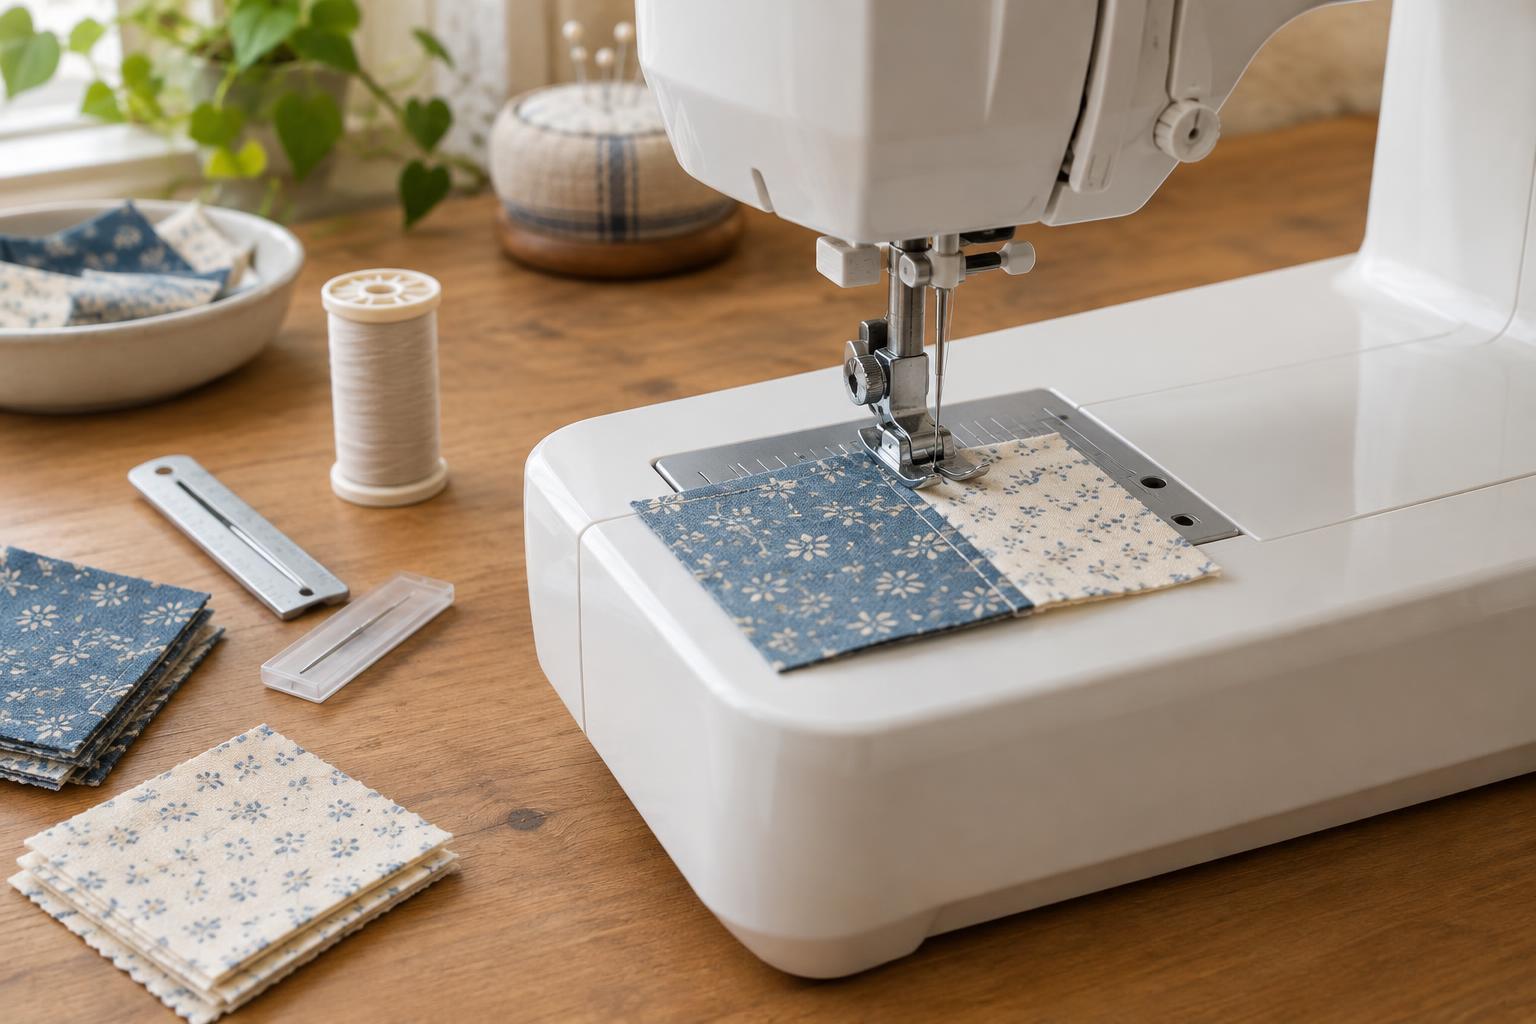
Start with a clean, familiar machine
Patchwork piecing joins fabric shapes with consistent seams. You do not need a specialized machine, but it helps to begin with one that runs smoothly. Set it on a stable surface with enough room to support the fabric on both sides of the needle. Good lighting makes it easier to see the edge of each piece and any markings on the needle plate.
Before sewing, check your machine’s manual for its threading path, bobbin orientation, and cleaning instructions. Remove lint from accessible areas as directed by the manufacturer; avoid taking apart anything the manual does not identify as user-serviceable. Make sure the feed dogs are raised so they can move the fabric under the presser foot. If you are changing the needle, foot, or needle plate, turn the machine off first.
Choose a needle, thread, and foot
For ordinary quilting cotton, a fresh size 80/12 universal needle is a reasonable starting point. A fine, sharp needle may also suit tightly woven fabric. Replace a needle if it is bent, blunt, or causing skipped stitches. Use a thread appropriate for machine sewing; an all-purpose or piecing thread that runs smoothly through your machine is more useful than any particular label or fibre.
Wind the bobbin evenly and insert it according to the manual. Thread the upper path with the presser foot raised, which allows the thread to settle between the tension discs on many machines. Then lower the foot before sewing. If your machine has a quarter-inch foot, it can provide a helpful edge guide, but it does not guarantee an exact seam. A standard foot and a carefully placed seam guide can work just as well.
Set a straight stitch and check the seam allowance
Select a straight stitch and begin with the machine’s normal thread-tension setting. A stitch length around 2 to 2.5 mm is a practical starting range for piecing: close enough to hold a seam securely, but not so short that removing stitches becomes difficult. If your machine has adjustable presser-foot pressure, try its standard setting first. Keep the needle plate suited to the stitch you have selected; never select a zigzag stitch while a straight-stitch-only plate is fitted.
Most patchwork instructions assume a quarter-inch seam allowance. To test yours, cut two fabric strips exactly 2 inches wide. Place them right sides together, align one long edge, and sew along it. Press the seam as you plan to press your project, then measure the opened pair across both strips. It should measure 3½ inches. If it is wider, your seam allowance is too narrow; if it is smaller, the allowance is too wide.
Adjust your guide or needle position, if your machine permits it, and repeat the test. Some patterns use a slightly narrower, or “scant,” quarter-inch seam to account for fabric taken up in the fold when pressed. Rather than guessing, use the finished measurement your pattern requires and test with the fabric and pressing method you intend to use.
Make a short practice run
Sew several pairs of scraps cut from the fabrics you will use. Align the edges before they reach the foot, and guide the fabric lightly without pulling it from behind. Let the feed dogs control its movement. Watch the seam guide rather than the needle; that makes it easier to maintain a steady allowance. Start at a comfortable speed, especially when approaching the end of a short piece.
Look at both sides of each seam. The stitches should be reasonably even, without loops of thread or puckered fabric. Check the width of more than one opened pair: a single accurate test does not reveal whether your hands can repeat the result. Once the setup feels dependable, keep a tested scrap nearby as a reference when you return to the project.
Fix small problems before cutting a whole quilt
If stitches skip or the thread breaks, rethread both the upper path and bobbin, then check that the needle is correctly inserted and suitable for the fabric. Loops underneath the fabric often mean the upper thread has not seated properly in the tension path. Uneven seam allowances may come from watching the needle, pushing the fabric, or relying on a guide that is not aligned with the actual needle position.
When fabric puckers, try a fresh needle and check whether the thread tension needs a small adjustment, testing each change on scraps. Change one thing at a time so you can tell what helped. A few minutes spent establishing a smooth stitch and a repeatable seam will make later block assembly much easier.


