Why use a hanging sleeve?
A hanging sleeve is a fabric tube sewn across the upper back of a quilt. A rod slides through the tube, supporting the quilt along its width rather than at a few isolated points. It keeps the hanging hardware out of sight and allows you to remove the rod when the quilt needs to be stored.
You can add a sleeve after the quilt has been bound. The method below uses hand stitches to secure it to the backing, so no attachment stitches need to show on the front. Before cutting fabric, choose the rod you plan to use. If the quilt is destined for an exhibition or another display space, check whether it has sleeve-size requirements.
Choose the sleeve size and fabric
For a modest wall quilt, a finished sleeve about 4 inches deep is a useful starting point, but the rod determines the size. The tube should have enough room for the rod to slide in easily without being so loose that the quilt droops around it. A thick or unusually shaped rod may need a deeper sleeve; a small quilt may need a narrower one.
Cut the sleeve from a sturdy, closely woven fabric, such as quilting cotton. Make its finished length about 1 to 2 inches shorter than the quilt’s width so the sleeve ends sit back from the side edges. For example, a 24-inch-wide quilt could have a 22½-inch finished sleeve. Add enough length to the strip to hem both short ends. For a sleeve that finishes roughly 4 inches deep, start with a strip about 8½ inches wide; a ¼-inch seam along the long edge will form the tube.
Wash or prepare the sleeve fabric in the same way as the quilt fabrics if you expect to wash the finished quilt. Press the strip before sewing so it lies smooth. The sleeve will be visible whenever someone looks at the back, so a fabric that complements the backing is a pleasing choice, though it does not need to match.
Sew the fabric tube
At each short end, fold the raw edge to the wrong side twice, pressing each fold, then stitch the hem. Leave the ends open: the rod must be able to pass through the completed sleeve.
Fold the strip lengthwise with right sides together and align the long raw edges. Sew them with a ¼-inch seam allowance, then turn the tube right side out. Position the seam on the side that will face the quilt backing. Gently press the tube to settle the fabric, but avoid flattening away all the room the rod will need. Check the fit by sliding the rod through before attaching the sleeve. If it catches, it is easier to remake or adjust the tube now than after it is sewn to the quilt.
Position and hand-stitch the sleeve
Lay the quilt face down on a clean, flat surface and center the sleeve near its top edge. Place the sleeve’s upper edge about ½ to 1 inch below the binding, adjusting the position if the rod or hanging hardware needs more clearance. Keep the sleeve parallel to the quilt’s top edge. Pin or clip it in place, taking care not to catch the front of the quilt.
Give the sleeve a little fullness rather than pulling it taut against the backing. One way is to pin its upper edge first, then position its lower edge about ½ inch closer to the upper edge than the sleeve’s flat depth. This slight bow gives the rod space behind the quilt and may help the quilt hang flatter. Check that the lower edge remains level before sewing.
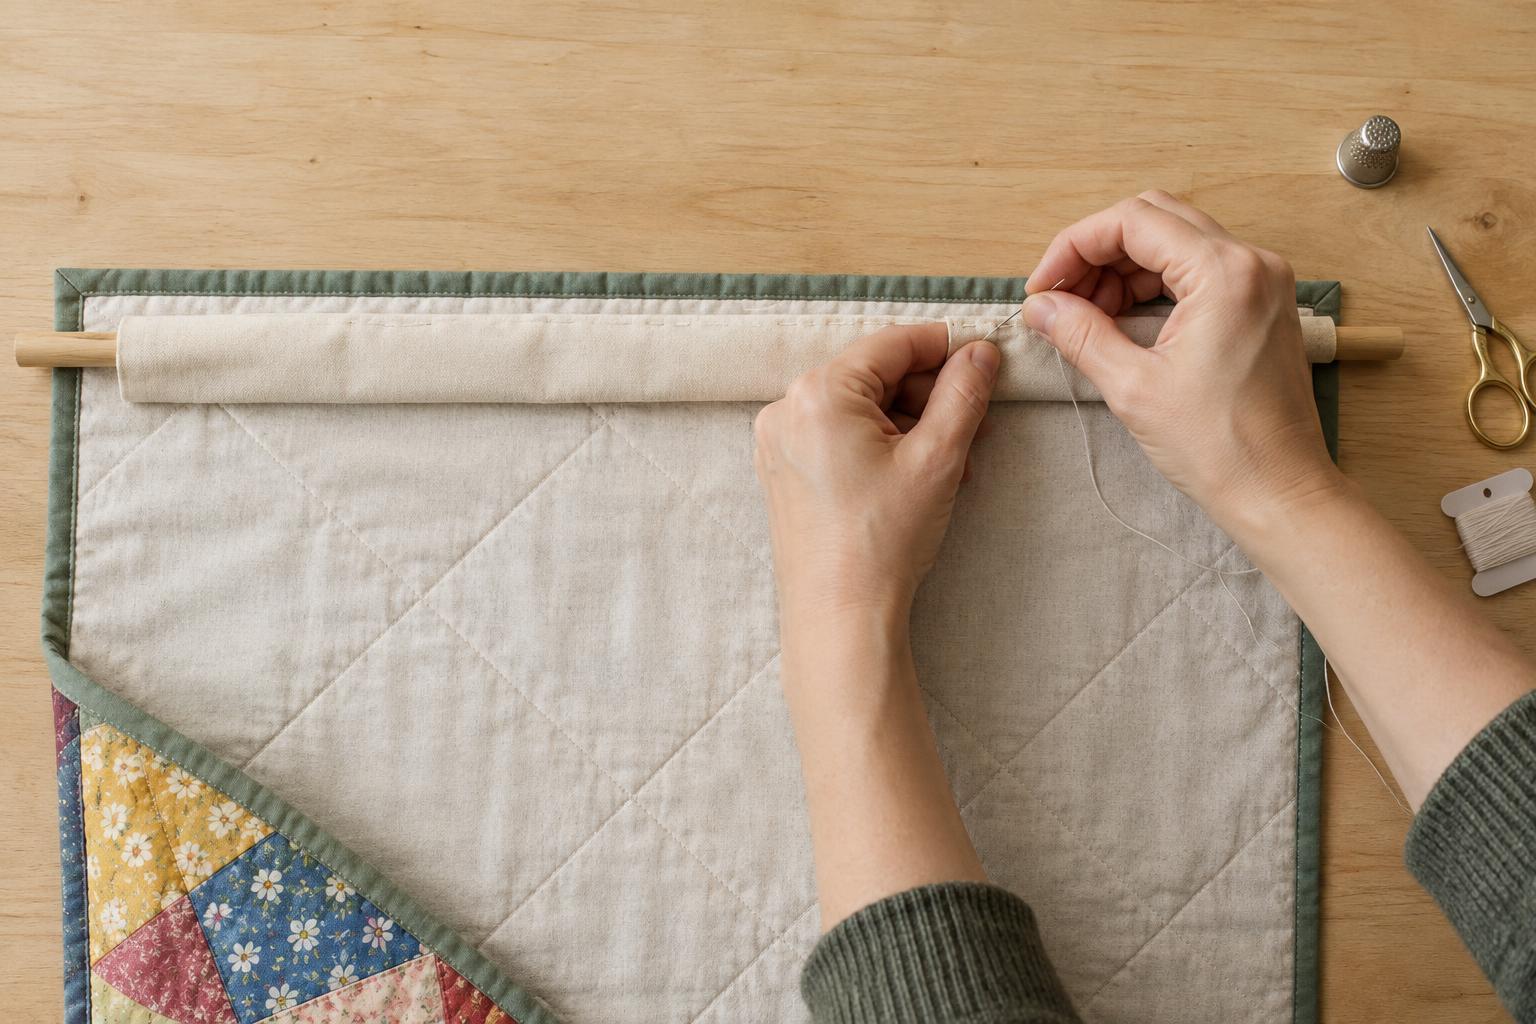
With matching thread, hand-stitch along the upper and lower sleeve edges using small, secure stitches. Catch the hemmed edge of the sleeve and a little of the quilt backing without pushing the needle through to the front. Work slowly and check the quilt face occasionally for visible stitches. Keep both short ends open; if they lift, a small tack near each corner can hold them in place without blocking the rod.
Check the hang and care for the sleeve
Slide the rod through and hang the quilt where you can step back to inspect it. If the top looks strained or the quilt curls forward, check that the sleeve has enough room for the rod and that the rod is supported at suitable points. Adjusting the rod or sleeve is preferable to stretching the quilt into place.
When taking the quilt down, remove the rod rather than storing it inside the sleeve. You can then fold or roll the quilt as appropriate for its size and construction. From time to time, check the hand stitches for wear, especially at the sleeve ends. A small repair made early will help keep the quilt securely displayed.


