Why the seam matters
Many patchwork patterns assume a quarter-inch seam allowance: the distance from a fabric’s cut edge to the line of stitching. When that distance changes, the finished size of a block changes too. A small difference in one seam may be hard to notice, but several seams across a row can leave pieces that do not fit together as expected.
The aim is not to sew every stitch with mathematical perfection. It is to find a setting that gives you the finished measurements your pattern expects, then use it consistently. Your machine’s quarter-inch foot, needle plate marking or adjustable guide can help, but a sewn test is more useful than trusting a marking alone.
Set up a reliable guide
Start with a straight stitch and the fabric and thread you plan to use for the project. Check that the needle is correctly fitted and that the machine feeds fabric smoothly. Place a small ruler under the presser foot, with its quarter-inch mark aligned to the needle position. Use the ruler to identify where the fabric’s cut edge should travel. Turn the handwheel by hand when checking the needle position; do not sew over the ruler.
A quarter-inch presser foot may have an edge that serves as a guide. Alternatively, your machine may let you move the needle slightly while keeping the fabric edge against a stable point on the foot. Choose one reference and use it throughout the test. If you use a removable guide or tape on the machine bed, keep it clear of the feed dogs and other moving parts.
As you sew, watch the fabric edge beside the foot rather than staring at the needle. Guide the fabric gently without pulling it forward or forcing it sideways. Align the cut edges before they reach the foot, and pause with the needle down if you need to reposition your hands.
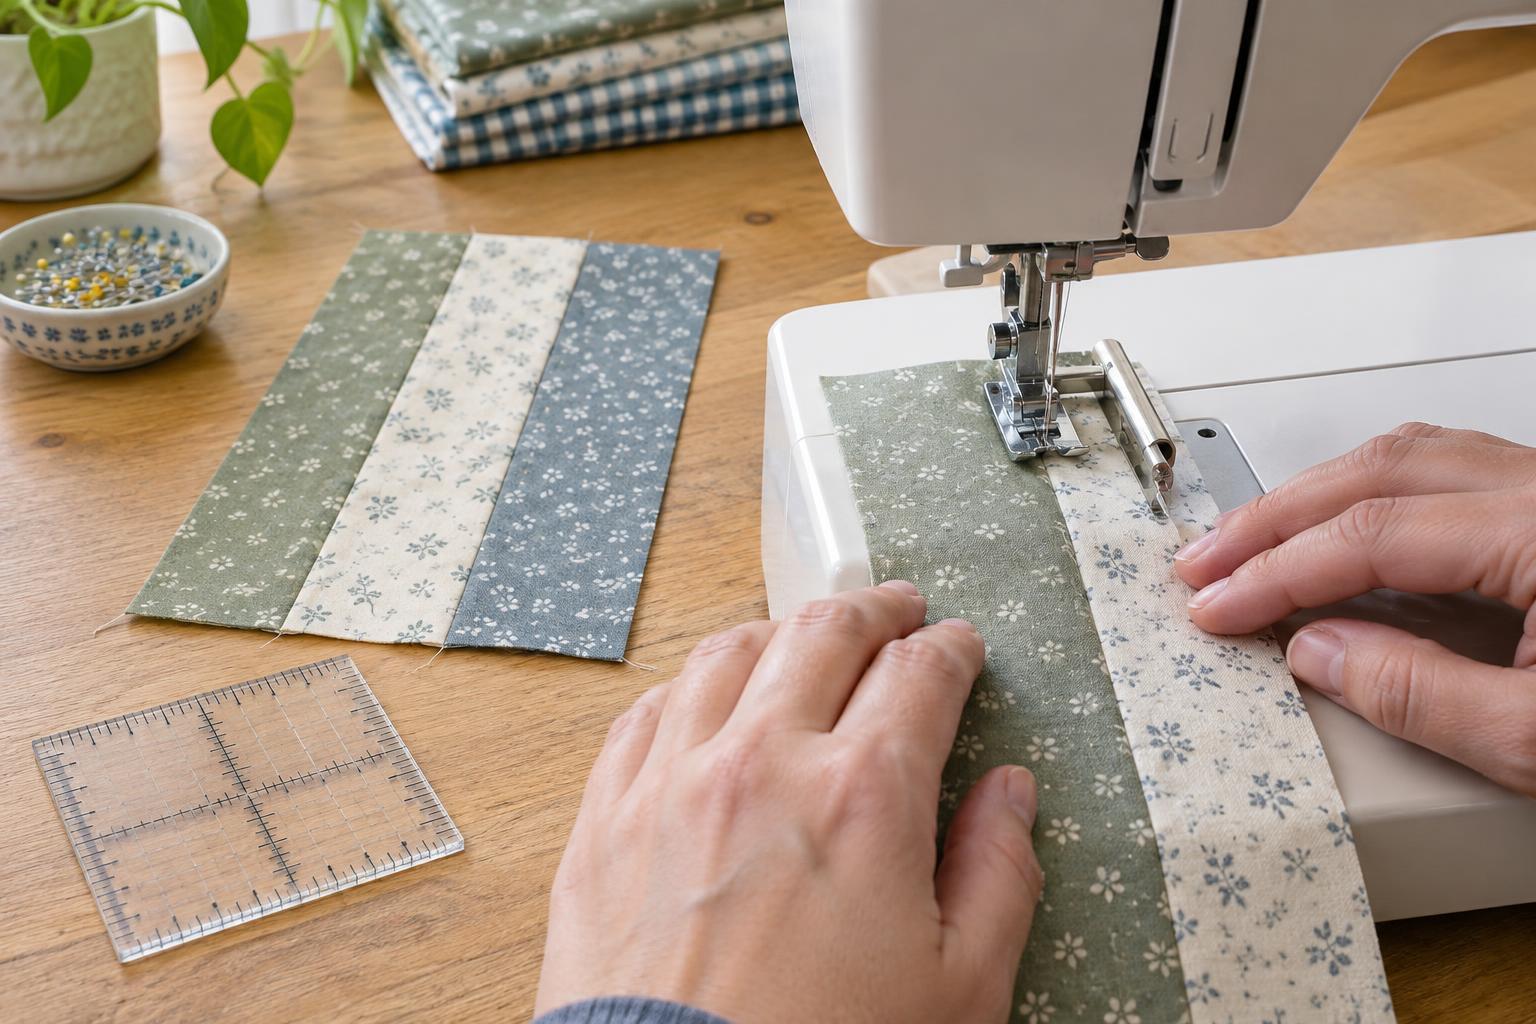
Sew a three-strip test
Cut three fabric strips that are each 2½ inches wide and long enough to handle comfortably. Accurate cutting matters here: if the strips are not the same width, the test will not tell you much about your seam. Sew the strips side by side using your chosen guide. Press the seams as you expect to press them in the project, lifting and lowering the iron rather than stretching the fabric.
Measure across the pressed three-strip panel, perpendicular to the seams. If each strip began at 2½ inches and both seams use a quarter-inch allowance on each side of the stitching, the panel should measure 6½ inches wide. Check the width near both ends and in the middle. The centre strip should measure 2 inches across between the two stitching lines after pressing.
If the panel is narrower than 6½ inches, the effective seams are taking up too much fabric. Move the needle or guide a tiny amount toward the raw edge so the next seam is narrower. If the panel is wider, adjust in the opposite direction. Change one thing at a time, sew a fresh test and measure again.
Understand the scant quarter-inch
Some quilters use what they call a scant quarter-inch seam: a stitching line just inside a measured quarter inch from the cut edge. This can allow for the small amount of fabric taken up when a seam is pressed to one side. How much adjustment helps depends on fabric thickness, thread and pressing, so there is no need to adopt a scant seam automatically.
Let the pressed test decide. If stitching at a measured quarter inch produces a panel that is slightly too narrow, try a small adjustment toward the edge and test again. Keep the fabric, thread and pressing method the same while comparing results. Once the panel measures correctly, note the foot and needle position you used.
Keep the seam consistent through a project
Recheck your setup when you change machines, presser feet, fabric types or pressing methods. It is also worth measuring the first completed unit of a new block before making a whole batch. Compare it with the unfinished size in the pattern, if one is given, while there is still time to adjust.
Consistency begins before sewing: cut accurately, place fabric edges together without stretching them, and press each seam fully before measuring. If a block is unexpectedly small or large, check those steps as well as the seam allowance. A short test at the start can save much more work than trying to correct a row of mismatched blocks later.


