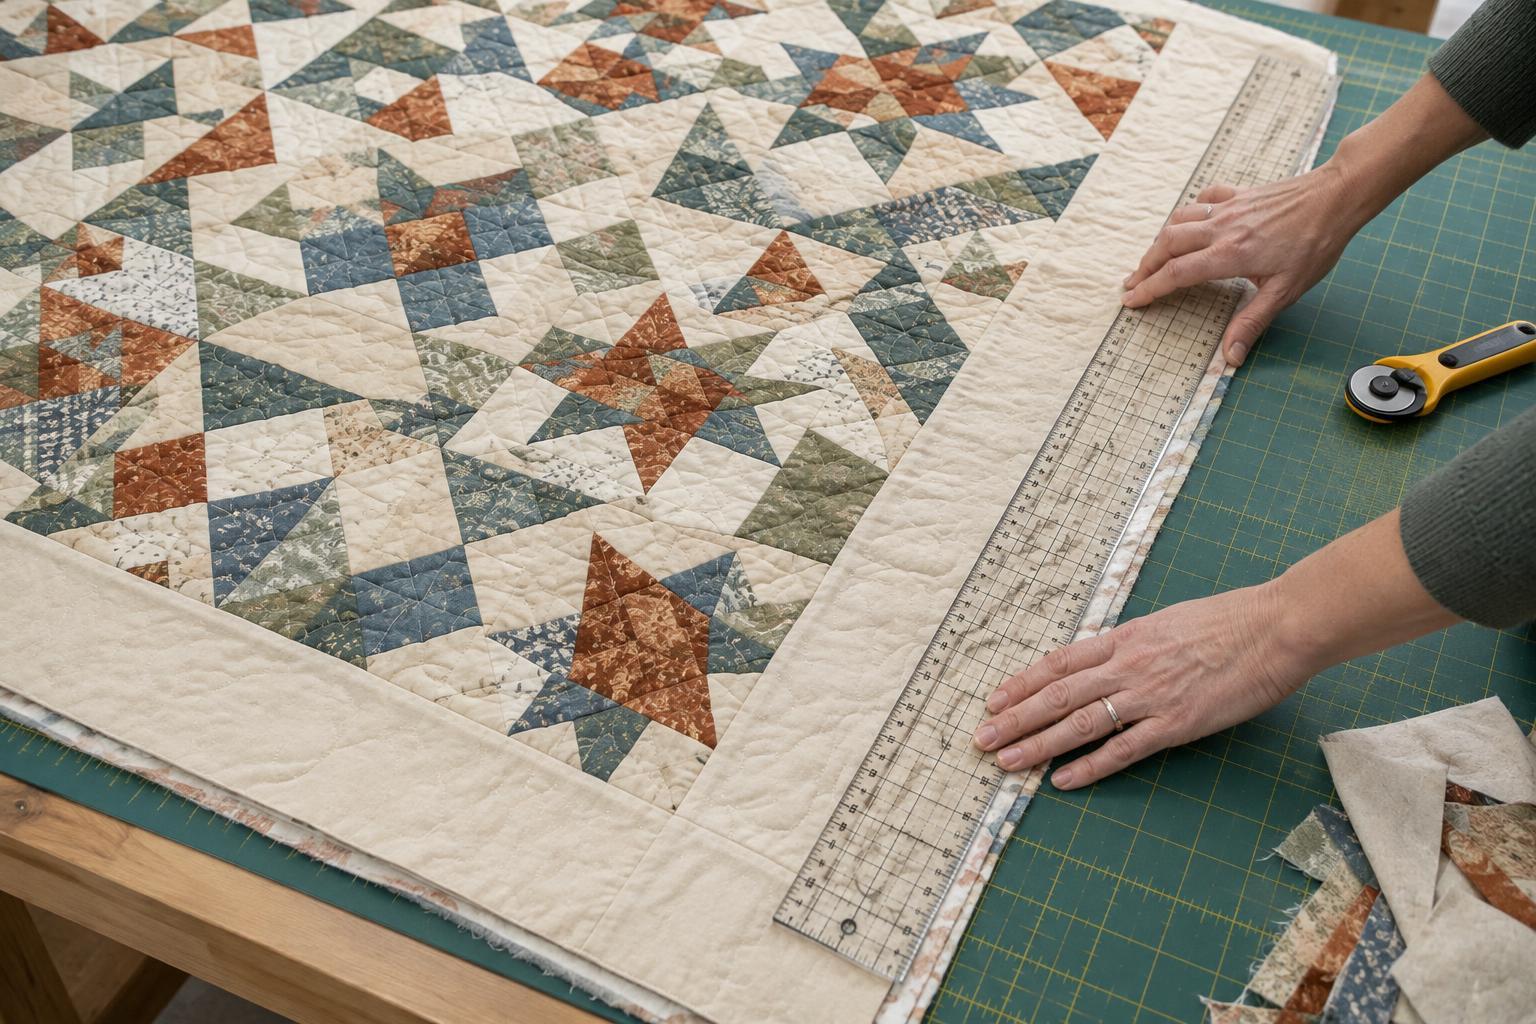
What squaring a quilt really means
After quilting, the top, batting and backing may no longer line up perfectly. The layers can shift, and dense quilting may draw in one area more than another. Squaring is the process of assessing the finished shape and establishing straight, consistent edges before binding. It does not mean forcing every quilt into exact measurements at the expense of its design.
Begin by spreading the quilt on a clean, flat surface and smoothing it with your hands. Look at the outer borders or the last row of blocks. Are the edges roughly parallel? Do the corners appear close to right angles? Check whether any patchwork points, appliqué or quilting lines sit unusually close to an edge. These details will help you decide how much trimming is safe. If a border is noticeably wavy, cutting a straight line through it may make its width look uneven; consider the whole quilt before reaching for the rotary cutter.
Gather tools and choose reference lines
A large cutting mat, a long acrylic ruler and a sharp rotary cutter make trimming easier. A square ruler can help at corners. For a large quilt, use a table or another surface to support its weight so the hanging portion does not pull the fabric while you measure. Move the quilt across the mat as needed rather than trying to cut beyond the mat’s edge.
Choose reference lines that belong to the quilt top: a straight border seam, a row of blocks or a consistent distance from the outer patchwork points. Printed motifs on the backing and the edges of excess batting are less dependable guides because those layers may have shifted. If the top has no clear straight seam, measure from several points across the design and aim for a visually balanced border. The goal is to preserve what matters in the finished quilt, not to follow a grid line blindly.
Check the shape before making a cut
Lay the quilt flat without stretching it. Measure its width at the top, middle and bottom, then its length at the left, centre and right. Small differences are common. Larger differences tell you where to look more closely, especially if a border narrows toward one end. You can also compare the corner angles with a square ruler. If it is practical to measure both diagonals, similar measurements can provide another check, but they are not a substitute for looking at the placement of the design.
Decide on a cutting line that leaves enough fabric outside seams and points for your chosen binding seam allowance. If meeting that goal would require cutting deeply into a border, stop and reassess. A slightly imperfect outline is often less noticeable than a row of clipped points or a border that changes width abruptly. For an intentionally irregular quilt, follow the intended outline rather than imposing a rectangular one.
Trim one edge at a time
Place one side on the cutting mat, smoothing the quilt without pulling it taut. Align the ruler with your chosen reference line and cut a short, manageable section. Slide the quilt along the mat, overlapping the ruler with the section you just cut so the new cut continues the same line. Keep the remaining quilt supported, and check that no folded fabric is underneath the cutting area.
At the first corner, align a square ruler or the perpendicular markings on your long ruler with the trimmed edge. Check the border width and nearby patchwork points before cutting the adjacent side. Work around the quilt, using the completed edges and the quilt top’s seams as checks. Pause after each side to spread the quilt out again. If a proposed cut starts drifting into the design, make a fresh assessment rather than continuing simply because the ruler is aligned with the mat.
Prepare the edges for binding
Once you are satisfied with the outline, trim any remaining backing and batting flush with the quilt top. Inspect the perimeter for loose threads, gaps in the quilting and places where the layers want to separate. If the edge feels unstable, a line of stitching within the area that the binding will cover can help hold the layers together while you work. Avoid adding unnecessary stitches where they might show beside the binding.
Finally, lay the quilt flat for one more look. Check that the corners are tidy, the border looks balanced and no excess backing is folded onto the front. Binding will cover the raw edges, but it will not correct a cut that removes an important point. Taking time to check the shape before and during trimming makes the final step of finishing the quilt much more predictable.


