Know the size you need
Squaring up means checking a block’s shape and trimming its outer edges, if necessary, so it is square and the correct size. Do this before sewing the block into a row. Small differences between blocks can make seams harder to match, while an angled edge can pull a row out of alignment.
Start with the block’s unfinished size: the size it should measure before it is joined to its neighbours. This includes the seam allowance around its outer edge. For example, a block designed to finish at 12 inches square will usually measure 12½ inches square before joining if you are using a ¼-inch seam allowance. Check the pattern rather than assuming every block follows that convention.
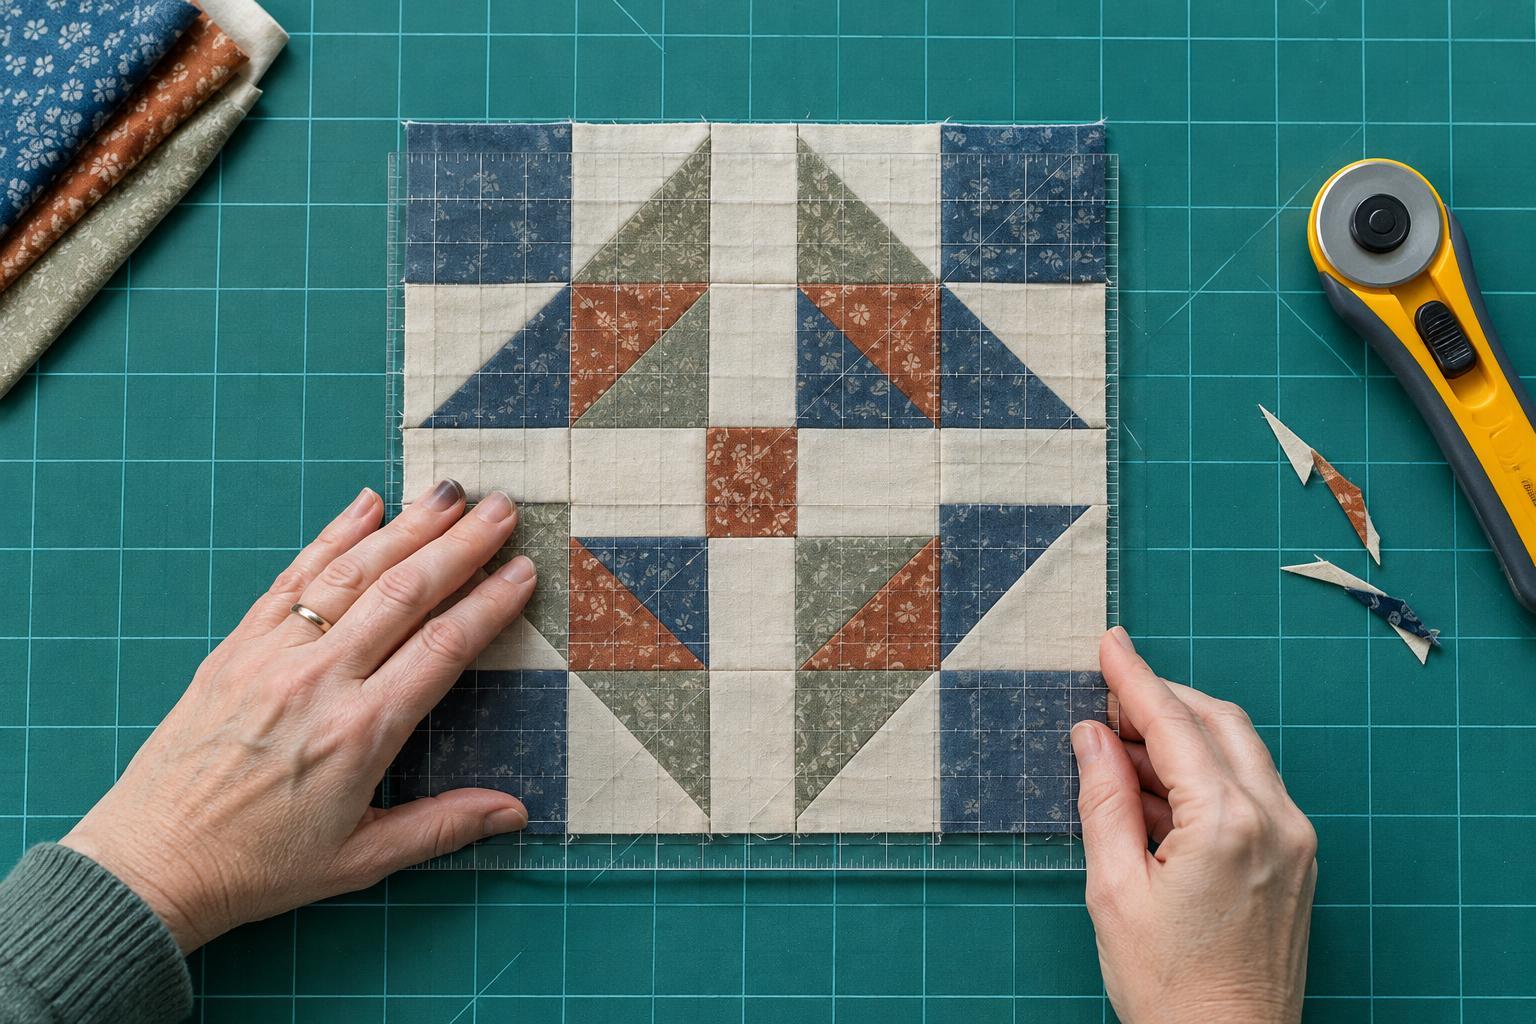
Have a cutting mat, rotary cutter and quilting ruler ready. A square ruler at least as large as the block is helpful, but a long rectangular ruler with clear grid lines can also work. Before cutting anything, look at the entire block. If it is smaller than the required unfinished size, trimming cannot fix the shortage.
Press first, then measure
Press the block so its seams lie flat. Lower and lift the iron rather than pushing it across the fabric, especially where edges are cut on the bias. Dragging the iron can stretch those edges and change the block’s shape. Let the block cool flat before measuring so you can judge its size without holding it under tension.
Lay the block on the mat without pulling its corners. Measure the width at the top, middle and bottom, then the height at the left, middle and right. This reveals whether the block is consistently too large or whether one area has stretched. Check that opposite edges look parallel and that the corners approach right angles.
If the measurements vary noticeably, investigate before trimming. A folded seam allowance may need repressing, or a seam may have been sewn wider than intended. Correcting a construction issue often preserves more fabric than cutting the block down to match its narrowest point.
Align the ruler with the block’s construction
Place the ruler over the block and align its grid lines with reliable features: a central seam, the edges of a central patch or repeated seam intersections. These references help you keep the design centred instead of trimming all the excess from one side. Check that the ruler’s lines agree with the block’s vertical and horizontal seams as closely as the construction allows.
Look closely at points that reach the outside edge. They need enough fabric beyond the point to remain visible after the block is joined with the intended seam allowance. If trimming to the target size would remove that allowance, stop and reassess. You may need to correct a seam or accept that the block cannot be squared to the planned size without changing its appearance.
When the block is slightly oversized and there is room around the design, distribute the trimming between opposite sides. For instance, removing a small amount from both the left and right edges is usually preferable to taking it all from the left. The goal is a square block with a balanced design, not merely the right number on the ruler.
Trim in stages and check again
Hold the ruler firmly and trim one or two adjacent edges. Rotate the block or mat, then align the newly cut edges with the ruler marks for the required unfinished size. Recheck your seam references and outer points before trimming the remaining edges. Keep your fingers clear of the cutter’s path, and avoid making a cut if the ruler has shifted.
Measure the finished block in both directions and check its corners. A slight irregularity in a fabric edge may disappear within a seam allowance, but the block should lie flat and meet the size your layout requires. If several blocks belong to the same quilt, compare them as you go rather than waiting until every block is sewn. Consistent blocks are easier to arrange and join.
If a block is too small, do not trim all the others smaller without considering the quilt’s overall layout. Depending on the design, you might remake the block, adjust a seam if there is enough allowance, or add a border to each block for a consistent new size. Squaring up works best as a careful final check, not as a substitute for accurate cutting and piecing.


