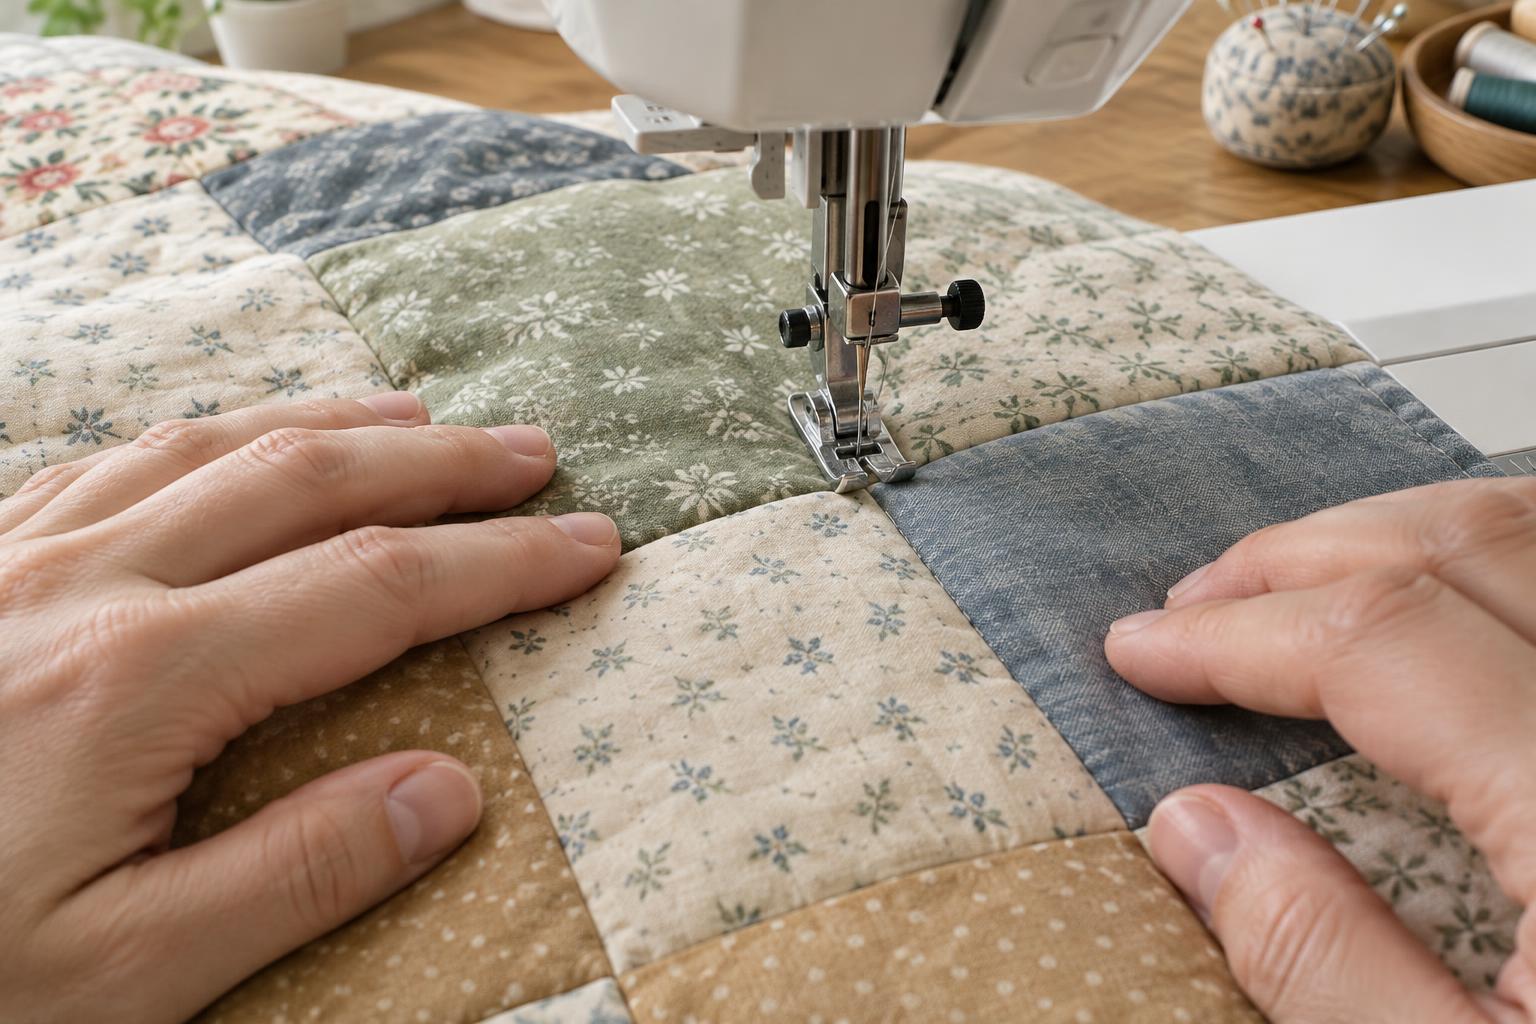
Find the ditch before you start
Stitching in the ditch means quilting along the join between two patchwork pieces. The aim is usually to secure the quilt layers without drawing much attention to the quilting. It is not quite the same as sewing directly on top of the seam line: the needle travels beside the raised edge of the seam, where the stitches are less noticeable.
Look closely at how the seam allowances were pressed. When both allowances lie to one side, that side of the seam is slightly raised. The ditch is the lower side, immediately beside the raised edge. Follow that lower side rather than aiming at the centre of the visible join. If the allowances were pressed open, there may be no clear raised edge to guide you; following the seam neatly is still possible, but the stitches may be more visible.
Choose which seams to quilt before setting up the machine. Long, fairly straight block or sashing seams are easier to follow than every small piece in a busy pattern. A modest plan you can stitch steadily will often look tidier than trying to trace every join.
Prepare the layers and machine
Press the quilt top so seam edges lie as smoothly as possible, then baste the top, batting and backing securely. Wrinkles or shifting layers can push a seam away from the needle even when you guide the top carefully. Check that your chosen quilting lines will hold the layers adequately for your batting; its packaging may provide guidance on spacing.
A walking foot helps feed the layers together. If you have a stitch-in-the-ditch foot, its centre guide can rest against the raised seam edge. A regular walking foot also works: use a visible point on the foot as your guide and watch the seam just before it reaches the needle. Set a comfortable stitch length and begin with a needle and thread suited to your fabric and batting. A thread colour close to the patchwork makes small deviations less conspicuous, though it will not hide them completely.
Make a test sandwich using similar fabric, batting and seams. Check the stitch appearance on both sides, adjust the machine if needed, and practise following the lower side of a seam. If a guided foot requires a needle-position adjustment, turn the handwheel slowly before sewing to confirm the needle clears the foot.
Guide the seam, not the whole quilt
Place the quilt under the foot with the needle set just beside the raised edge. Sew a short distance slowly and inspect the result. If the stitches sit on the patchwork, shift your guiding position slightly; do not try to correct a poor starting position by tugging the quilt sideways while sewing.
Keep the quilt’s weight supported on the table so it does not drag against the foot. Use your hands to keep the area around the needle flat, with light pressure rather than pulling from behind. Look ahead of the needle and make small steering adjustments before a bend reaches the foot. A slower, even pace gives you time to respond when a hand-pressed seam is not perfectly straight.
At a thick intersection, reduce speed and let the machine feed the layers. If the foot struggles to climb the bulk, stop and reposition rather than forcing the quilt through. A few visible stitches near a bulky join are usually preferable to a pucker caused by dragging the fabric.
Handle corners and changes in direction
Plan a route that avoids unnecessary stops. When you reach a corner, stop with the needle down in the ditch, raise the presser foot, turn the quilt and lower the foot before continuing. Check that the new seam is aligned before sewing away. If the next seam does not meet neatly at that point, it may be better to end the line and start again than to make a diagonal stitch across the patchwork.
For long lines, start near the centre of the quilt and work outward where practical. This gives excess fullness a chance to move toward an edge rather than collect in the middle. Secure the beginning and end of each line using a method suitable for your project, and trim thread tails after checking the stitches.
Decide when to unpick and when to continue
Pause occasionally to inspect both the top and backing. If you wander onto a patch by a stitch or two, you may decide to leave it, especially on a patterned fabric. A longer detour or a tuck in the backing is more noticeable and worth correcting. Unpick only the affected area, smooth the layers and begin again a little before the mistake.
Perfectly hidden stitches are difficult where seams change direction, allowances vary or several pieces meet. Aim instead for quilting that is secure and visually quiet. With good basting, a supported quilt and a steady view of the raised seam edge, staying in the ditch becomes easier to repeat from one line to the next.


