Start with the nine positions
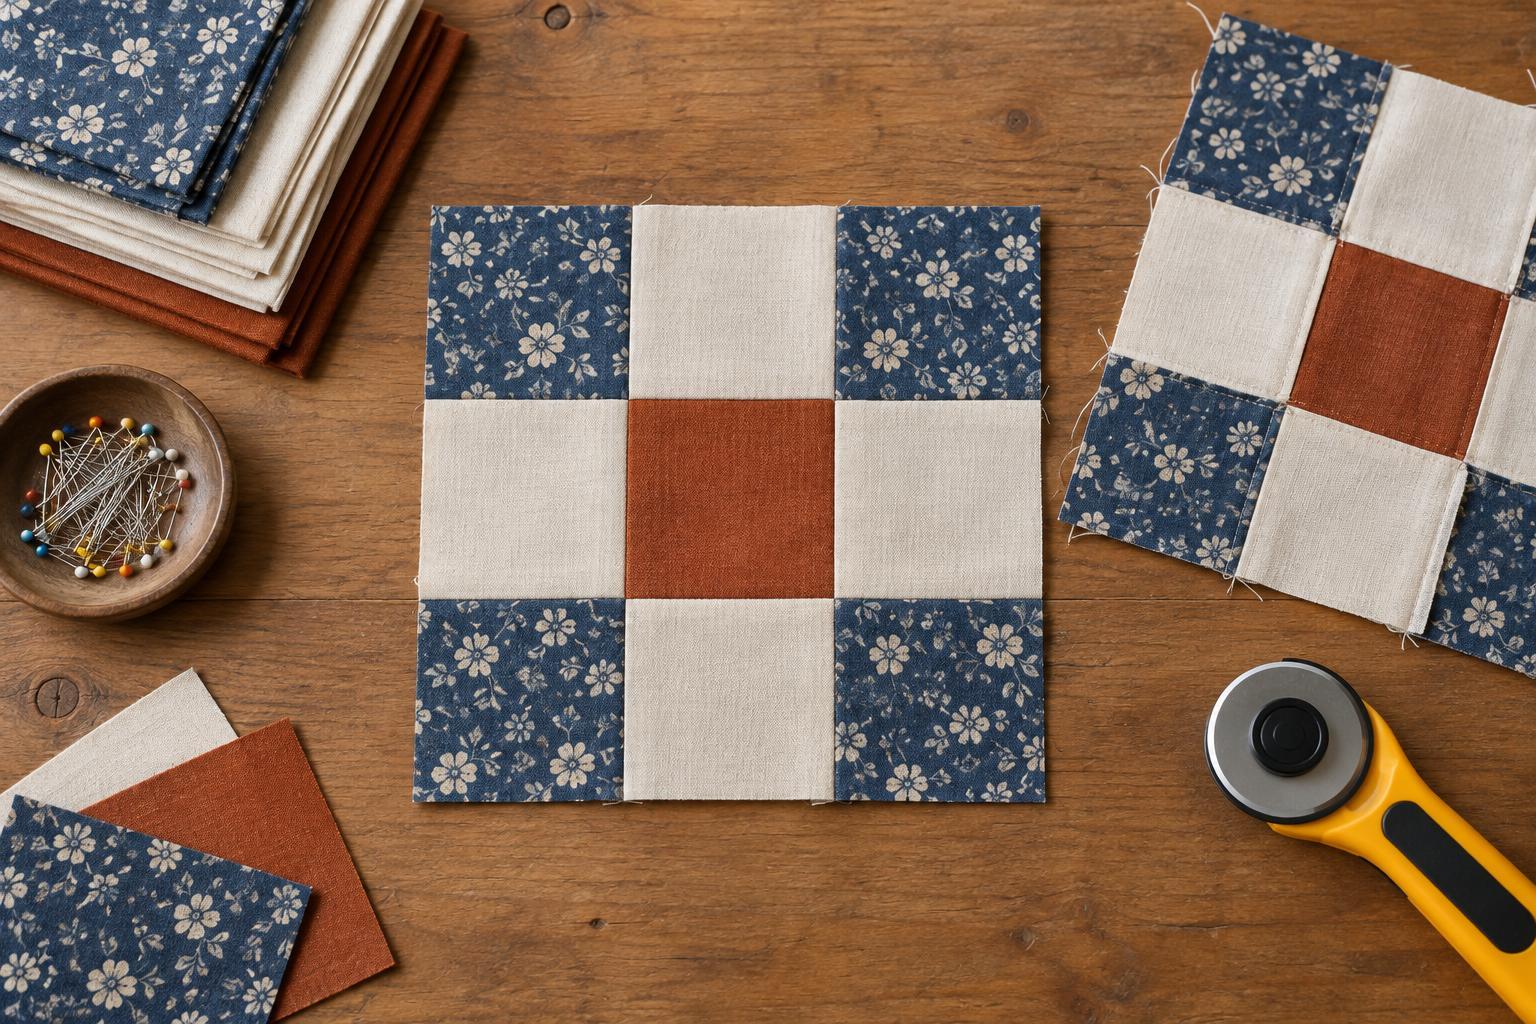
A nine-patch block is a three-by-three grid made from nine squares. Four squares occupy the corners, four sit at the middle of the outer edges, and one sits in the centre. Thinking of these as three groups makes it easier to plan a block before cutting fabric. The corners give the block its outer anchors; the edge squares connect those anchors; and the centre draws the eye to the middle.
For a first version, assign one fabric to all four corners, a second to all four edges and a third to the centre. Lay the squares out in three rows: corner–edge–corner, edge–centre–edge, then corner–edge–corner. Check this arrangement before sewing. Once the rows are joined, a misplaced square takes more work to correct.
Use contrast to guide the eye
The simplest nine-patch often uses one value for the corners and centre and a contrasting value for the edges. For example, five dark squares in the corners and centre, surrounded by four light edge squares, create a clear, balanced pattern. Reverse the values and the light corners and centre appear to stand apart from a darker cross. Both arrangements use the same construction; only the placement changes.
Value means how light or dark a fabric appears, rather than its hue. Two different colours can look similar in value, especially when viewed from a distance. Before cutting a whole set of blocks, place a few candidate fabrics side by side and step back. If you want the grid to read clearly, choose fabrics with enough value difference to separate their shapes. If you prefer a softer effect, use closer values and let print scale or colour provide the variation.
The single centre square can act as an accent. A bright or strongly patterned centre draws attention, while a centre that matches the corners creates a repeated five-square motif. Busy prints may make a small centre feel less distinct, so audition the fabric in the complete nine-square layout rather than judging the square alone.
Cut and sew an accurate block
Choose one square size and cut all nine pieces alike. If you cut 3½-inch squares and use a consistent ¼-inch seam allowance, each square finishes at 3 inches. The completed block will measure 9 inches within a quilt, or about 9½ inches across before its outer seam allowances are sewn into neighbouring pieces. You can use a different square size; consistency matters more than the particular measurement.
Arrange the squares beside your machine in the intended order. Sew the three squares in each row together, keeping their edges aligned without stretching them. Press the seam allowances in the top and bottom rows toward the corners, and those in the middle row toward the centre. Where the rows meet, the seam allowances will point in opposite directions, helping the intersections nest together.
Join the top row to the middle row, then add the bottom row. At each intersection, align the seams and hold them in place as you stitch. Press the finished block, then measure it. If it is noticeably smaller than expected, check your seam allowance before making more blocks; small differences across several seams can add up.
Explore placement beyond three matching groups
Matching all four squares in each position group is a useful starting point, not a rule. Try making two opposite corners one fabric and the other two corners another. A diagonal line begins to emerge, particularly when neighbouring blocks repeat the same placement. You can also use a different fabric on each edge to introduce movement, while retaining a steady centre fabric across the quilt.
Make a few test layouts before committing to one variation. Place loose squares on a table or draw a three-by-three grid and colour it in. Rotate the proposed block and see whether its appearance changes: a block with identical corners and identical edges looks the same after a quarter-turn, while one with contrasting opposite corners may contribute to a larger directional pattern. If you use directional prints, check their orientation while the squares are still loose.
Plan what happens between blocks
A nine-patch is also a unit in a larger design. When blocks touch, their outer corner and edge squares meet pieces from neighbouring blocks. Repeating the same fabric at those meeting points can create shapes that are not obvious when you view one block alone. Lay out several finished blocks before joining them and look for lines, clusters and areas that draw too much attention.
For a straightforward project, alternate nine-patches with plain fabric squares cut to the same unfinished block size. This gives the patterned blocks room to stand out and offers space for quilting stitches. For a busier patchwork surface, set nine-patches side by side and experiment with colour placement across the rows. Whether you keep every block identical or vary them, a clear plan for the corners, edges and centre will make your choices easier to follow as you sew.


