Decide what “upright” means for your quilt
A directional print has a design that looks different when turned: think of trees, houses, words, animals or stripes that run one way. Before cutting, lay the fabric right side up and turn it through a full rotation. Some prints have an obvious top; others simply have a direction you prefer. Look at the whole fabric, not just one motif, since a repeat may include elements facing several ways.
Next, decide how the finished quilt will be viewed. A wall quilt or a quilt with a central picture usually has a clear top edge. A throw that may be used from either end does not need every motif to point the same way. You might keep the central blocks upright while allowing prints in a scrappy border to vary. Choosing that rule early makes later decisions easier and gives intentional variety room to breathe.
Make a layout map before cutting
Sketch the quilt as a grid and draw a small arrow on each block or fabric patch that must point toward the top. The sketch need not be precise: its job is to show where orientation matters. If a block will be rotated in the final layout, mark that rotation now. A tree that is upright while you sew a block can end up sideways when the block is turned to create a larger pattern.
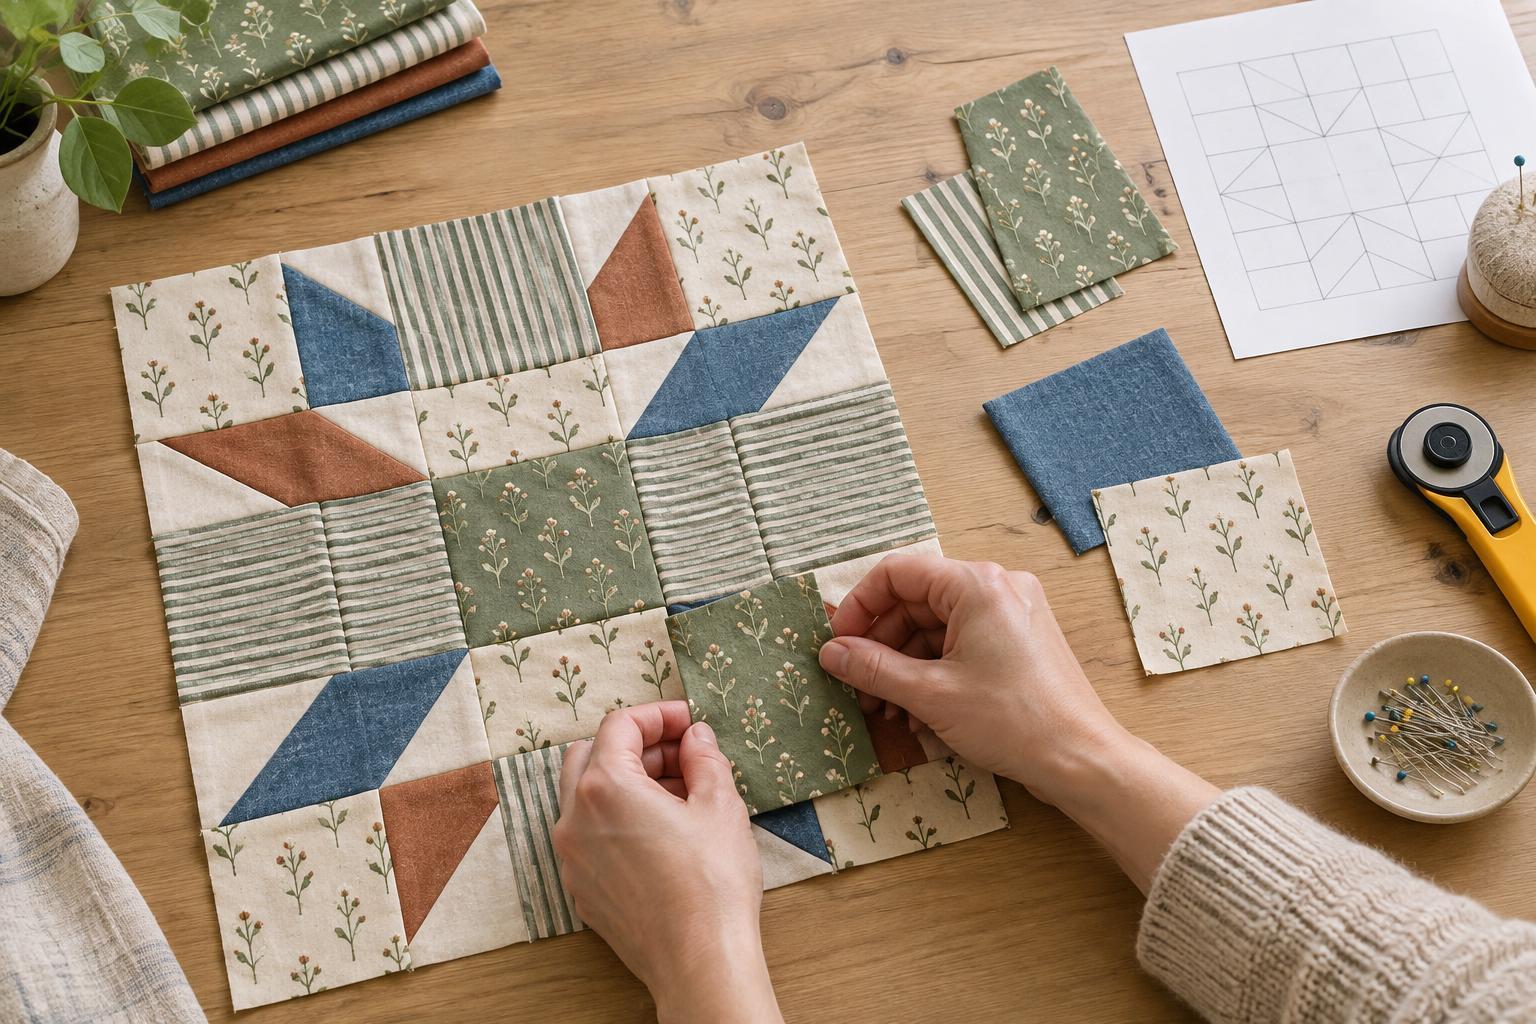
For a more reliable preview, cut paper shapes or use a small sample of the print. Place them in the planned positions, including corner pieces and borders. This is particularly useful with stripes and rows of motifs, where the issue may be alignment rather than which way is up. A quick layout can also show where a one-way print would make a complicated block harder to assemble. In those spots, a nondirectional companion fabric may be the simpler choice.
Cut for both shape and direction
Identify the fabric’s lengthwise and crosswise grain, then check how the printed design sits on them. A motif does not always run exactly parallel to an edge. Place a ruler over the fabric before cutting a long strip or repeated rectangles, and decide whether consistent motif alignment or a particular grain direction matters more for that piece. Do not assume you can rotate every shape 90 degrees on the fabric without affecting its required dimensions or the way it handles.
Cut one test piece first and label its wrong side with a removable marker or a small paper tag showing the intended top. Check that the motif will face correctly after seam allowances are sewn. For repeated pieces, stack them in separate groups according to position, such as “top row” and “side border.” Directional cutting may leave more unused spaces between pieces than an ordinary cutting plan, so check your layout against the fabric available before cutting the full set.
Check orientation as units become blocks
Keep the layout map beside your machine and place each sewn unit back onto it. This small habit helps catch reversals before several units become a block. For patchwork with triangles, test the construction with one sample unit: cutting and sewing can put a motif on a different side of a diagonal than expected. Check the sample right side up in its final block position before making the remaining units.
A design wall or clear floor space is helpful when blocks are ready. Arrange them as they will appear in the finished quilt, then step back and look for motifs that stand out because they point elsewhere. If rotating a block fixes its print but disrupts the block pattern, try swapping it with another block instead. Take a reference photo or mark the rows before stacking them for assembly, so the approved arrangement is easy to restore.
Give borders and deliberate exceptions a final look
Borders bring their own choices. A print that looks upright along the top edge may run sideways along the quilt’s sides. You can accept that turn, use a different fabric on the side borders, or piece border sections so their motifs face a chosen direction. Check corner joins on the layout before cutting; a stripe or obvious repeat can draw attention to an abrupt change there.
Not every reversal is a mistake. Scattered motifs can suit a lively scrap quilt, and changing direction can make a design feel balanced when it is viewed from several sides. The useful distinction is between a choice you have seen in the layout and a surprise discovered after quilting. By setting a simple orientation rule, testing the tricky pieces and checking each stage, you can let directional fabric contribute to the design without letting it dictate the whole project.


