Why quilt blocks separately?
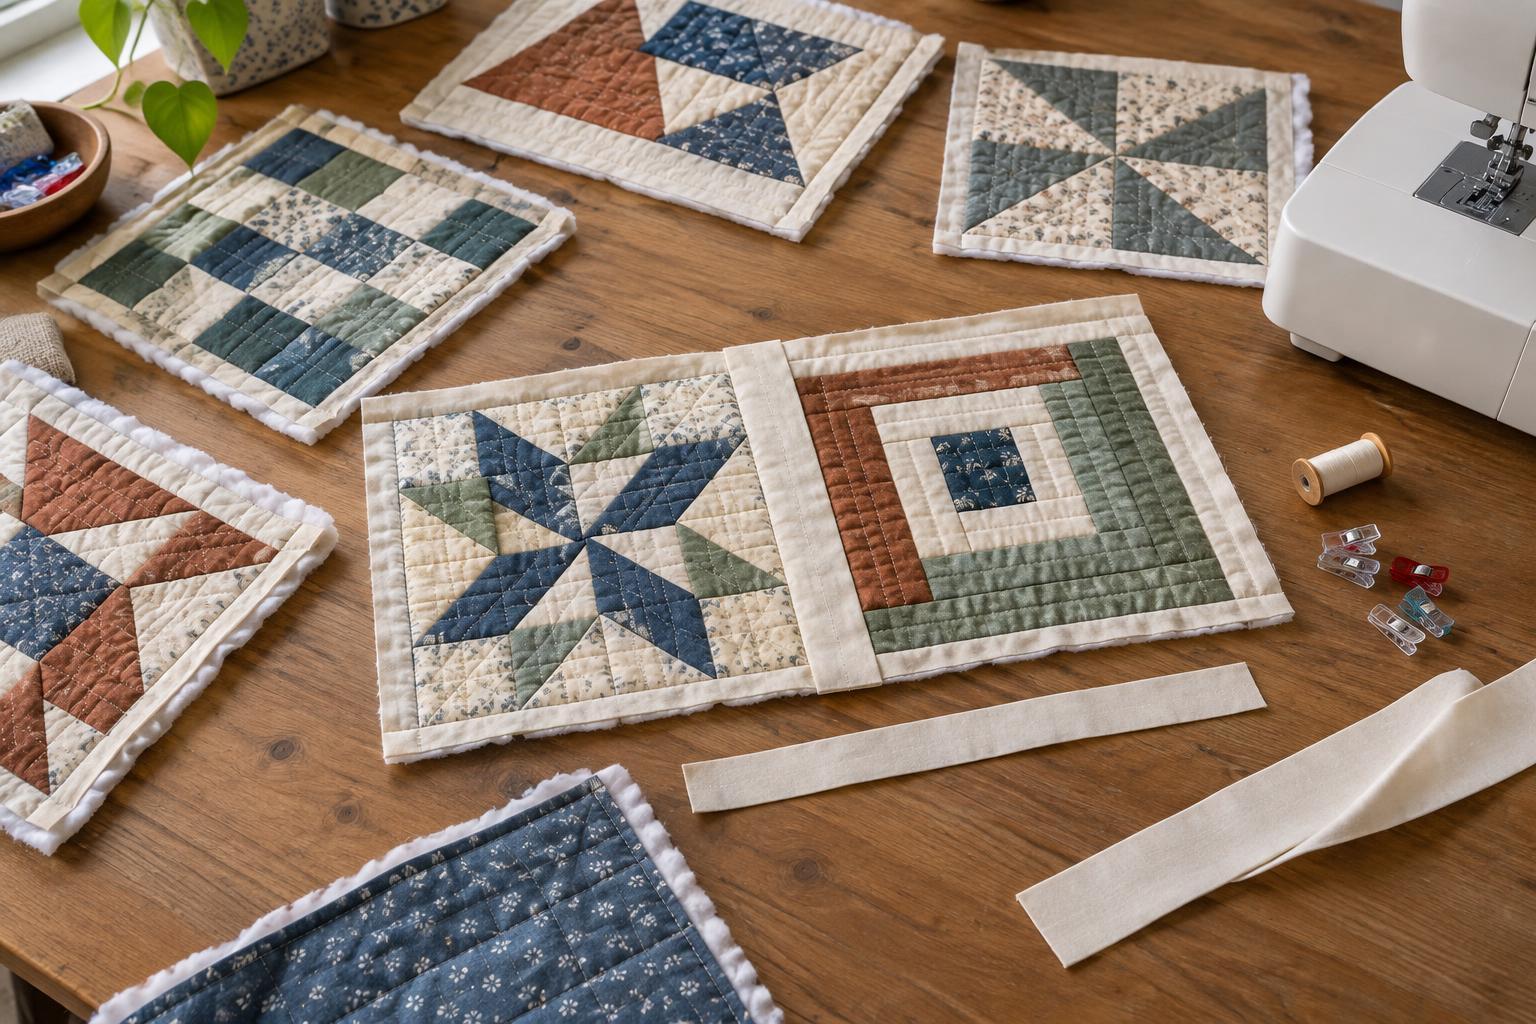
Quilt-as-you-go changes the order of construction: you quilt smaller pieces first, then assemble them into a larger quilt. It can make straight-line quilting or free-motion practice less cumbersome because each piece is easier to turn and support at the machine. It also lets you complete the quilting gradually rather than saving it all for the end.
There are several ways to join pre-quilted pieces. This guide uses sashing strips: narrow bands of fabric that connect blocks on the front and cover the joins on the back. The strips become part of the design, so this method suits a quilt where visible lines between blocks are welcome. Make a two-block sample before cutting strips for a whole quilt; it will help you settle on strip widths and a joining sequence that work for your materials.
Plan the blocks and materials
Start with blocks that can all be trimmed to the same size. They may share a patchwork pattern or mix several designs, provided their finished dimensions agree. Choose a backing fabric and batting for each block. Using the same backing and batting throughout makes the quilt easier to assemble evenly, though the backing can also be pieced deliberately for a varied reverse side.
Before quilting, decide how wide you want the visible front sashing to be. A narrow strip gives the blocks a close-set look; a wider one makes the grid more prominent. Account for seam allowances when cutting both front and back joining strips. You will also need small batting pieces to fill any gaps between the quilted blocks, so the joins do not form noticeably thin channels.
Quilt each block while keeping its edges usable
Layer each block with batting and backing, placing the batting between the wrong sides of the fabrics. Baste the layers so they stay aligned. Quilt with a design you can repeat consistently, or vary the design from block to block while keeping a similar stitching density. Straight lines, gentle curves and outlines around patchwork shapes are all workable choices.
Leave enough unquilted space at the outer edges for trimming and joining. Dense quilting right up to an edge can make a seam bulky or difficult to keep straight. After quilting, trim every block sandwich square and to exactly the same dimensions. Check that corners form right angles and that no backing or batting extends beyond the cut edges. Accurate trimming matters here: small differences become more obvious when several blocks are joined in a row.
Join the blocks with front and back sashing
Lay out the blocks before sewing and mark their positions if their order matters. To make a join, place a front sashing strip right sides together with the edge of one block and sew with your chosen seam allowance. Sew the opposite edge of that strip to the neighbouring block. The strip forms the visible connection on the quilt front, while the block sandwiches remain separate across the width of the sashing.
Turn the work over and inspect the space between the blocks. Fill any gap in the batting with a piece cut to fit, without piling extra batting over the block edges. Centre a backing strip over the join, turn its long raw edges under, and stitch it down so it covers the exposed edges securely. You can sew it by hand for a less conspicuous finish or by machine for a visible line of stitching. Check that the join lies flat on both sides before continuing.
Join blocks into rows first, then connect the rows using the same approach. Rows are heavier than single blocks, so support their weight as you sew rather than letting them pull against the needle. Where sashing strips meet, keep their intersections aligned and avoid forcing thick layers under the presser foot.
Finish and assess the quilt
Once all rows are joined, check both sides for loose strip edges, gaps in the batting and corners that need securing. If you want an outer border, consider how it will be quilted and attached before cutting it: a border added after assembly may need quilting of its own. Finish the perimeter with binding, taking care to enclose the full thickness of the quilt.
The two-block sample is worth keeping as a reference. It shows how your chosen sashing width looks, whether the join feels flexible, and how the stitching appears on the reverse. If it feels stiff or leaves a thin channel, adjust the batting filler or strip placement before assembling the remaining blocks. That small check makes quilt-as-you-go a more predictable way to build a larger project.


