Decide what the layout should do
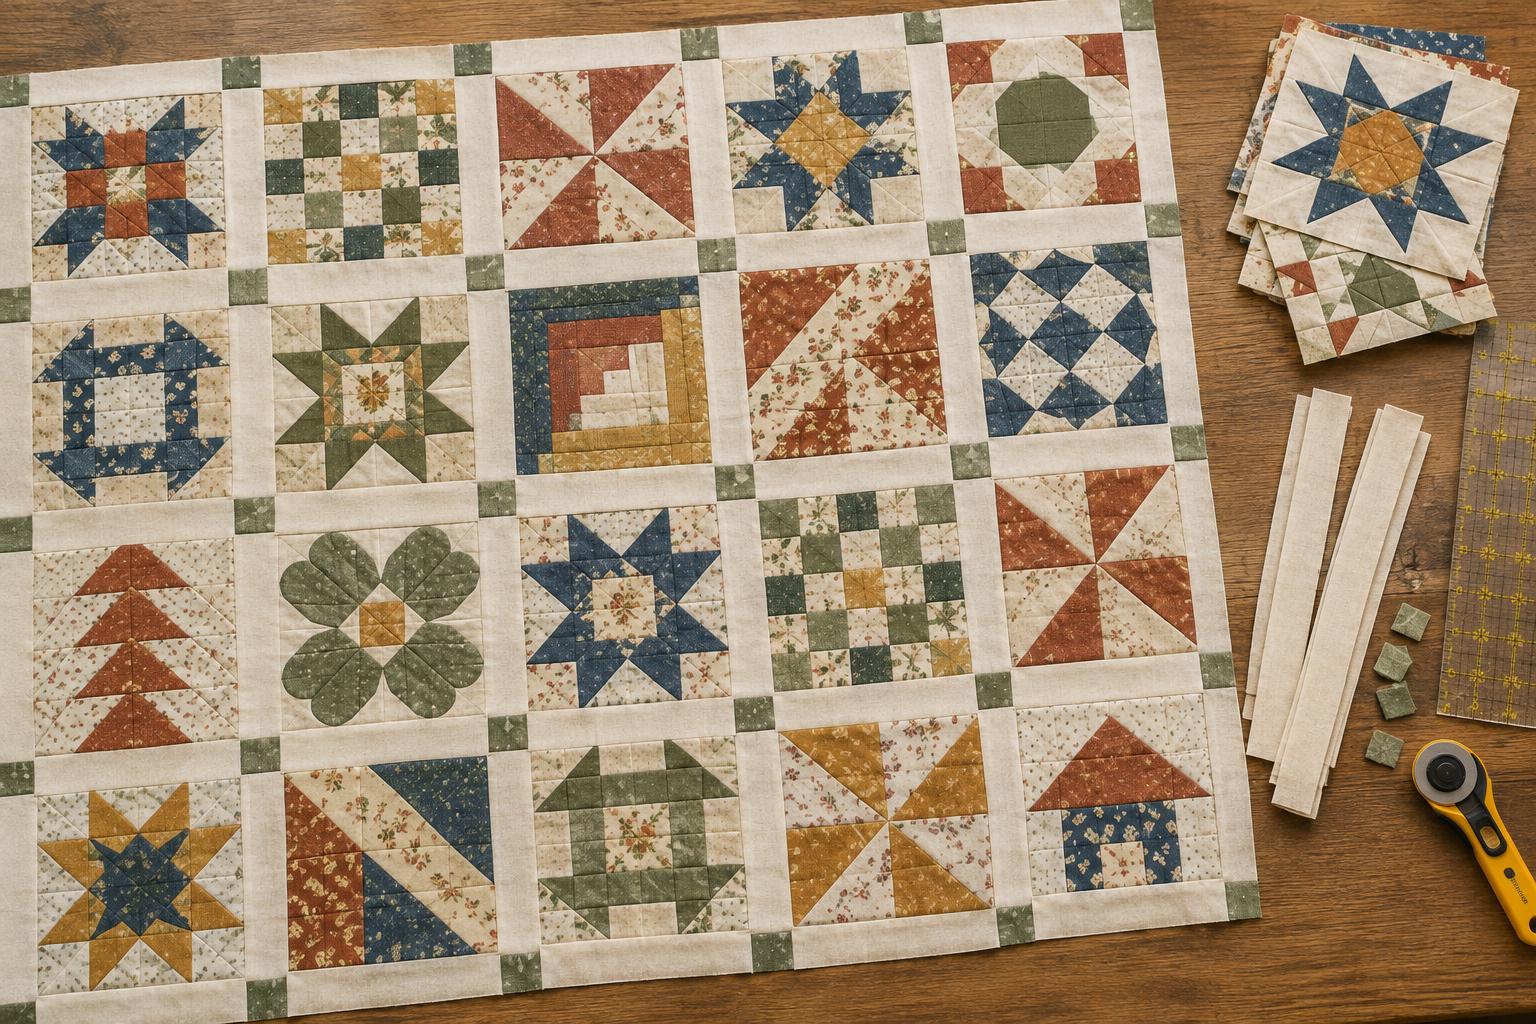
A sampler quilt brings different blocks together, often with changes in colour, scale, and piecing style. Sashing—the strips placed between blocks—creates a little visual space so each block can be seen on its own. Cornerstones are small squares at the intersections of those strips. They can quietly repeat a background fabric or add a contrasting colour that leads the eye across the quilt.
Before cutting anything, lay the blocks on a floor or design wall and try several arrangements. Spread strong colours and busy designs across the layout rather than gathering them in one area, unless you want a deliberate focal point. Step back or take a photograph to see whether one side feels heavier. Then place fabric strips or paper between the blocks to test whether sashing helps the designs feel connected or separates them too sharply.
Cornerstones are optional. A continuous strip of one fabric may suit a calm, simple sampler; cornerstones can make the layout feel more structured. Repeating a fabric already used in several blocks is one way to make the intersections feel intentional. If you prefer variety, use a small set of cornerstone fabrics and distribute them across the quilt.
Choose proportions and prepare the blocks
Start with the finished size of the blocks: the size each block will measure after its edges are sewn into the quilt. Sashing width is a design choice, not a fixed rule. Narrow strips keep the blocks visually close, while wider strips give complex blocks more space. Try a few widths with fabric scraps before committing. Cornerstones are generally cut to the same unfinished width as the sashing so their edges line up in the assembled rows.
Check every block against the same ruler measurement before planning the final layout. If blocks differ slightly, identify why before trimming: an outer seam allowance may be uneven, or a block may need more careful pressing. Avoid stretching a smaller block to meet a longer strip. If the blocks genuinely finish at different sizes, narrow framing strips around selected blocks can bring them to a common unfinished size while preserving their designs.
Pay attention to the outer points of pieced blocks. A block trimmed too close to a point may lose that point when the sashing seam is sewn. Once the blocks are consistent, label their positions or photograph the chosen arrangement. That small step makes it easier to keep the planned colour balance intact during assembly.
Work out the cutting sizes
A simple plan counts the gaps between blocks. If a layout has three blocks across, it needs two vertical sashing spaces between them. If it has four rows, it needs three horizontal sashing rows. This assumes there is no additional sashing around the outside edge; an outer frame would need separate measurements.
For example, suppose twelve blocks each finish at 12 inches, arranged three across and four down. With sashing that finishes at 2 inches, the quilt centre will finish at 40 inches wide: three 12-inch blocks plus two 2-inch spaces. Its finished height will be 54 inches: four 12-inch blocks plus three 2-inch spaces. These dimensions describe the centre before any borders.
With a quarter-inch seam allowance, the unfinished blocks measure 12½ inches square. Cut the sashing 2½ inches wide and the cornerstones 2½ inches square. The short sashing pieces sewn between blocks should be cut 12½ inches long, matching the unfinished block edges. Make a small test row and measure it before cutting every piece, especially if your seam allowance tends to vary.
Assemble rows in a reliable order
First, sew the short sashing pieces between the blocks in each block row, following your labelled layout. For the horizontal rows, sew sashing pieces and cornerstones in an alternating sequence. In a three-column layout, each horizontal row contains three sashing pieces and two cornerstones. Keep all pieces in order as you sew so a carefully arranged cornerstone does not end up in the wrong place.
Press seams in a direction that helps adjoining seams nest where possible, or press them open if that gives bulky intersections a flatter finish. Before joining a horizontal sashing row to a block row, mark the centres of the longer edges and check that they match. Pin at the block boundaries and cornerstone seams, then add pins between them. This makes it easier to distribute the fabric evenly without pulling it out of shape.
After joining each row, check that the cornerstones align with the vertical sashing. Small discrepancies are easier to address immediately than after the whole centre is assembled. Measure the completed centre through several places before adding borders, and use those measurements to cut borders that fit without stretching.
Let the sashing support the blocks
Once the centre is together, stand back and look at it again. Sashing is part of the design, not just a way to join blocks: its colour and width influence which shapes stand out and how the eye travels through the quilt. The most useful choice is the one that supports the particular blocks you made.
For a future sampler, keep a note of the finished block size, sashing width, and layout you used. That record turns an assortment of individual blocks into a repeatable plan, while still leaving room to change the colours, cornerstones, or arrangement next time.


