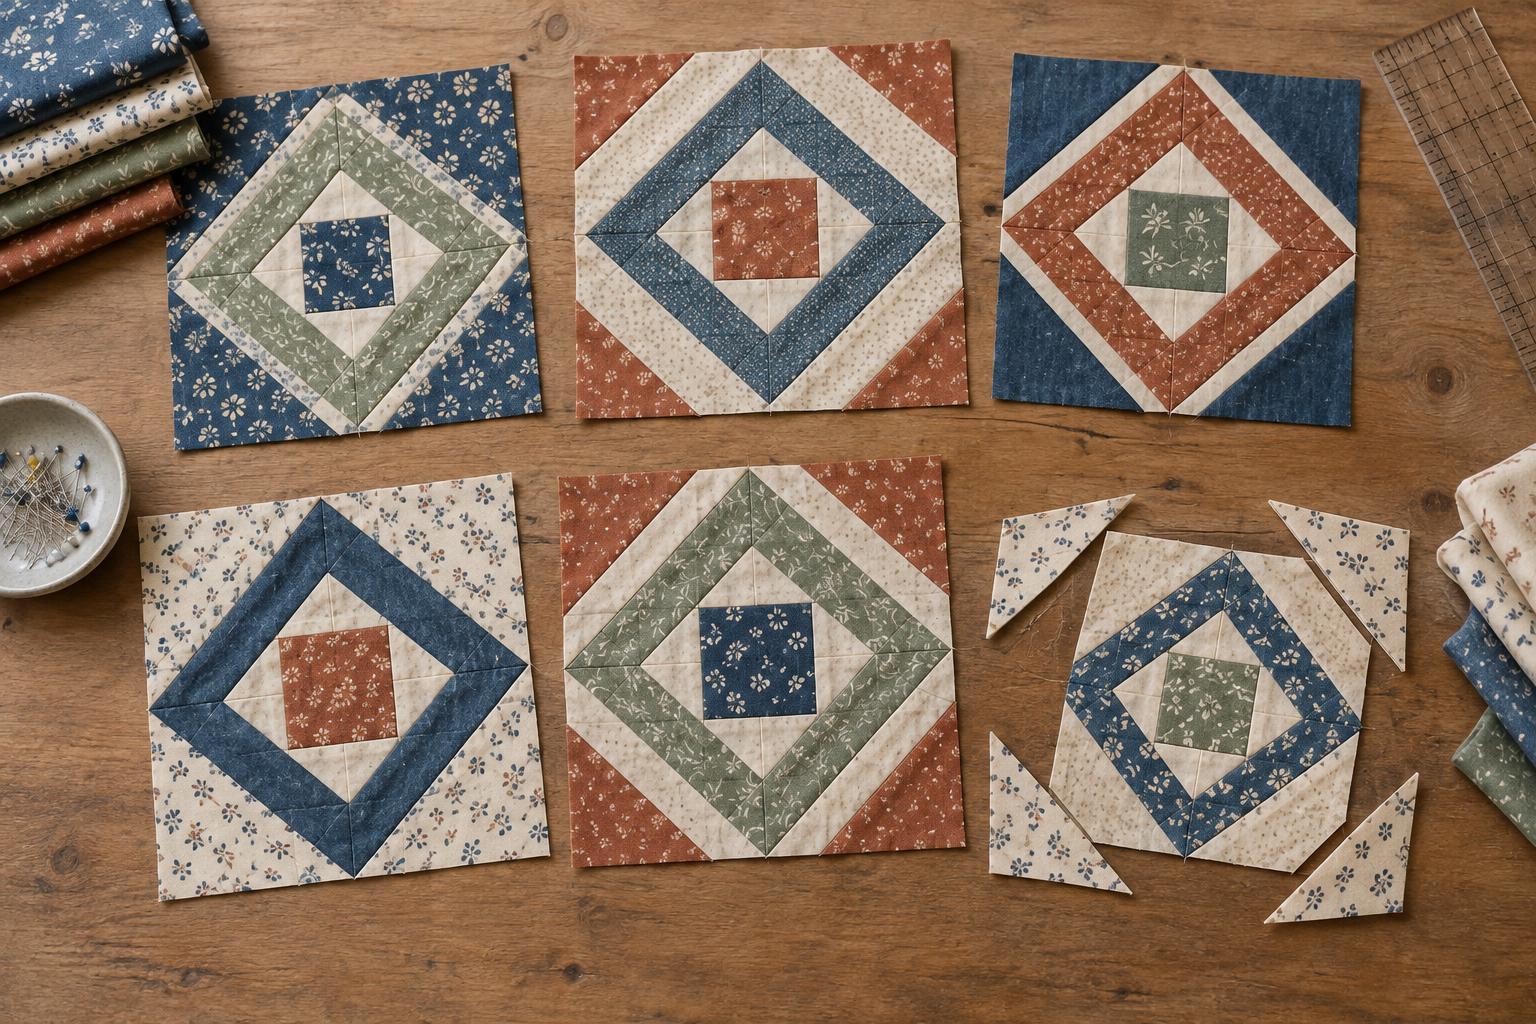
See the shape before choosing a pattern
A square-in-a-square block begins with a centre square. Triangles sewn to its four sides create a larger square at a different angle. When you turn that larger square so its edges sit upright in the quilt, the centre square reads as a diamond. Add another round of triangles, and the block grows into a series of nested shapes.
The effect depends as much on colour placement as construction. A dark centre surrounded by a pale ring draws the eye inward; a light centre and darker outer ring can make the diamond seem to expand. Before cutting fabric, sketch a few concentric squares and shade each round. A small pencil drawing is enough to show whether the motif will stand out or blend into its neighbours.
Plan the size and the number of rings
Decide where the block will be used before settling on its dimensions. A single large block can anchor a cushion or small quilt, while repeated blocks can form a grid of diamonds. In a repeated layout, decide whether every block will have the same centre size and number of rings. Keeping those features consistent makes the blocks easier to join, even when their fabrics vary.
Each round adds seams and gives you less room for error near the points. For a first attempt, plan a centre and one or two surrounding rings rather than a very small, intricate block. Draw the finished block at roughly its intended proportions, then mark the seam allowance around its outside edge. This helps you distinguish the visible design from the fabric needed to join the block to other pieces.
Choose a construction method and make a test block before cutting a full set. Triangle sizes depend on the centre-square size, seam allowance and whether you intend to trim each round. A test lets you check the finished dimensions with your own tools and sewing habits instead of relying on appearance alone.
Use fabric placement to strengthen the diamonds
For distinct nested diamonds, give adjacent rings enough contrast in value—the relative lightness or darkness of a fabric. Prints with similar values may look separate on the cutting table but merge when viewed from across a room. Try laying out your choices in order, from centre to outer edge, and step back to judge the sequence.
Contrast does not have to mean alternating black and white. A quiet solid beside a busy print can define an edge, while several related colours can give the block a softer, gradual rhythm. If the centre contains a favourite motif, leave it enough visual space to be noticed. Large-scale or directional prints need extra thought: after the block is turned into position, a stripe or pictured subject may face a different way than it did during piecing.
For a quilt made from many blocks, repeat one fabric or colour role across them. Consistent outer rings, for example, can link varied centres without making every block identical. Arrange a few proposed blocks side by side before sewing; the spaces where their outer corners meet are part of the overall pattern.
Sew each round with the points in mind
Cut the centre square accurately and sew a triangle to each of two opposite sides. Press, then add triangles to the remaining sides. Centre each triangle on its side rather than aligning it by eye with one corner. Marking the midpoints with a light crease can help. Use a consistent seam allowance and avoid pulling the pieces as they pass under the presser foot.
Triangles cut once diagonally from a square can place straight-grain edges around the outside of a round, but their long diagonal edges are stretchy. Handle those edges gently and press by lifting and lowering the iron rather than dragging it. If you cut triangles slightly generous, you can trim the completed round to size once it lies flat.
Before trimming, locate the diamond points. Leave a seam allowance beyond each point so the next seam does not cut it off. Check that the block is square and that its centre sits where you intended. Small differences are easier to correct now than after another ring has been added.
Test the layout before joining blocks
Place finished blocks on a flat surface and rotate them into their planned positions. An identical set of blocks can produce different effects depending on where the strongest colour sits. You might arrange bright centres in a loose diagonal, alternate two colour schemes, or scatter them for a less formal look.
Photograph or label the layout if you need to clear the space before sewing rows. When joining blocks, match the outer edges first and check any points that should meet across seams. A narrow sashing strip can create breathing room between busy blocks and reduce the pressure to align every diamond precisely.
Keep the test block even if it differs from the final design. It records how your chosen fabrics, cutting sizes and seam allowance behaved together—and gives you a useful starting point for the next nested diamond project.


