Why label a quilt?
A finished quilt can outlast the memory of exactly when, why and for whom it was made. A label keeps those details with the quilt rather than in a notebook that might be misplaced. It can be as modest as a name and a year or as personal as a short note to the recipient. There is no required format: the most useful label is one you are comfortable adding to every quilt you finish.
Plan the label before you cut the fabric. A few words need only a small patch, while a dedication or care note needs more room. Keep the text away from the edges so it remains readable after the label is stitched down. If the quilt may be displayed or passed on, think about which details will still make sense to someone who does not know its original owner.
Choose details worth keeping
Start with the maker’s name or initials, the quilt’s name if it has one, and the year it was completed. You might add the recipient’s first name, the occasion, or a brief description of what inspired the design. If other people pieced, quilted or helped finish it, the label is also a place to credit their work accurately. A place name can add context, but it is optional.
For a quilt made to be used regularly, a concise care note may help: for example, whether you prefer gentle washing and air drying. Make sure any instruction reflects the actual fabrics, batting and embellishments in that quilt. If you are unsure how a material will respond to washing, avoid promising that a particular method is safe.
You do not need to include a full address, phone number or other information you would not want shared if the quilt changed hands. A label can tell a meaningful story without revealing private details. If the quilt is a gift, check the spelling of names before writing on the final fabric.
Make a label that suits the quilt
Firmly woven cotton is a practical label fabric, especially when it matches or complements the backing. A light fabric makes dark writing easy to read; on a dark fabric, consider embroidery or a contrasting fabric patch. Cut the piece larger than the finished label so you have room to turn the edges under. Press it flat before marking your text.
You can hand embroider, machine embroider, or use a fabric marker intended to remain on textiles. If writing by hand, draw faint guide lines and work slowly so the lettering stays legible. Follow the marker maker’s directions for setting the ink, and test it on a spare piece of the same fabric before using it on the quilt. A small wash test can show whether the writing bleeds or fades. Printed fabric labels are another option, but use materials and methods intended for laundering if the quilt will be washed.
Decide on the label’s shape and layout while there is still time to adjust them. A rectangle is easy to turn and stitch; a square or simple appliqué shape works too. Leave a margin between the lettering and the folded edges. If the backing is busy, a plain label fabric will make the information easier to find and read.
Attach the label before or after binding
A lower corner of the backing is a common, unobtrusive position. Before attaching anything, check which direction the text should face when the quilt is laid out. If the quilt is not yet bound, you can position a label near a corner with two edges tucked into the binding allowance. Keep all writing clear of the seam, secure the remaining edges, and check that the label lies flat before sewing the binding. This approach anchors part of the label within the finish.
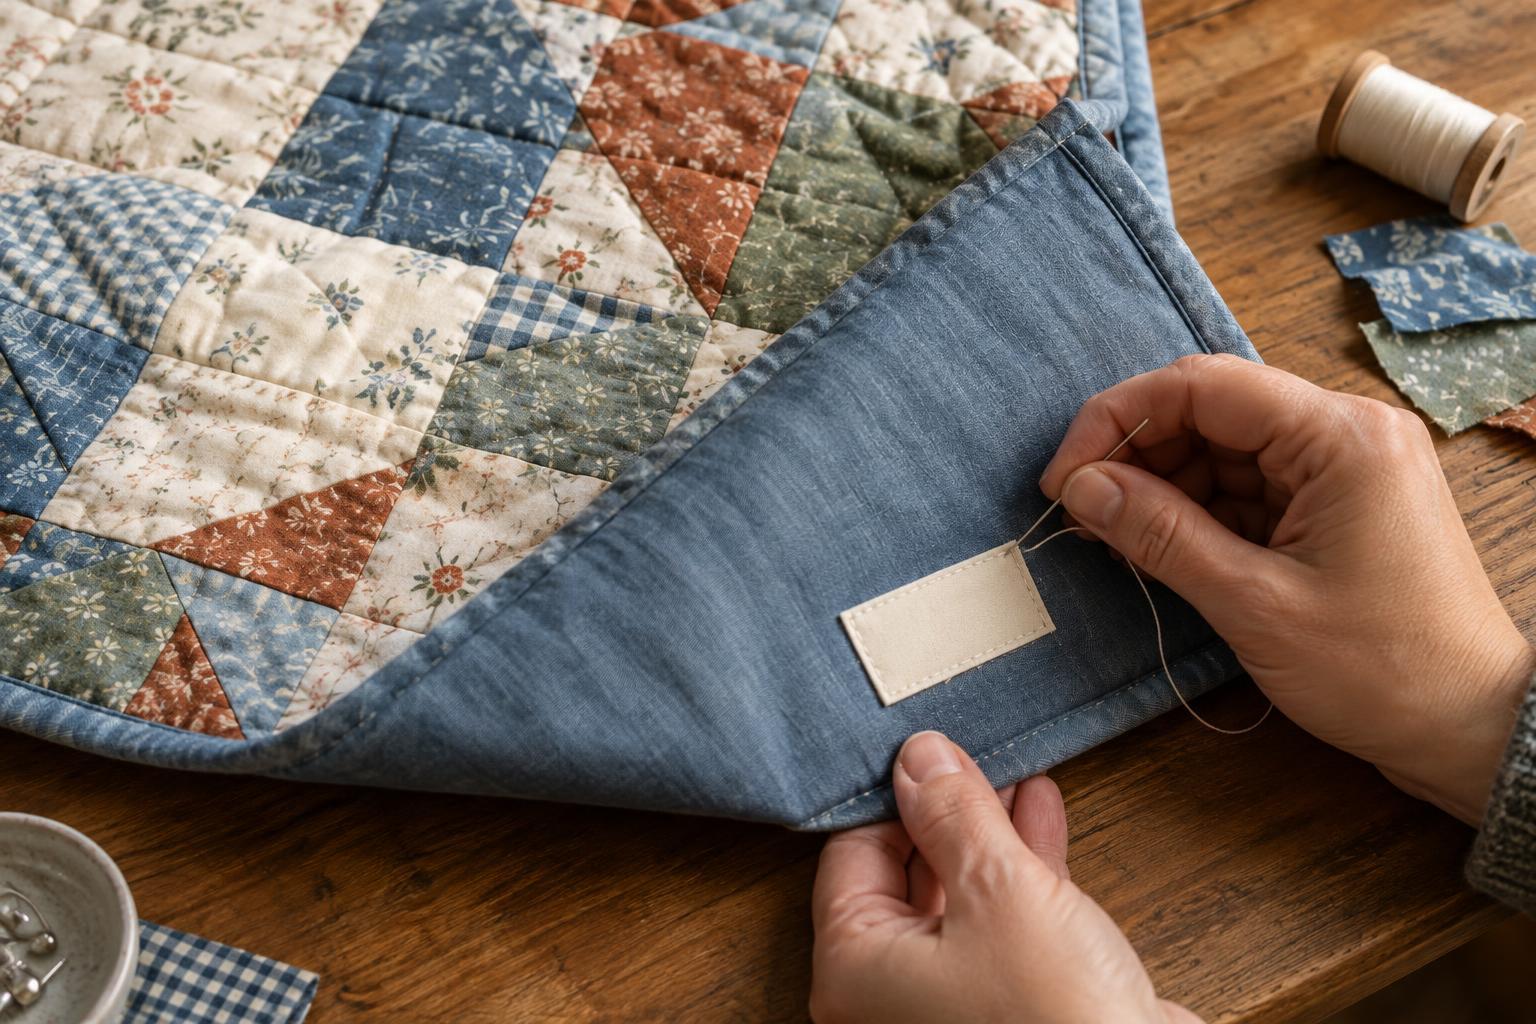
For a bound quilt, turn under and press the label’s raw edges, then pin or baste it to the backing. Hand stitch around the perimeter with small, even stitches, catching the backing fabric without pushing the needle through to the quilt front. Check the front occasionally as you work. Pay particular attention to the corners, which can lift with handling. If you prefer machine stitching, practise on a sample first: stitching through a finished quilt will show on the front, and managing its weight at the machine can be awkward.
Give the attached label a gentle tug at each edge and inspect it for gaps. The goal is a secure patch that does not pull or distort the backing. Once it is in place, the label becomes part of the quilt’s finish: a small addition that helps its story travel with it.


